Showing posts with label summer. Show all posts

Monday, September 6, 2010

Granita di caffè


As the summer draws to a close, it's time to finish our trilogy of Italian frozen desserts. We have already explored the delights of gelato and sorbetto, and now it's time to finish our trilogy with a post on granita, a kind of country cousin to the first two. Most commonly made with coffee or lemon juice, granita is a kind of rustic sorbetto, easy to make at home—no ice cream maker is needed—and has a coarser, more crystalline texture.

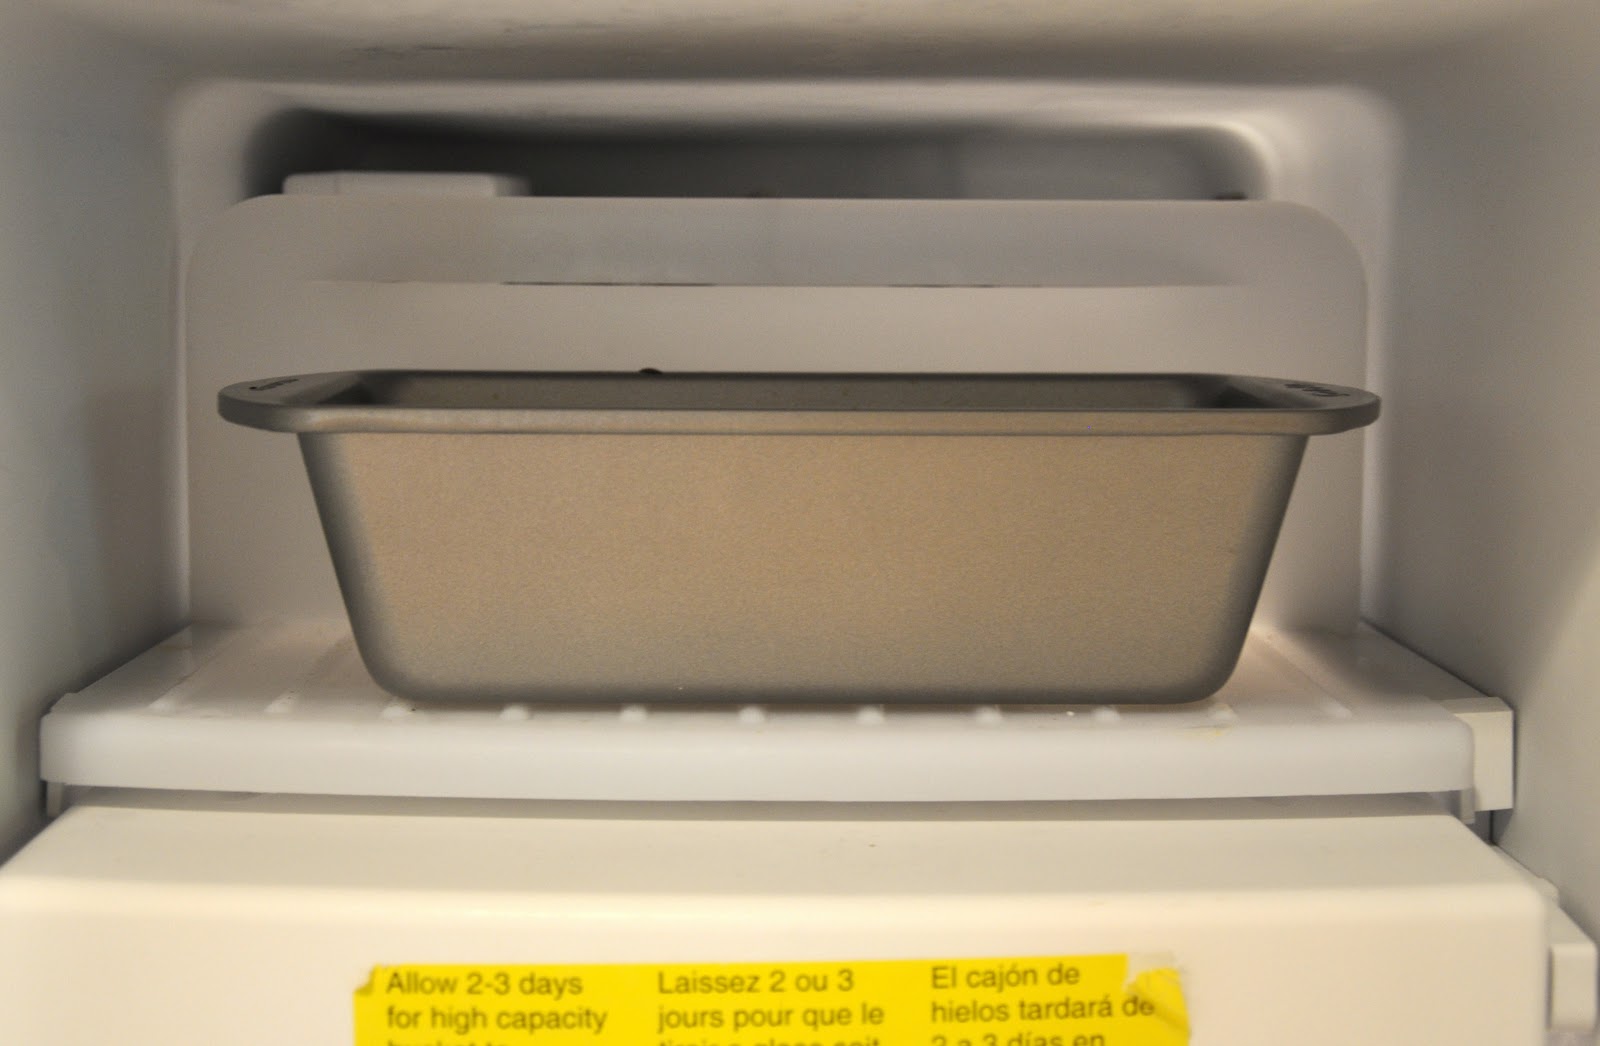
First, find yourself a flat-bottomed container that can go into the freezer. Most traditional recipes call for using an ice cube tray—but that was back in the days when ice cube trays were all made of stainless steel with removable dividers. Nowadays, a metal loaf pan will do the trick.

Now make some very strong espresso coffee. If you are using an espresso machine, you can simply brew your coffee directly into the loaf pan, like so:
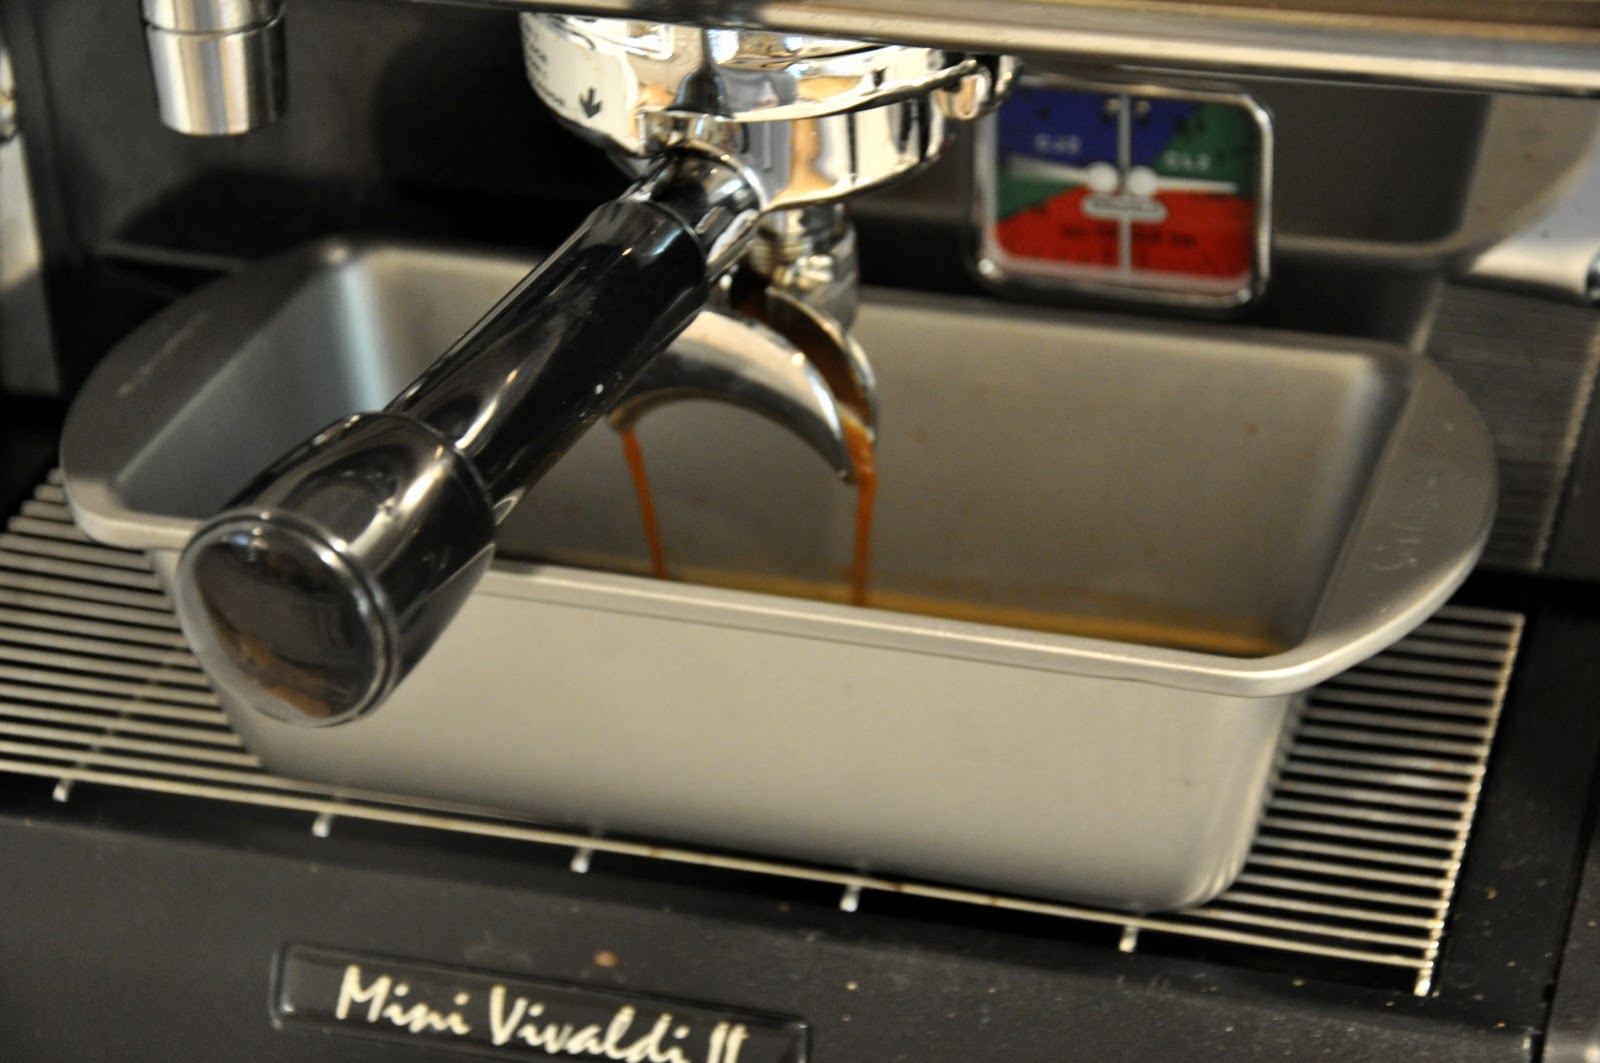
 Make a few shots, at least one per person. Then mix in simple sugar syrup (see my post on sorbetto for step-by-step instructions) to taste—I usually just add a bit at a time, tasting until I reach the desired degree of sweetness. Personally, I like my granita (as I like my coffee) semi-sweet, but you will need at least some sugar syrup, not just for taste but also because it produces a smoother, softer texture than plain coffee, which would simply turn to dark colored ice if frozen by itself. Let the coffee and syrup mixture cool completely, then place it in the freezer.
 
After about 30-45 minutes, check on the granita. Depending on how much you are making, there may be little or no change the first time you check, but if you see bits of frozen crust forming, stir the mixture with a wooden spoon or spatula. Check in about 30 minutes later, by which time it is likely that things will have developed. Time to stir again:


Continue stirring the mixture every 30 minutes or so, until the granita has formed a kind of 'slush'. You want the mixture to be fairly soft but not liquid. It will have a granular texture—that is not a defect but, as mentioned above, a desired characteristic that sets granita apart from sorbetto. Total freezing time will depend on how much you are making and the size of the container; the deeper the liquid, the longer it will take for it to freeze. Count on about 1-1/2 to 2 hours if you are making more than one or two servings.


Serve as is or—if you are feeling indulgent—with a nice dollop of whipped cream as pictured above. Granita can be served as a dessert, but I particularly like it as a sweet 'snack' in the afternoon. The Sicilians—who are renowned for their granite—even have it for breakfast!

NOTES: Granita di limone, or lemon granita, is made exactly the same way, substituting freshly squeezed lemon juice for the espresso coffee. Although, in Rome at least, coffee and lemon are the most commonly found types of granita, there are other kinds. In Catania, for example, the favorite granita is made from almonds. Granita can also be made from fruit juice, typically orange, or puréed  fruit such as strawberry or melon.

Obviously, the success of your granita di caffè will depend on the quality of your coffee. A nice strong, freshly ground espresso coffee will make it a real treat. I am a particular fan of Pete's Coffee, a brand out of the Bay Area, but, of course, the imported Italian espresso coffees, in particular Caffè Illy, are particularly suited. Just make sure that you use the darker, "southern style" roast. And brew your espresso very strong—ristretto as they say in Italian—remembering that you will dilute the coffee a bit when you add your sugar syrup. A good granita di caffè should have an intense coffee flavor. If you don't have an espresso maker, no worries: you can, of course, use a simple 'moka' coffee pot. [NB: Look out soon for my upcoming post on making espresso and cappuccino at home…]

While gelato, sorbetto and granita are by far the most common Italian frozen desserts, they are not the only ones. In Rome it is a common sight in summer to find stands selling grattachecca, shaved iced topped with different flavored syrups. And then there are the fancy desserts like the various semifreddi, frozen moulds that make for a wonderful ending to an elegant dinner. (We'll get to those in good time but, in the meanwhile, you won't want for good eating with these three in your repertoire.)

By the way, if you are ever in Rome, you can have yourself some wonderful granita di caffè in a pleasant al fresco setting at the Café du Parc, at the end of via Marmorata, in the piazza Porta San Paolo, opposite the Piramide Cestia. Across the via Marmorata you will find the neighborhood of Testaccio, with one of the best food markets in Rome in its main square, not to mention some of the most authentic traditional Roman trattorie in town. In the center of town, the Tazza d'Oro, right by the Pantheon, also serves an excellent granita alongside their wonderful espresso and cappuccino. 

Café du Parc

Saturday, August 21, 2010

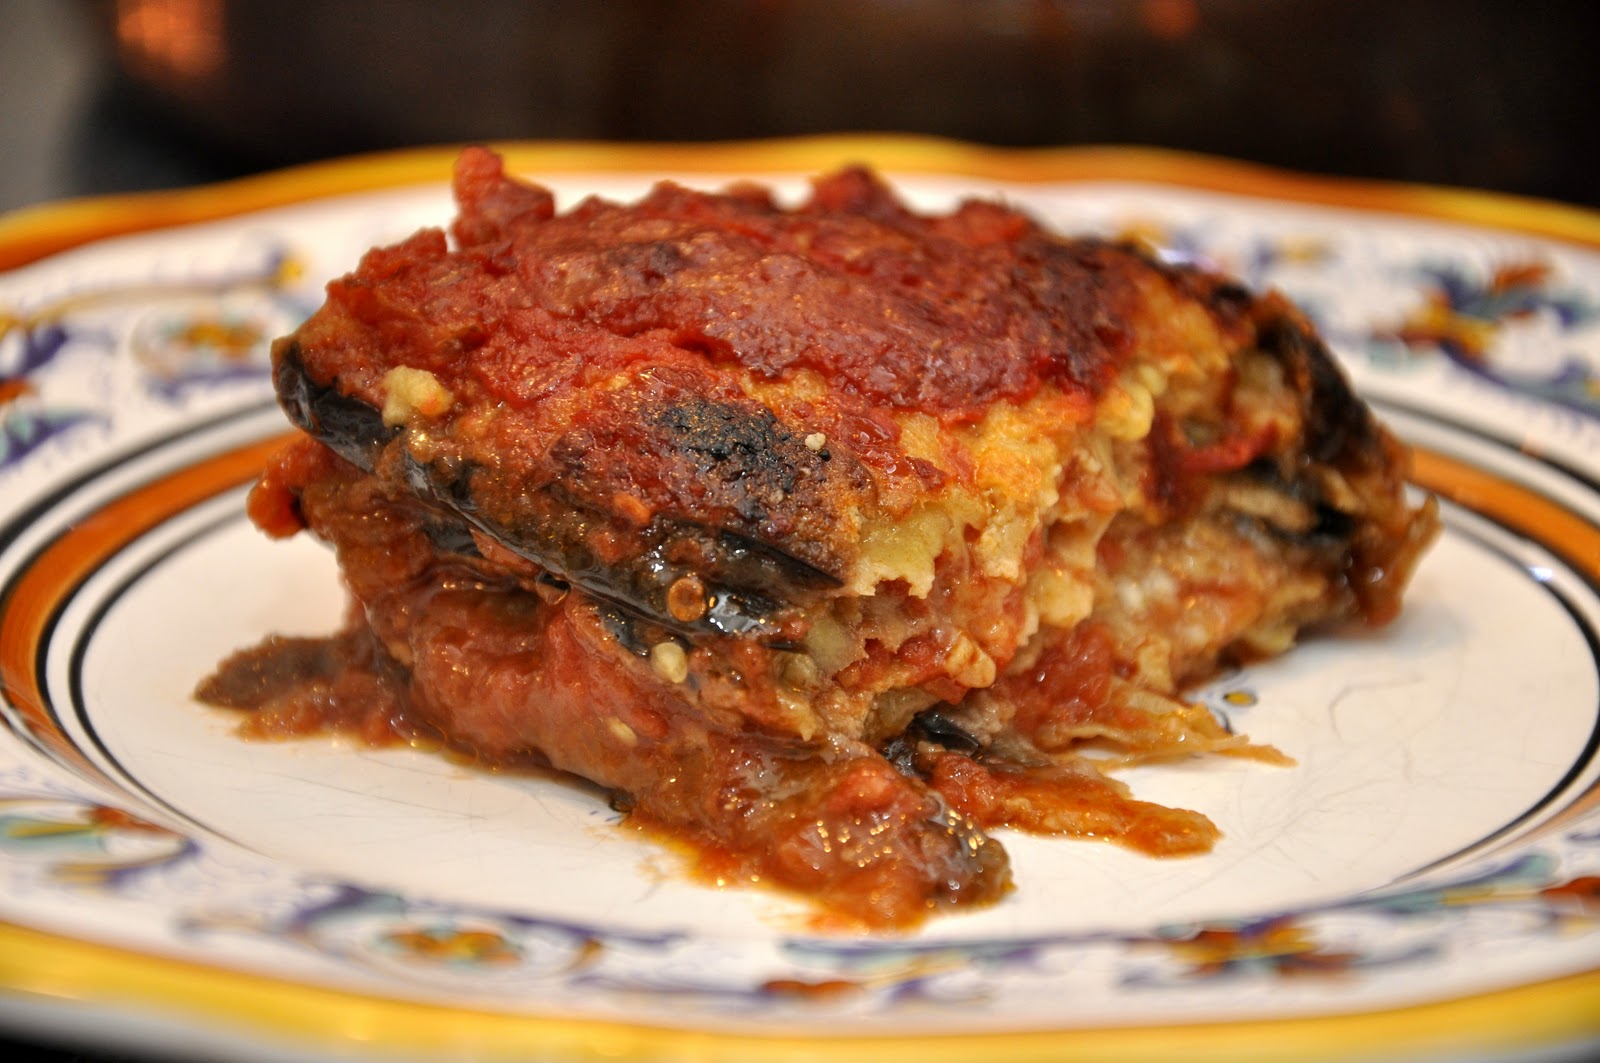
Parmigiana di melanzane


Being a lover of good food, I find it almost impossible to answer the question 'what's your favorite dish?' But if I had to, my answer would probably be eggplant parmesan--parmigiana di melanzane--the way Angelina used to make it.

This is a simple dish to make, but it involves several steps. Allow yourself a good two hours to prepare this dish. It tastes much better made ahead, so if you have the time, make it in the morning and have it for dinner or, even better, make it at your leisure the day before.

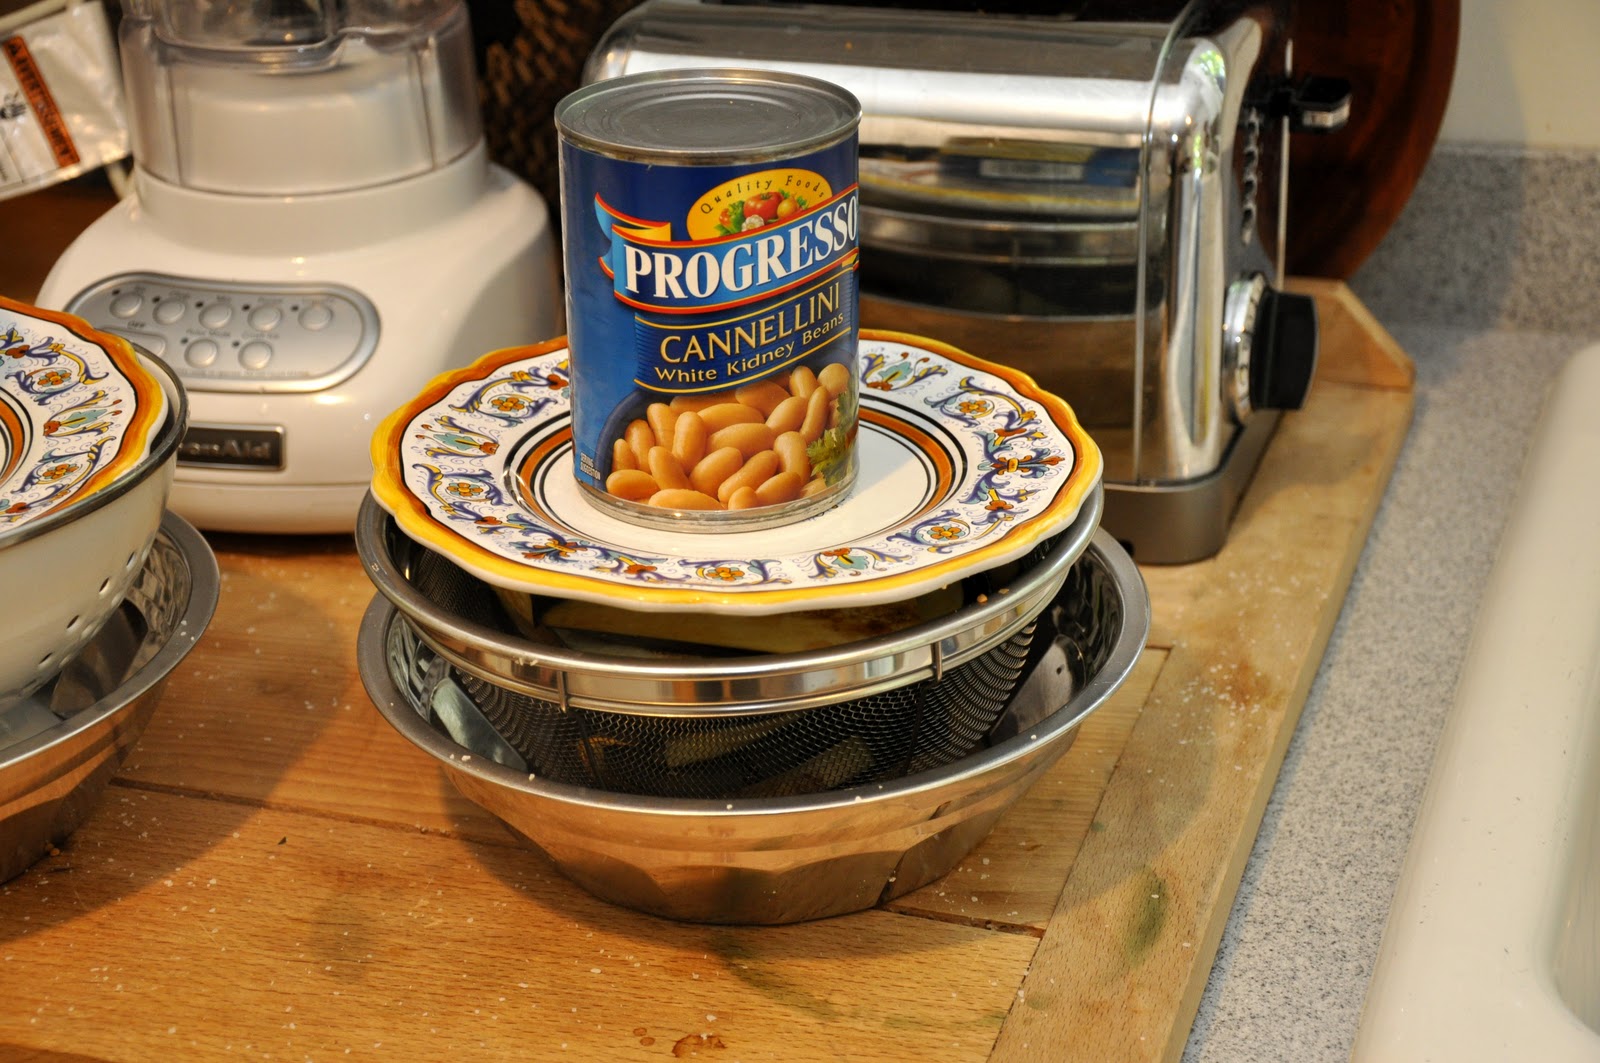
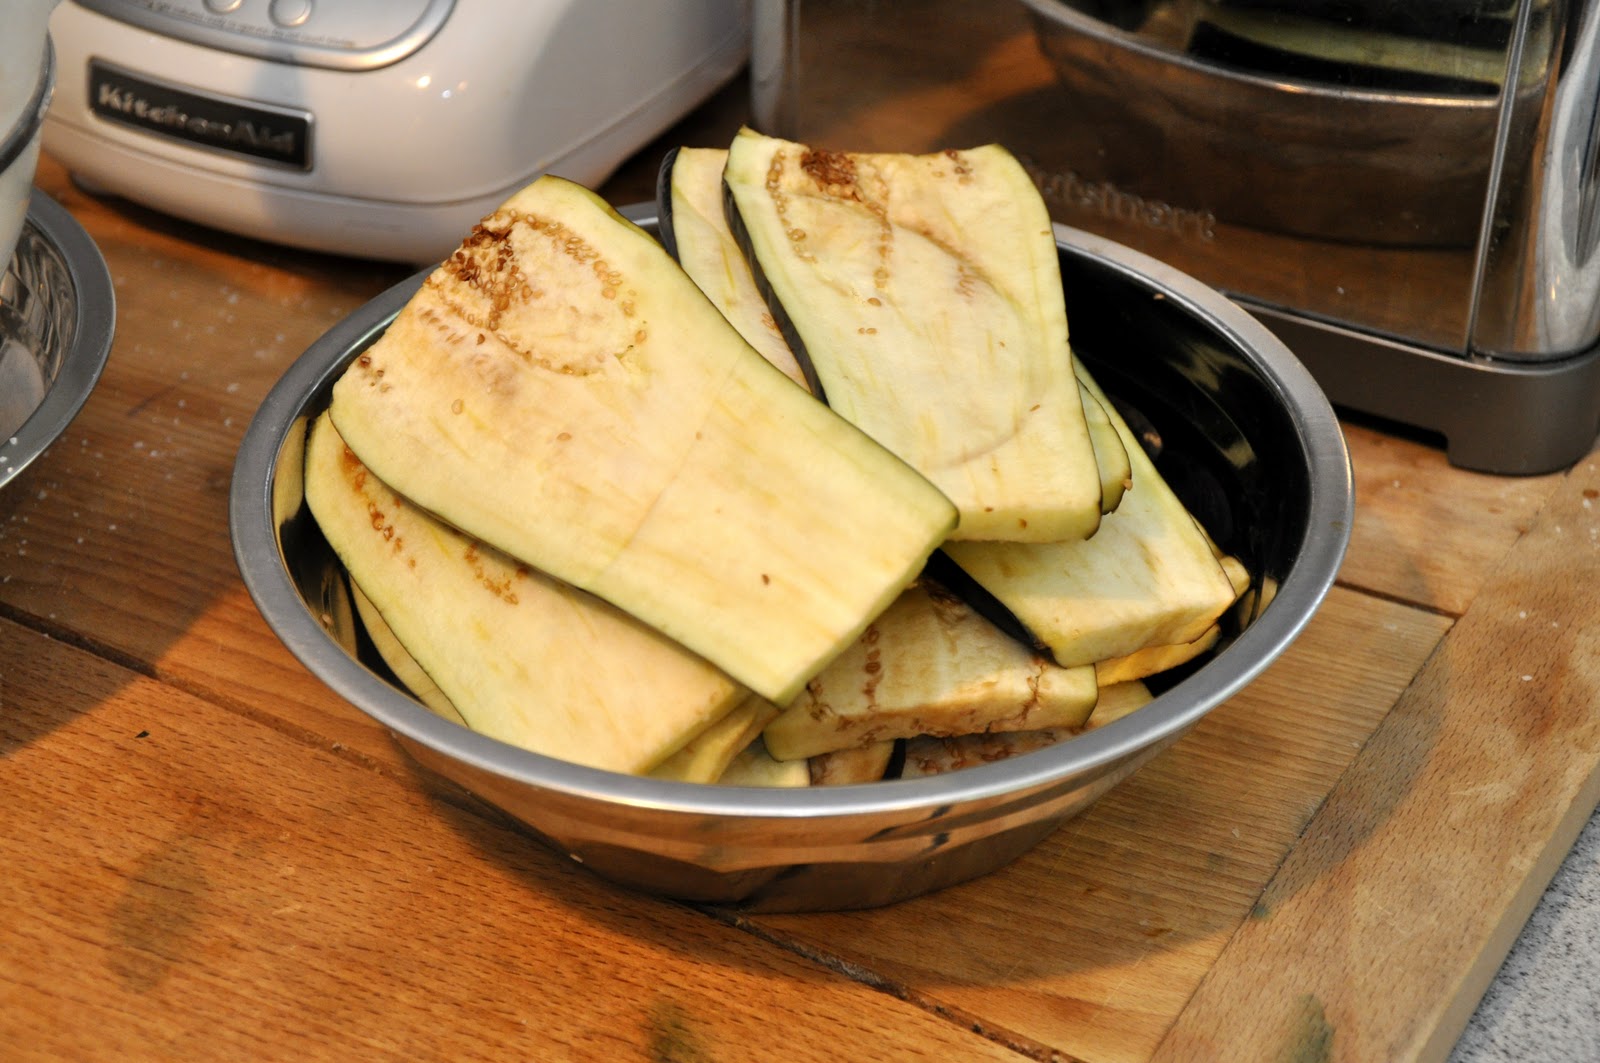
Step 1: Prepare the eggplant. You begin with eggplant, of course. For this dish, the large, purple variety is preferable; about two should do you for a good sized baking dish. You cut the eggplants into fairly thin slices. Now you should 'purge' them of their excess liquid, which can be bitter. Sprinkle the eggplant slices with salt, and then lay them in a colander laid on top of a plate. Cover the slices with a small plate on which you should place something a bit heavy like a can of beans or tomatoes. This will help press the liquid out of the eggplant. Leave them for about an hour.


You should notice a small puddle of brownish water below the colander, which you should discard, of course. Remove the slices from the colander and pat them dry.


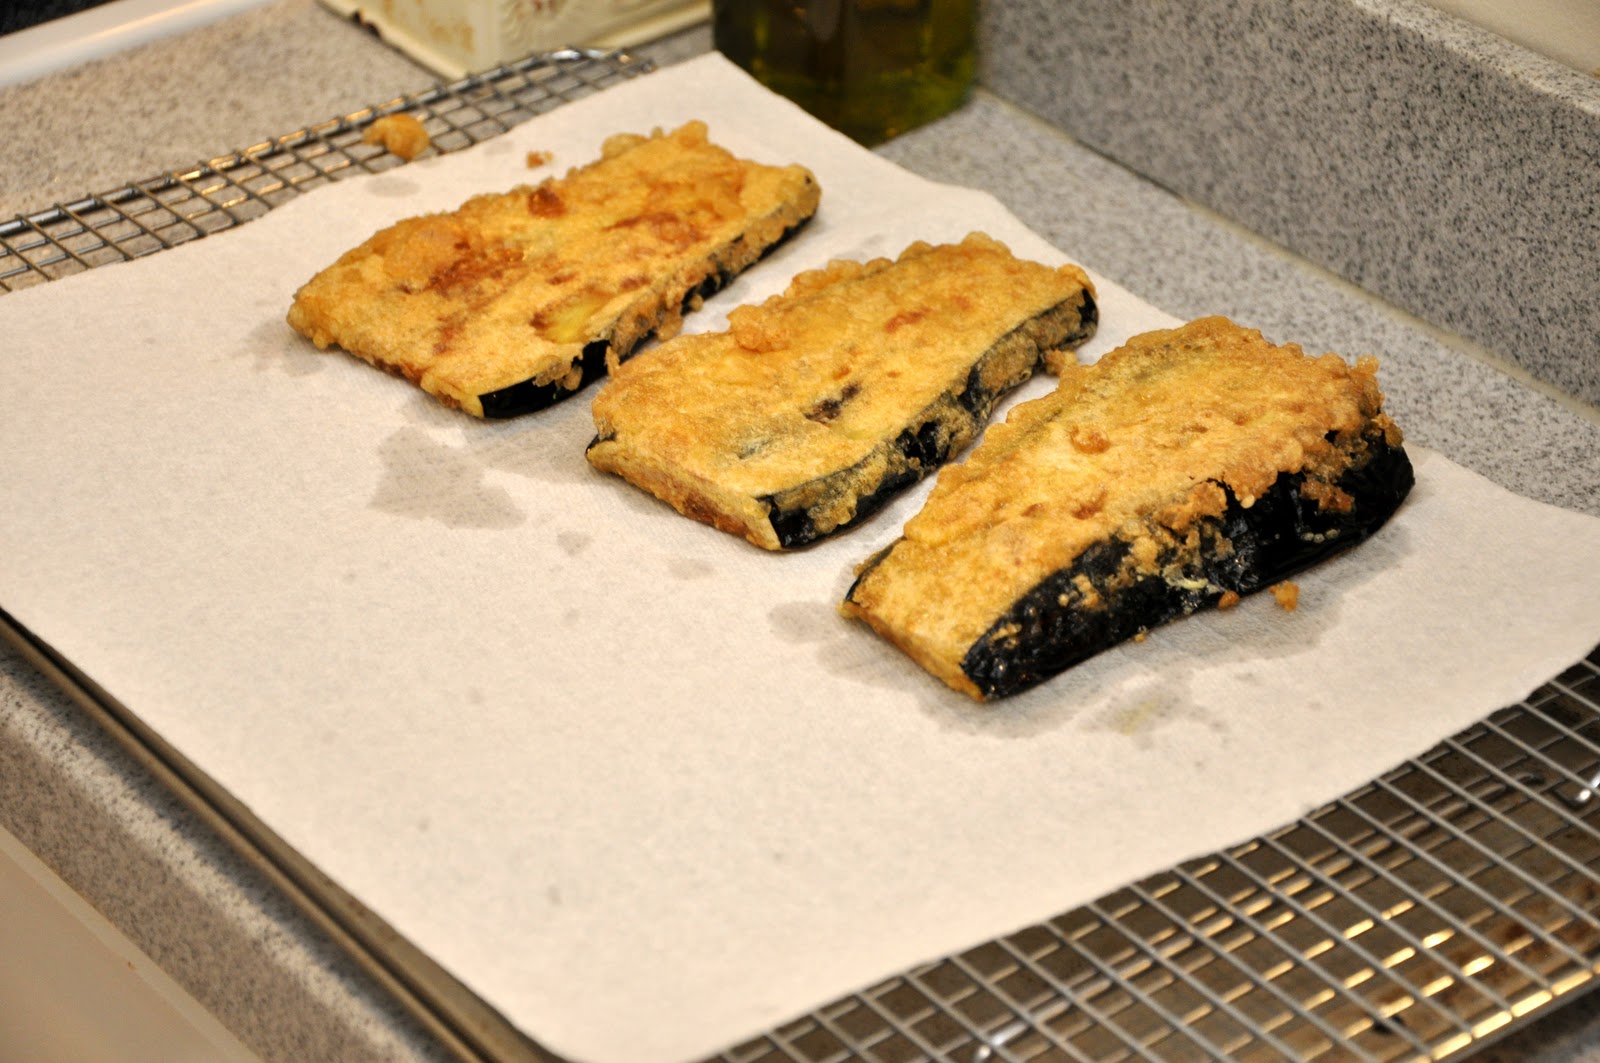
Step 2: Fry the eggplant. Now you dip the eggplant slices in flour, followed by an egg and cheese 'bath' made from beaten eggs, grated pecorino cheese, finely chopped parsley, salt and pepper. Shallow fry the eggplant slices over moderate heat until they are golden brown on the outside and tender inside.


You will need to fry the eggplant slices in batches. As each batch is done, drain and set on paper towels to absorb the excess oil as you continue with the next batch. Repeat until you're done.


Step 3: Prepare the tomato sauce. While this is going on, prepare a very light tomato sauce by combining chopped tomatoes (fresh if in season, but canned tomatoes are fine), a few leaves of fresh basil, salt, chopped garlic and just a few drops of olive oil. (Some people omit the olive oil altogether since the eggplant, even after draining, can be a bit oily.) Simmer for about 15 minutes, until the tomatoes have melted into a sauce If using canned tomatoes, add a bit of water to loosen the sauce before simmering. You will want a good amount of sauce, so be sure to make a potful--you can always any extra to dress pasta.

Step 4: Prepare the cheeses. Take a large mozzarella, preferably fresh, and slice it. Grate lots of parmesan cheese, at least a cupful (you can grate it as you assemble the dish).

First layer down...
Step 5: Assemble the dish. You are now ready to assemble the dish. In a bake-and-serve pan, place a layer of the fried eggplant slices, then a bit of the tomato sauce, then a few mozzarella slices, a bit of shredded basil (optional) and grated parmesan cheese. Season. Then add another layer of eggplant and continue until you've used up your ingredients. End with tomato sauce and parmesan. (Don't put mozzarella on top, it will brown too quickly in the oven and burn.)

Ready for the oven...


Step 6: Baking. Bake in a hot oven (400 F, 200 C) for about 30 minutes, or until the dish is bubbling hot and the top a bit brown. Don't worry if it even looks a bit 'burnt' around the edges--that's normal and, to some tastes, the best part! Let the dish cool a bit before eating, at least 15 minutes. In fact, it tastes best made ahead and reheated (just a bit) before eating. It can also be eaten at room temperature. Just don't eat it piping hot, because you will miss the full, wonderful flavors!

NOTES: A friend from Naples once told me that this version of parmigiana--made with eggplant slices dipped in egg--is typical of the interior of Campania, the region where Naples is located and of which it is the capital. In fact, that's where Angelina was from, a small mountain town near Benevento. In Naples proper, this dish is made with eggplant slices that are simply lightly floured and fried. Most modern recipes you will find follow the Neapolitan method. I've tried it that way and it makes for a lighter dish. But I still like Angelina's version best! For an even lighter dish, you can brush the eggplants with olive oil and grill them instead of frying. The result is actually very nice, but you are getting pretty far from the original flavor and texture of the classic dish. They also make this dish in Sicily (in fact, the Sicilians claim the dish is theirs-see below) but without the mozzarella cheese.

If you are pressed for time, you can skip the initial 'purging' of the eggplants. As long as the eggplants are reasonably fresh, it should not make that much difference. I sometimes skip this step myself. But be aware, there is a chance that the dish will have a bitter aftertaste. And if you want an even quicker dish, instead of a tomato sauce, you can use passata di pomodoro or crushed canned tomatoes--it will cook in the oven--a drizzle un filo d'olio over each layer.

Some recipes calls for baking the dish in a moderately slow oven and for a longer period, from 45 minutes up to an hour, raising the temperature at the very end if necessary to brown the top. The advantage of this method is that you are less likely to burn the top.

This dish can play many roles in an Italian meal. It can serve as an antipasto, as part of a buffet, as a light secondo or as a piatto unico: a single-dish meal in itself. And, to be honest, I even eat it, the morning after I make it, for breakfast!

By the way, as is typical for a popular dish with many variations, there are a good number of different stories about the origins of this dish. some of them place it in or around Naples, while say the dish originated in Sicily. Despite the name, however, it is very doubtful that this dish comes from Parma. The name may refer simply to the generous use of parmgiano cheese in the dish. Some early sources say that the parmigiani were known for making layered vegetable casseroles. The Sicilians say that the name comes from  parmiciana, which the dialect word the slots in window shutters (persiane in proper Italian) since the eggplant slices lined up in the baking dish were said to resemble said shutters.

This interesting article discusses the various claims and their relative merits. If you can read Italian, Wikipedia also has an article on the dish. Both place the probable origin to Campania and to the 18th century chef and writer Vincenzo Corrado.

My sous-chef....


Eggplant Parmesan on Foodista

Saturday, July 17, 2010

Gelato: The Basic Recipe


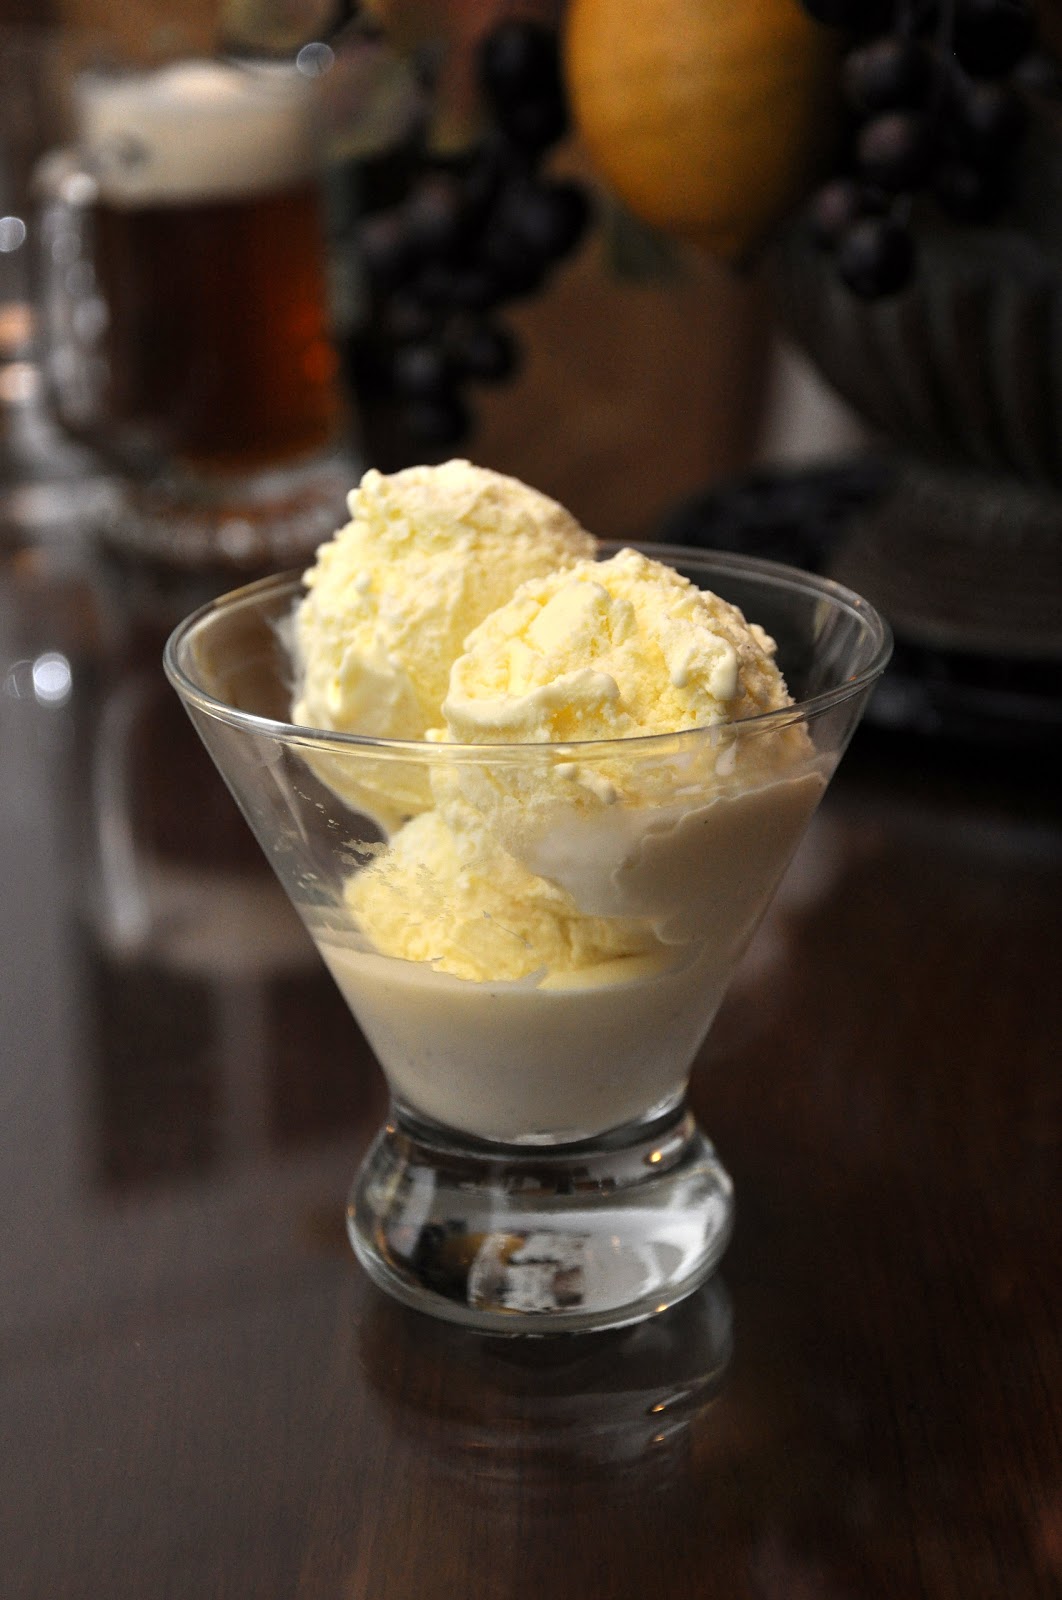
Today, let's continue our exploration of Italian frozen desserts. We have already gone over the basic recipe for the elegant sorbetto, so today we'll take a look at everyone's favorite summer dessert: ice cream!  

The Italian version of ice cream, called gelato, meaning simply 'frozen', is typified by the density of its texture and intensity of flavor. It achieves these qualities by avoiding any fillers or fluffers like whipped cream or egg whites. The basic batter for gelato is simply milk and/or cream, thickened with sugar and egg yolks.  

Here's how you make the most basic of gelati, various called gelato di crema, gelato fior di latte or, if you flavor the batter with vanilla, gelato di crema alla vaniglia. Practically all gelati begin with this basic recipe and add additional flavors, whether chocolate, pistachio or other nuts, or some sort of fruit purée. This is one case where measurements actually do make a difference, so I will actually give them upfront like a normal recipe: 


Gelato di crema


Ingredients: 

500 ml (2 cups) milk or equal parts milk and cream
150g sugar (3/4 cup)*
4 egg yolks
1 vanilla pod, split open down the side, or a piece of lemon zest (optional)

* NB: Superfine sugar is best, but regular granulated will do.
 

 Directions:  

Step 1: Pour the milk, or milk and cream, half of the sugar and, if using, the vanilla pod or lemon zest, into a saucepan and bring the milk nearly to a boil. When the very first bubbles begin to appear, take it immediately off the heat and let it cool. (If using the optional vanilla or lemon zest, you can cover the saucepan, which will slow down the cooling process and prolong the steeping process, thus drawing out more of their flavor.)


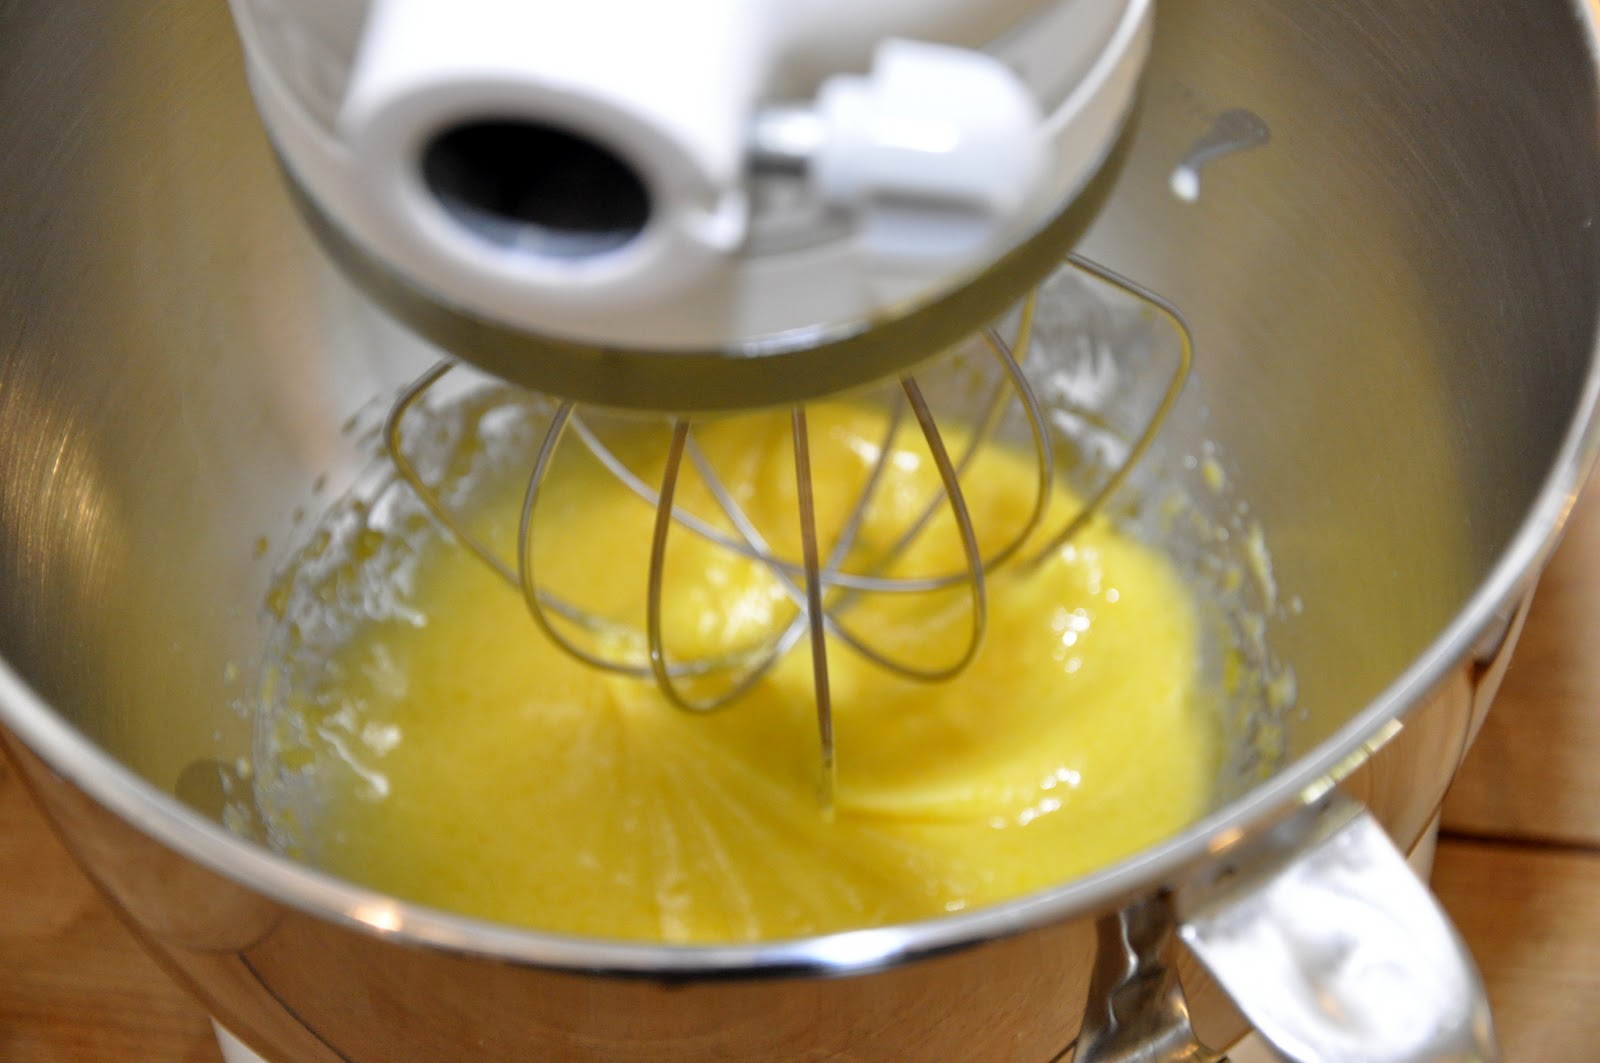
Step 2: When the milk has cooled—it need not be perfectly room temperature, but it should not be hot or it will cook the egg prematurely—put the egg yolks into an electric mixer together with the other half of the sugar. Beat at a high setting until the egg yolks and sugar have been totally combined and developed a creamy quality. You will be able to see ripples as the mixer turns:

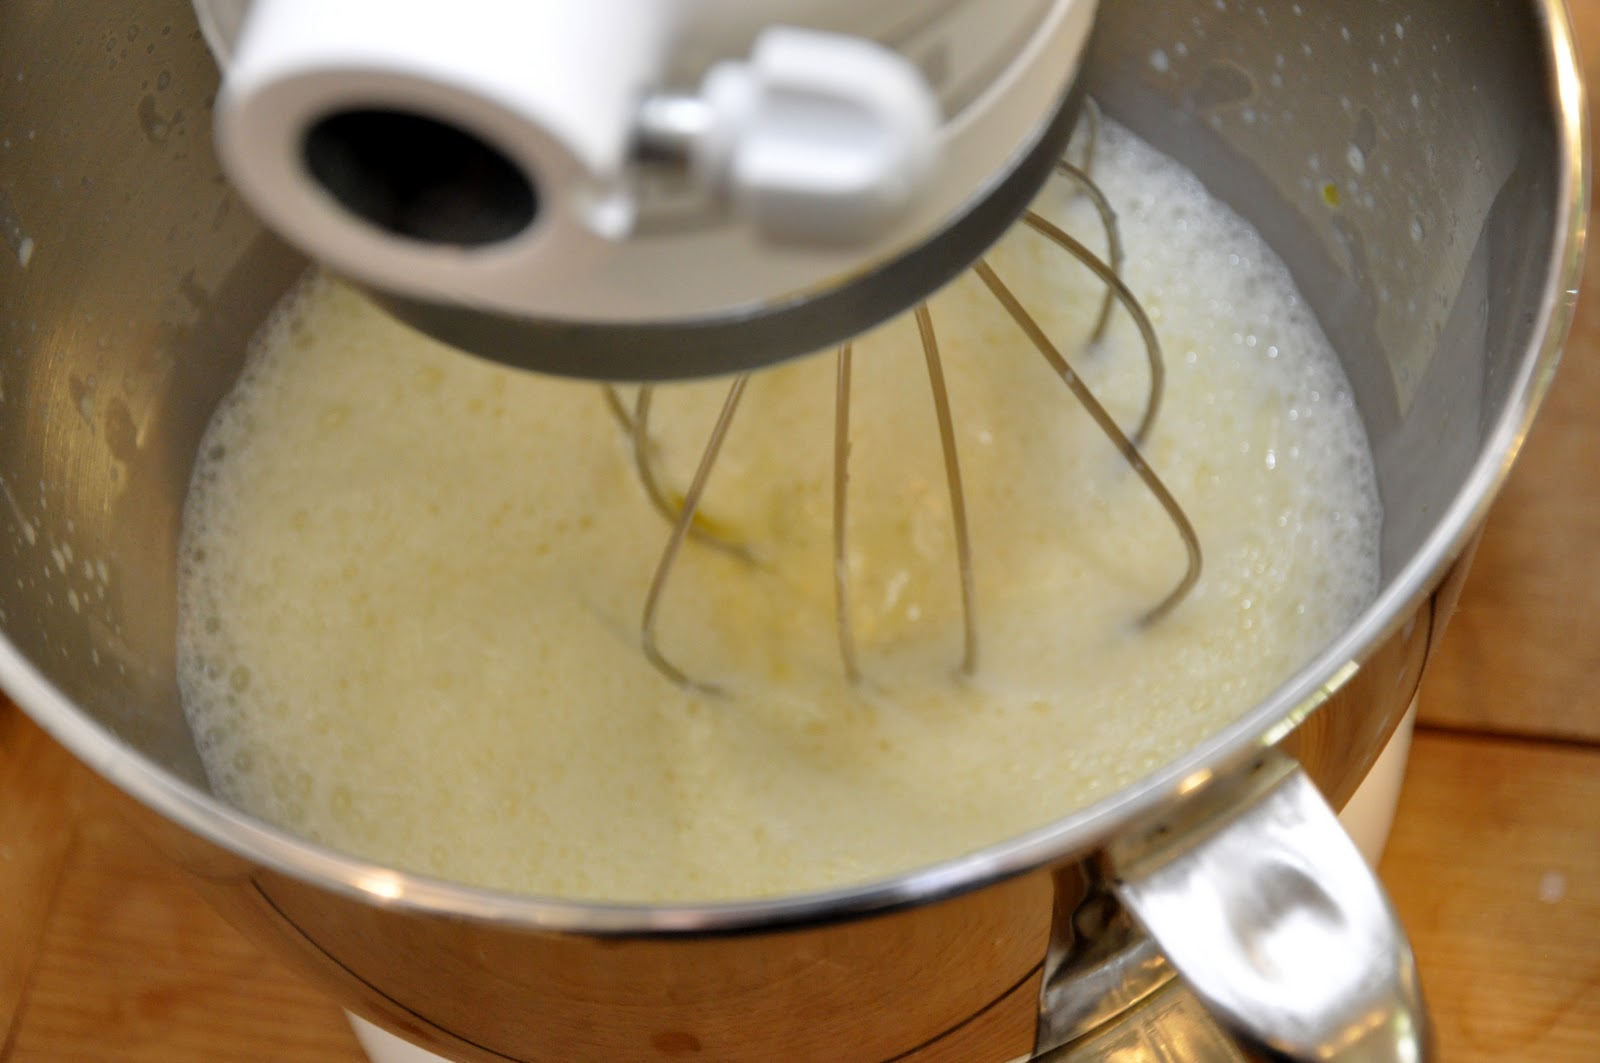
Step 3: Lower the setting and slowly add your cooled milk (from which you will have removed the vanilla or lemon zest if using) in a steady stream. Mix until everything is well amalgamated.


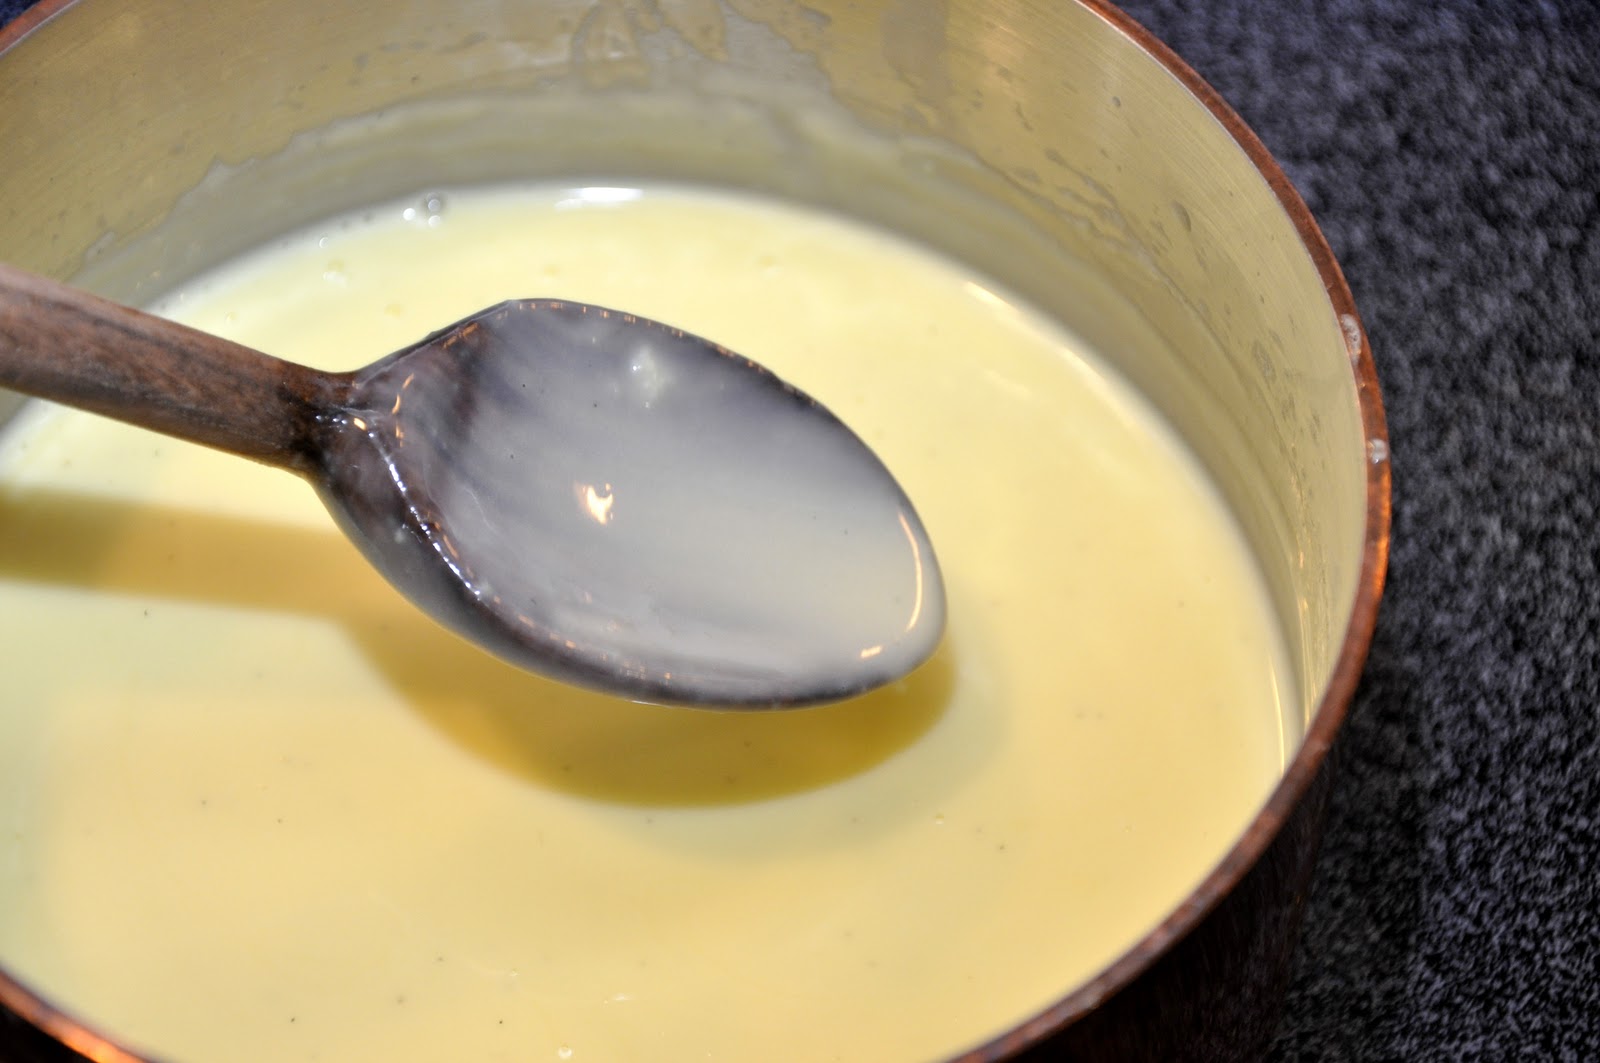
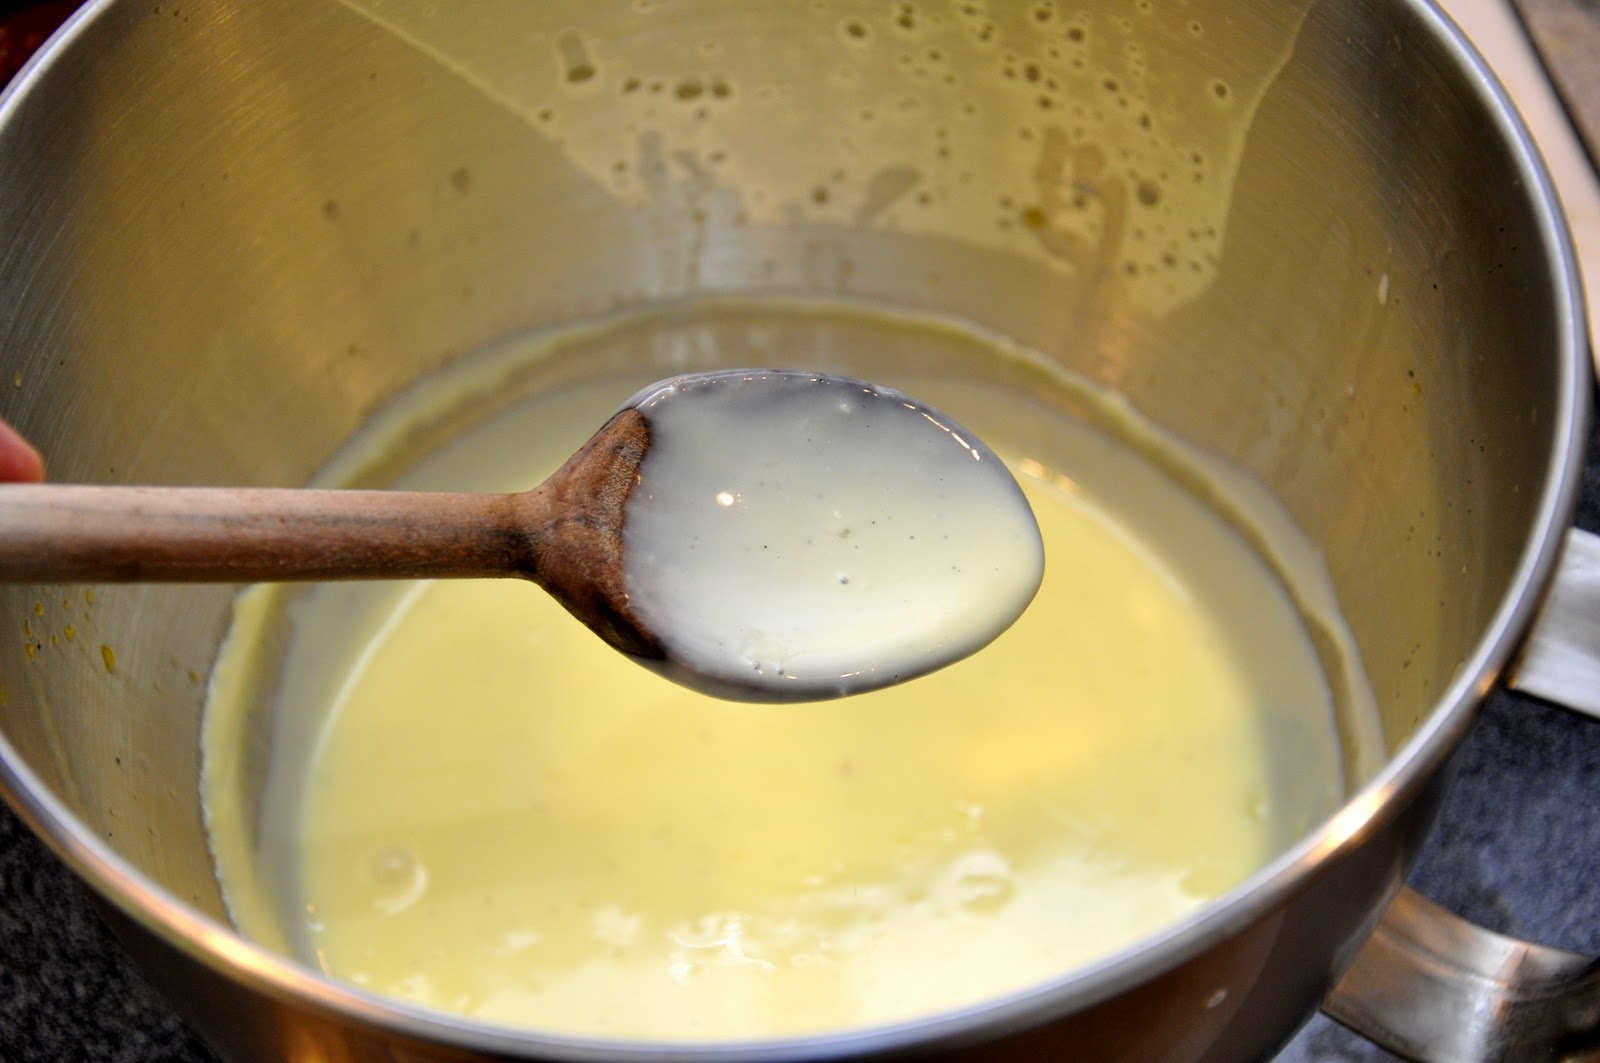
Step 4: Transfer the mixture back into the saucepan. Now begins the one slightly tricky part of the process: you want to heat the mixture gently until the eggs thicken it into a thin custard—thick enough to coat a spoon lightly—but not so much that the egg curdles. Many recipes tell you to use a bagnomaria or bain-marie technique, which is to say that you place the saucepan with the mixture over a saucepan of simmering water, which 'softens' the heat. But I find this precaution is not really needed. If you are attentive, increasing the heat very gradually from low to medium or medium-high, stirring constantly until you begin to 'feel' the mixture beginning to thicken—you will notice slightly more resistance to the movement of your spoon or whisk—and then lowering the heat immediately to low, you can avoid disaster. Above all, never let the mixture reach the boiling point or all will be lost. As an extra precaution, you can keep a bit of cold milk or cream at the ready, and add just a bit to the saucepan if you feel that the mixture has gotten too hot. The truth is, it just takes a little practice and attention. After a few tries, the procedure will become second-nature. 


Step 5: Once the mixture has thickened nicely, remove it from the heat, pour it into a bowl (I just use the mixer bowl) and chill the mixture in the fridge. Some recipes will tell you to pass the mixture throw a sieve before chilling, to remove the vanilla seeds and any possible bits of coagulated egg, but I usually skip this step too. I don't mind the seeds—in fact, I rather like them—and if you are careful about the previous step, you should not have any coagulated egg to worry about. This will take at about an hour. Stir from time to time to prevent a film from forming on the surface of the mixture. When chilled, you will notice that the batter will have thickened even more. 


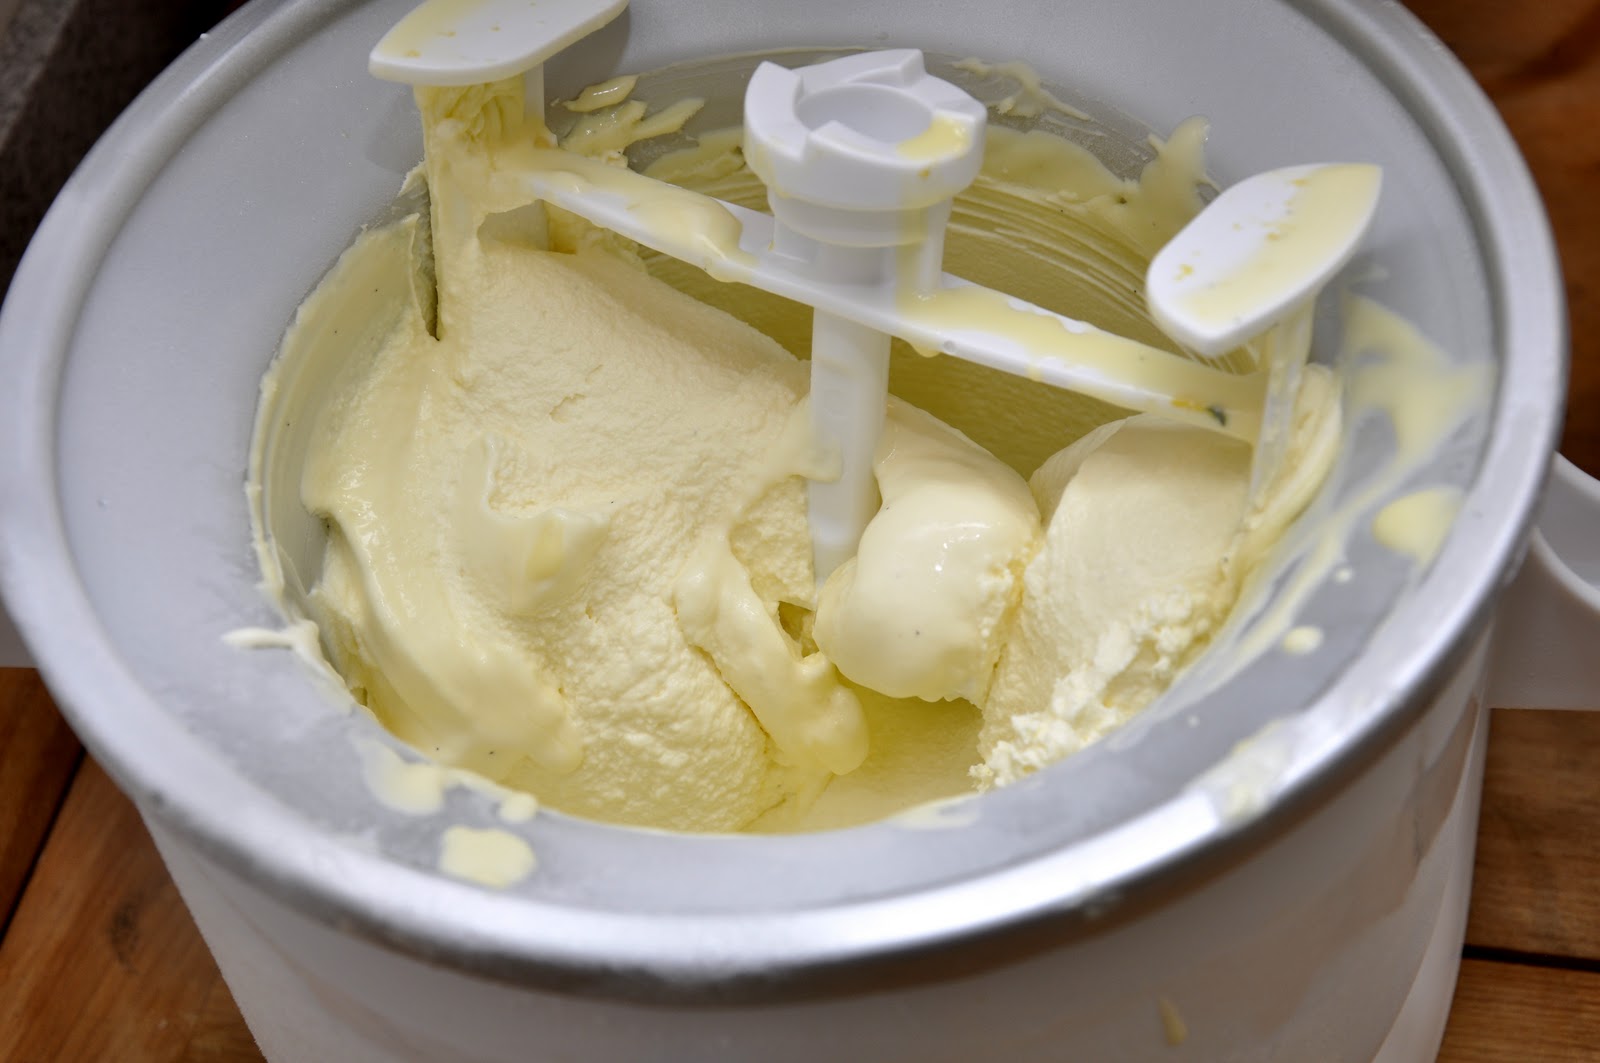
Step 6: Pour the batter into an ice cream maker and proceed to churn per the instructions that came with the machine. Typically, you will churn the batter for 20-30 minutes, which results in a 'soft serve' texture. If you want a firmer gelato, freeze it for an hour or two before serving. If you are keeping it in the freezer for a longer time (gelato will keep for quite a while in the freezer) then remove it from the freezer about 15 minutes or so before serving, as it hardens further over time, and the texture of gelato can be firm but never hard.


NOTES: So this is your 'mother' recipe. It is perfectly delicious as it is, served plain (as pictured above). It can also be served with berries on top:


Other nice toppings include powdered cocoa, melted dark chocolate or even a bit of best-quality balsamic vinegar--but only the very best, well-aged (and very expensive) kind, which has a wonderfully mellow flavor, almost like a fine port. 

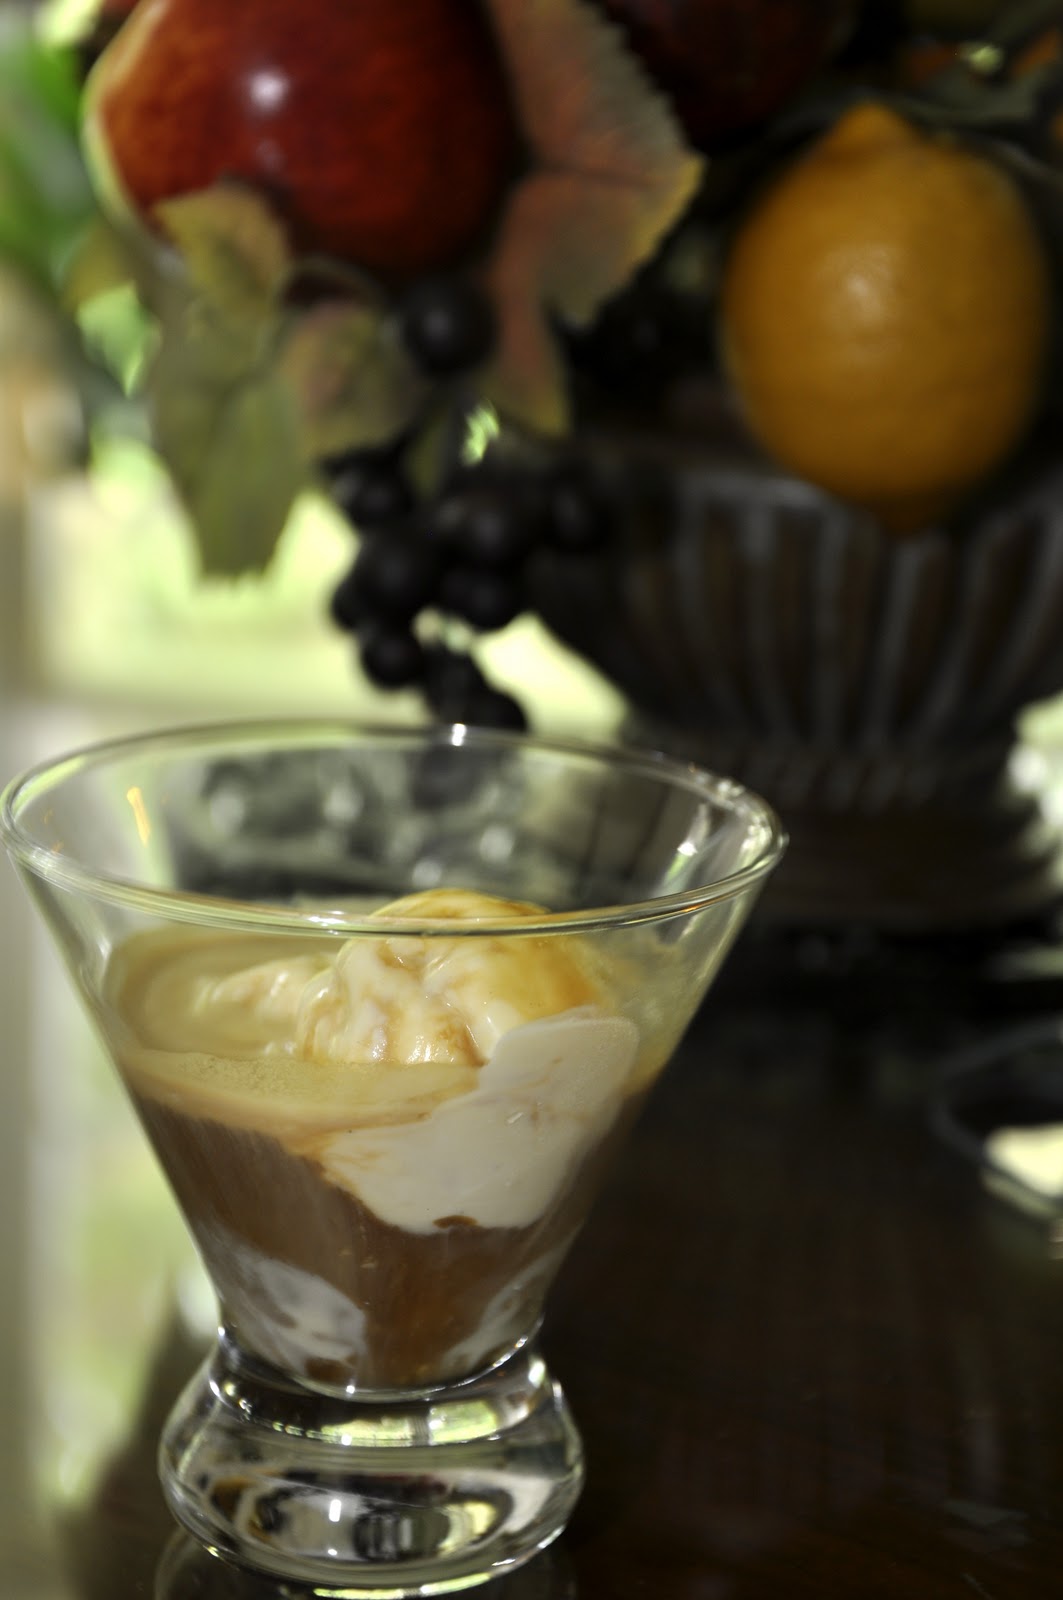
One of the most exquisite ways to serve gelato di crema is called affogato al caffè, literally 'drowning' in strong espresso coffee, which has been allowed to cool down a bit and, if you like, laced with rum, cognac, Cointreau or other liqueur of your choice:


An affogato is sometimes served with some savoiardi ('lady fingers') crumbled and moistened with the same liqueur, at the bottom of your ice cream bowl or cup. You can also top it with some slivered almonds, crumbled walnuts, cinnamon or grated dark chocolate. Indeed, there are any number of variations you can try. But personally—and, dear reader, you must know me by now—I like it as simple as possible. 

From this mother recipe, you can also make all sorts of other kinds of gelato by adding flavorings. In the case of fruit flavors, a purée is usually folded into the chilled batter just before churning. In the case of nut flavorings (pistachio, hazelnut and coconut being the most common) they are ground finely and allowed to steep with the hot milk as indicated for the vanilla and lemon zest in the basic recipe. In any event, over time we will go over these variations in detail.

If you don't like the idea of using egg yolks, there are eggless variations: many recipes call for some stabilizer like cornstarch, agar or gelatin to thicken the batter rather than the egg yolks. In this case, add all the sugar to the saucepan together with the milk in Step 1, then add  2-3 tablespoons of cornstarch or one of the other thickeners as a slurry to the hot milk and cream until thick. You can skip steps 2-4; just allow the mixture to cool, and proceed with Steps 5 and 6. You can also avoid the egg yolk if you use fruit purée and all cream, which provides enough thickness and stability on their own. In either case, the result will no doubt be very good, but will lack the richness that the egg yolks provide. 

Don't have an ice cream maker? Well, you can make gelato without an ice cream maker by simply putting the batter in a large, covered container into the freezer. After about an hour, take the container out and mix it vigorously with a wooden spoon. Repeat the process every so often (some recipes say every 15 minutes) thereafter. By the two hour mark, your gelato should be ready to eat.

I should mention that in Italy, gelato is more often something to eat out, as a kind of snack, than a dessert to have at home. For this reason, and with a gelateria available literally around the corner from most homes, it is rather unusual for Italians to make their own gelato. But those of us not lucky enough to live there, this recipe is guaranteed to transport you to the Old Country, if only for a few blissful moments. 

Gelato on Foodista

Friday, July 16, 2010

Quick Note: Caffè Shakerato


I had my first caffè shakerato on the beach at Rimini way back sometime in the mid-90s. The black richness of espresso served cold and frothy was a relevation, and I was instantly hooked. It is by far my favorite way to drink iced coffee. 

The recipe is incredibly simple: fill a cocktail shaker halfway with ice, add a cupful of strong, freshly brewed espresso coffee and some simple syrup to taste. (For me, a tablespoon is plenty.) Shake energetically for about 30 seconds or so, to cool the coffee and develop some froth. Serve in a martini glass or champagne flute.

NOTES: As explained in this post, simple syrup is nothing more than equal parts sugar and water boiled together and cooled. Its most common use in an Italian kitchen is for making sorbetto, and I always have some on hand during the hot months of the year. But if you don't happen have any on hand and don't feel like making some, you can simply use sugar, preferably the 'superfine' variety that melts quickly. It's a perfectly acceptable substitute, but the result will not be quite as fine—besides lending some sweetness, the syrup lends a nice silky mouth feel to the drink that sugar will not. It may or may not be orthodox, but I sometimes replace the syrup with Sambuca, which adds sweetness while 'correcting' the coffee, as they say in Italian. :)

Needless to say, the quality of your caffè shakerato will depend on the quality of the espresso. I hope to blog on making espresso at home in the near future. In the meanwhile, here are three key tips: find the best coffee you can, grind it fresh and brew it strong.

The 'scene of the crime'

Sunday, July 11, 2010

Vitello tonnato


If you've been reading this blog lately you may be wondering if we've been switching themes on you. Well, it's true that summer somehow brings out the experimental side of my otherwise rather staid culinary character. But, fear not, gentle reader, Memorie di Angelina is still, first and foremost, an Italian food blog. Now that I have put your mind at ease, on to the subject at hand…

If I had to mention one dish in the Italian repertoire that epitomizes elegant summer eating, this might well be it: vitello tonnato, also called vitel tonnè in dialect, which means' tunnied veal' or simply veal in tuna sauce. More often than not, though, it is called by its Italian name in English as well. It makes for an elegant presentation, fit for an important dinner, but it is actually quite easy to make and, if made with pork or turkey rather than veal, quite inexpensive, too. 

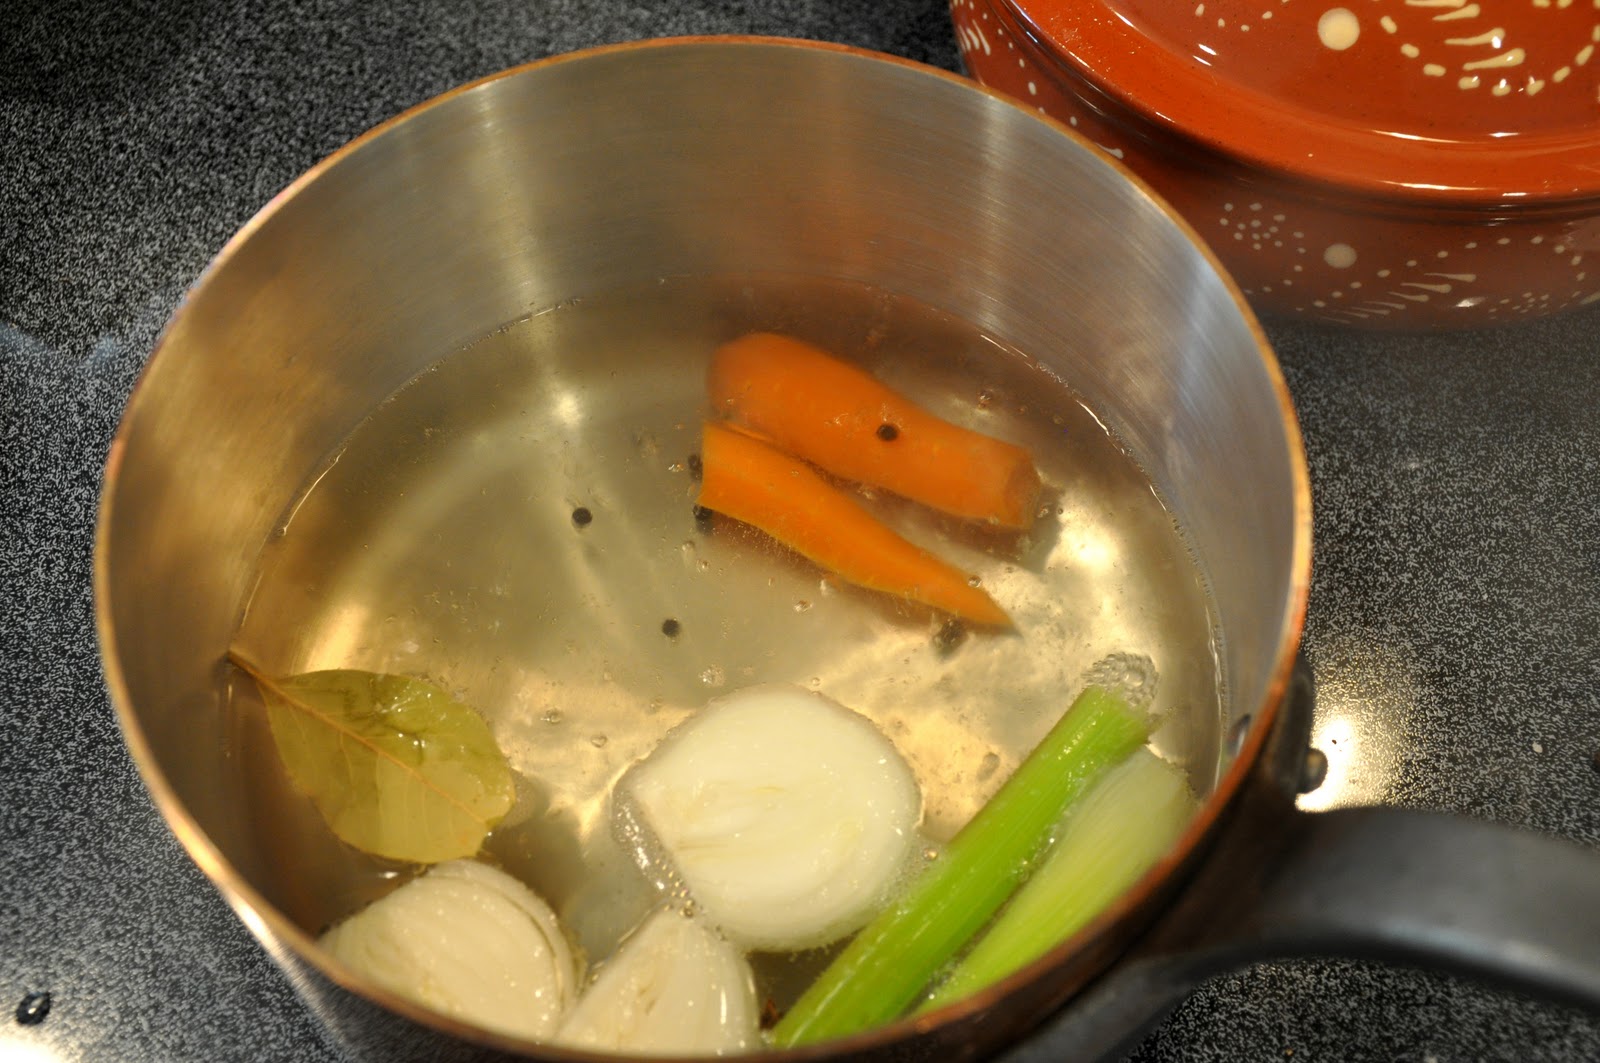
You begin with the meat. Classically speaking, this is a veal roast (see Notes below for the common cuts). But you can economize by using pork loin or—my favorite—pork tenderloin or turkey breast instead. Whichever you choose, prepare a kind of court bouillon by simmering a quartered onion, a carrot, a stick of celery, a bay leaf, a few cloves, salt and some whole peppercorns in a mixture of white wine and water, about a glassful of wine and just enough water so that the liquid will entirely cover the meat when it is placed in the pot. (To be sure, you can place the meat in the cold liquid beforehand to see if there is enough liquid.)


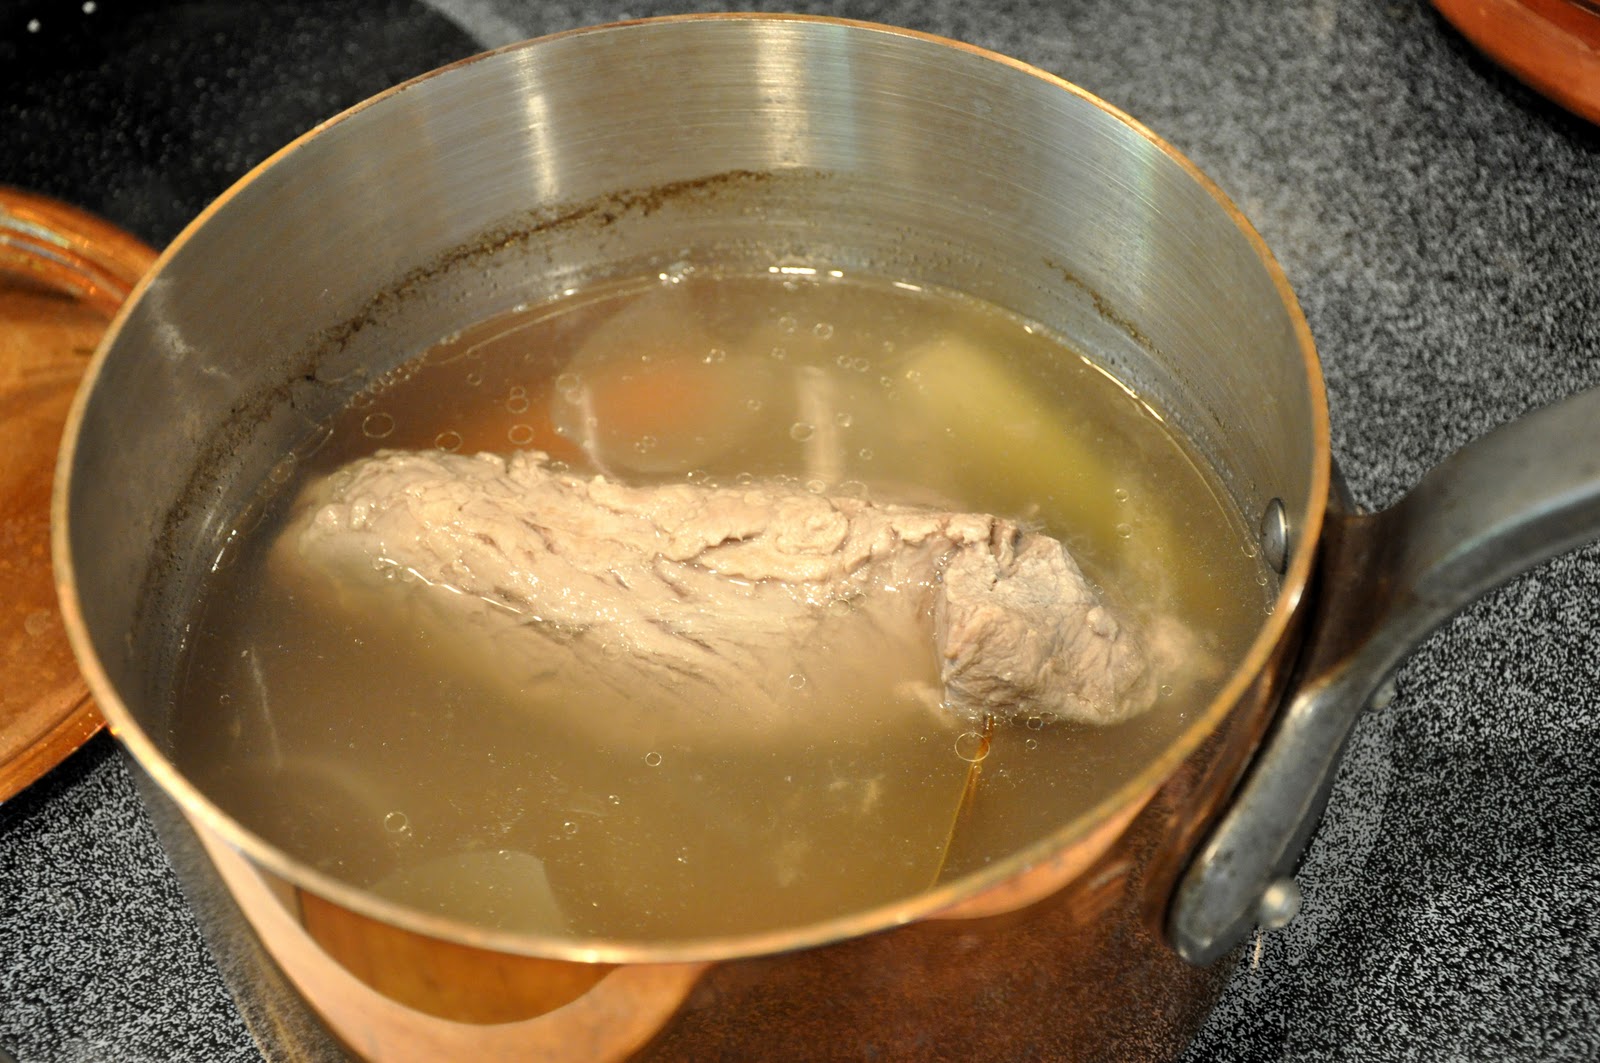
After the aromatics and liquids have simmered for about 10-15 minutes, add the meat, raising the heat if need be to keep the water simmering nicely but it should not boil, which would toughen the meat. I cover the pot partially to reduce evaporation. Simmering time will depend on the meat you use, but the classic recipes call for cooking the veal roast around 60-90 minutes, depending on the size and the cut. (The original cuts were suitable for long simmering, modern recipes often call for loin, which should be just cooked through.) Pork loin should take about 60 minutes or less, while the tenderloin, which is quite a 'skinny' piece of meat, should take no more than 20-30 minutes. Turkey breast should take about the same as pork tenderloin. Remove the pot from the heat and allow the meat to cool completely, still immersed in its cooking liquid. This should take about an hour or so, and it results in a moister and more flavorful meat. But if you are in a hurry, you can remove the meat from the liquid and place it in the fridge to cool down quickly. 


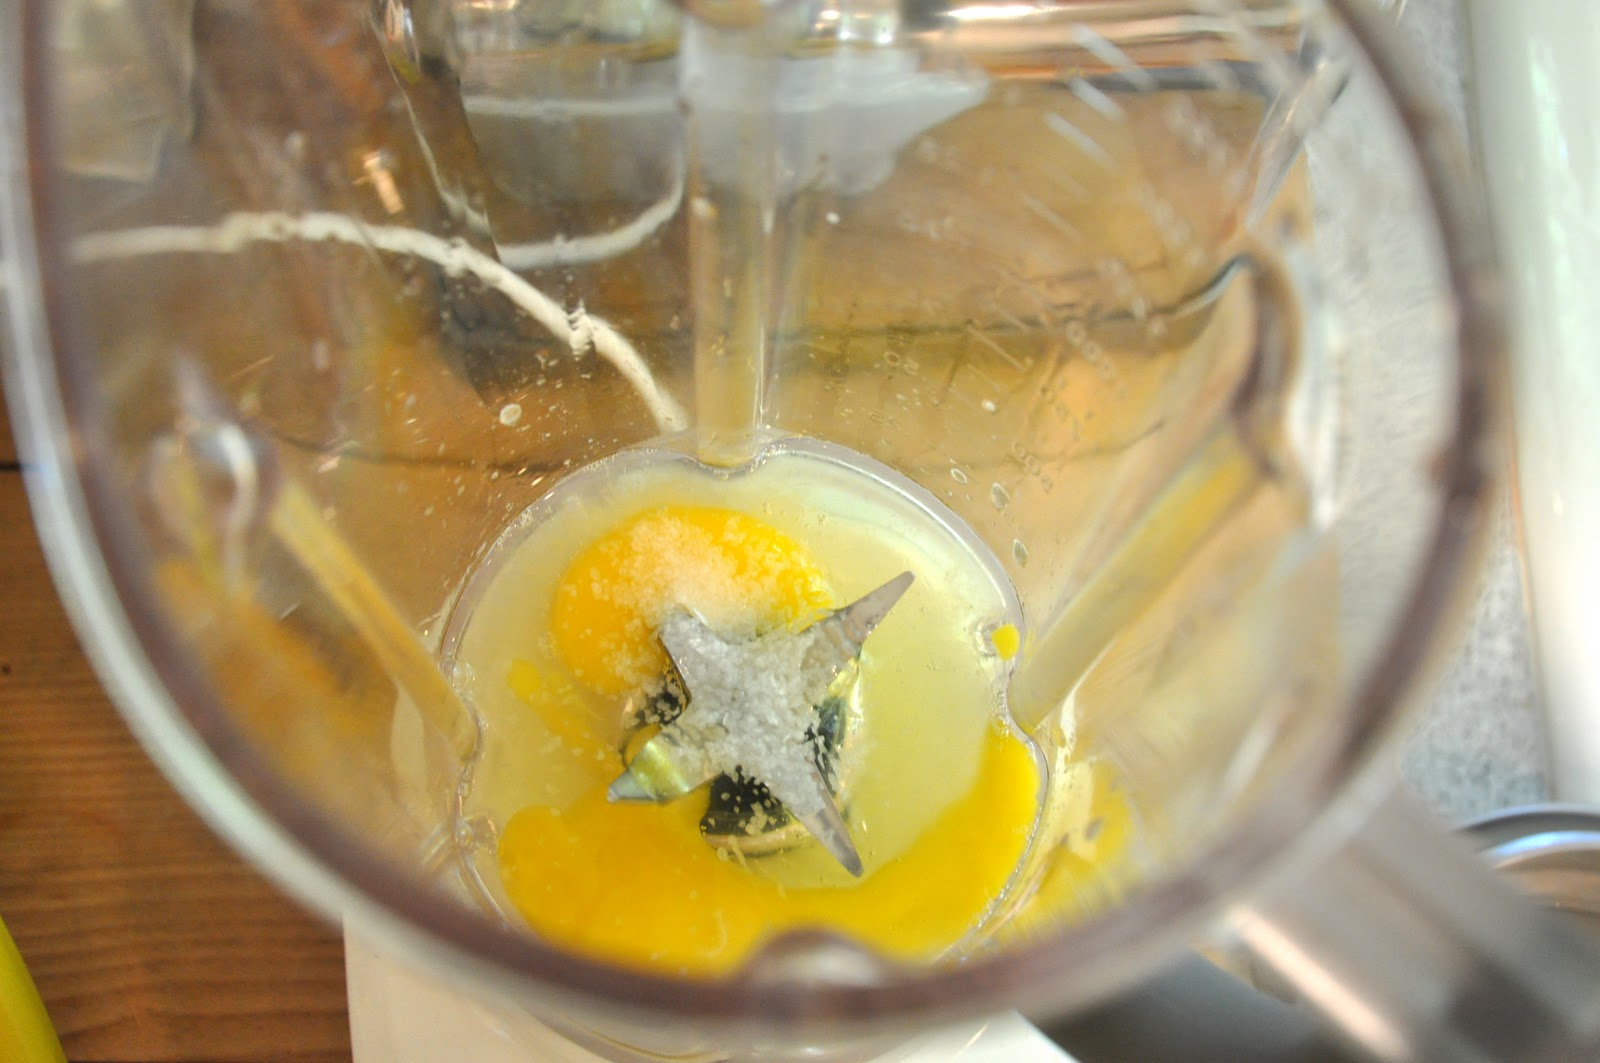
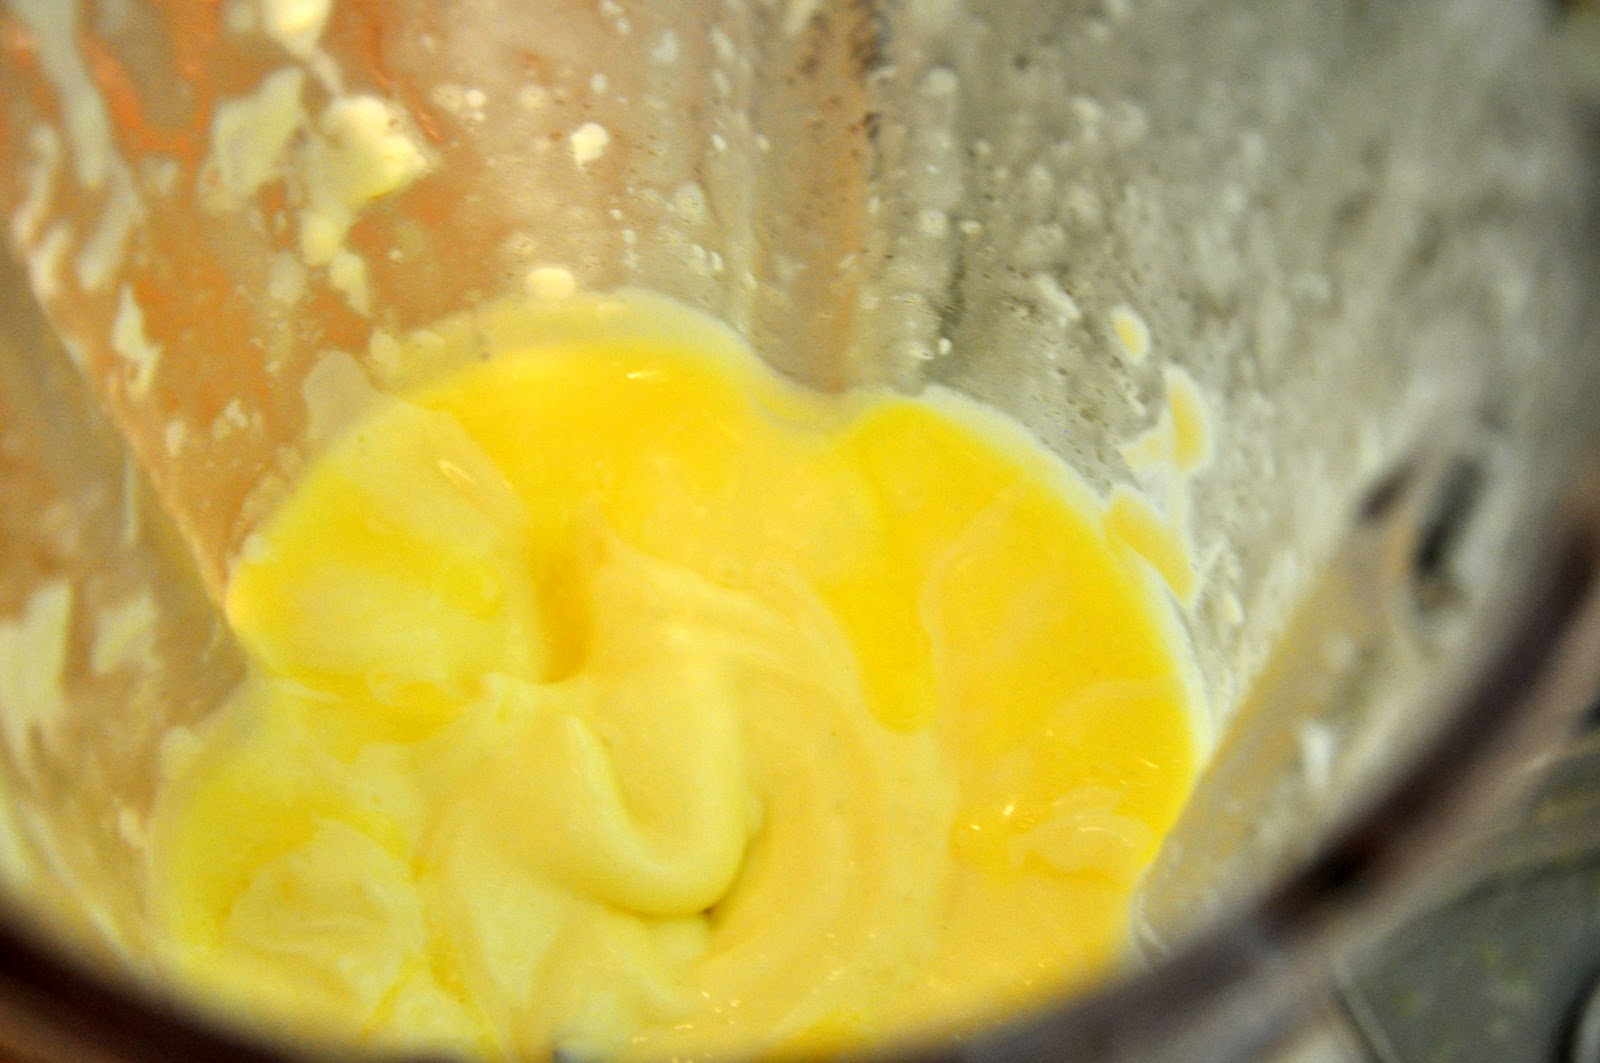
While the meat is cooling, it is time to turn to the sauce. You begin by making a mayonnaise in a blender: place two whole eggs (not just the yolks) in a blender with the juice of half a lemon and pinch of salt.


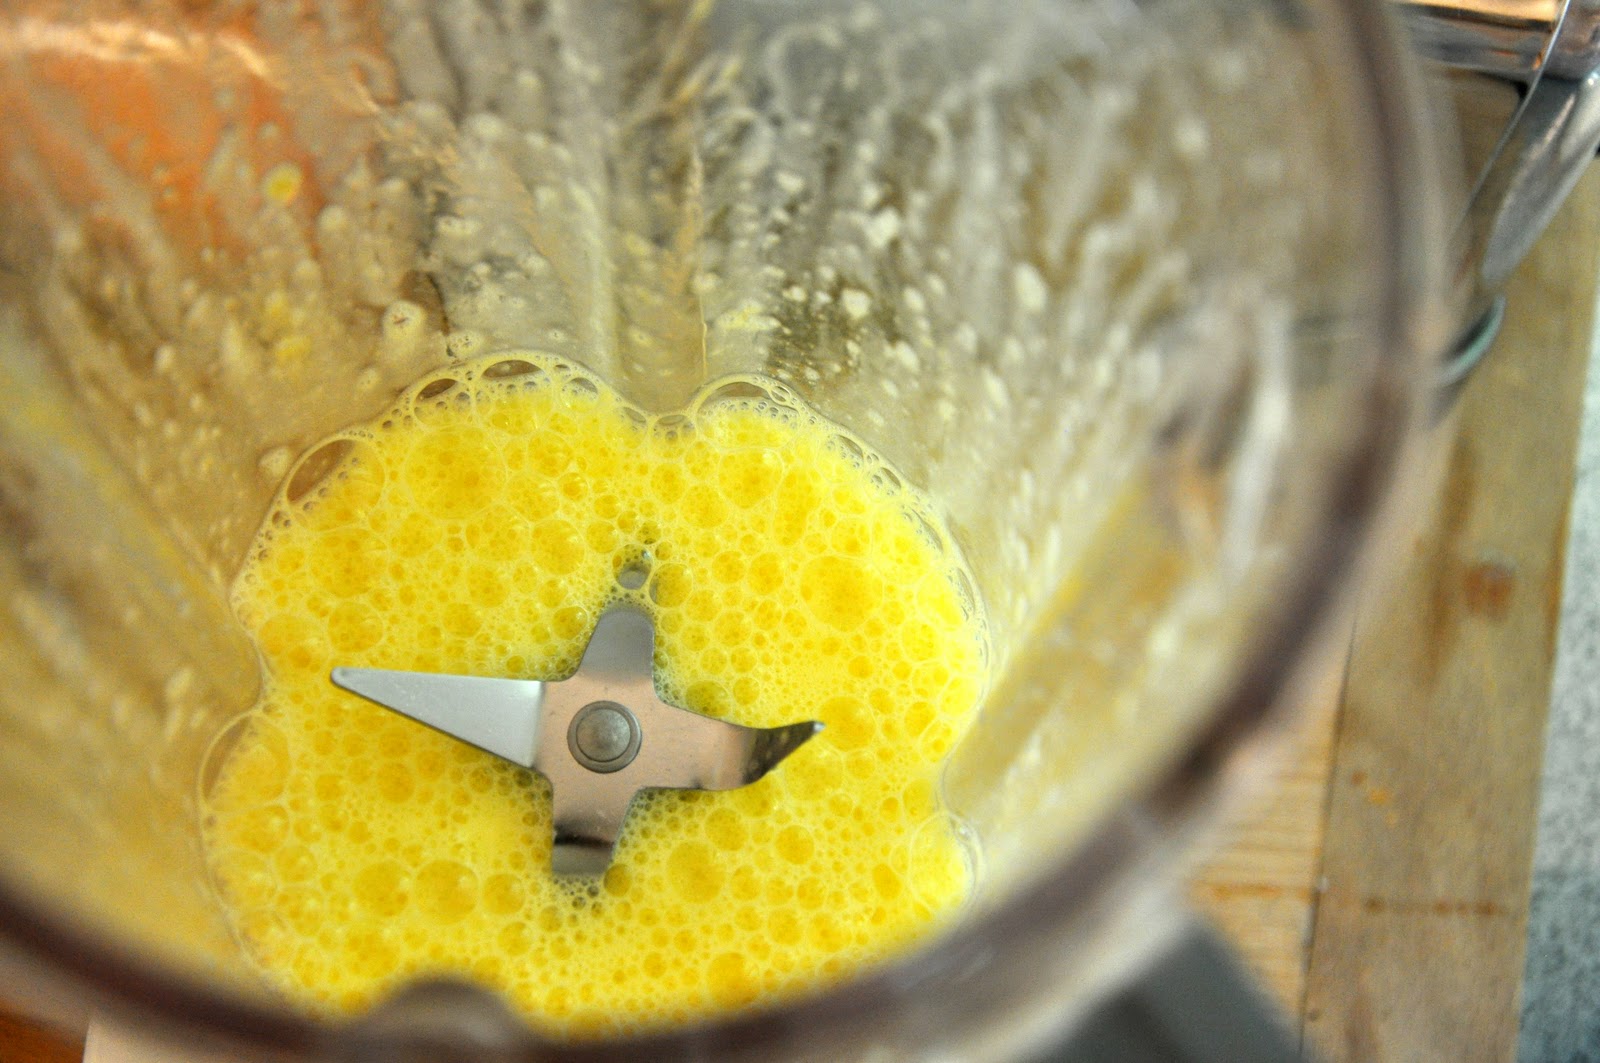
  Then turn on the blender to 'purée' and let it go for just a few seconds. The egg mixture will have turned frothy:

Now turn the blender on again and, with the little clear plastic 'window' in the lid removed, starting pouring in olive oil little in a slow but steady stream, until the eggs and oil emulsify and you get a nice, thick and creamy mayonnaise. I believe that the classic proportions call for one cup of oil per egg, but I usually 'eyeball' it and stop when the mayo is nice and thick, as pictured below.


By the way, this is one case where so called 'light' olive oil may be better than the dark green fruity kind, which would give the sauce a too strong olivey taste. Or you can use Provençale olive oil, which is more delicate. 

In any event, once your mayo is ready, add a fillet or two of anchovy, a spoonful of capers and a can of tunafish (preferably packed in olive oil). Blend again until smooth. 


Then temper the sauce with a couple of spoonfuls of the meat cooking liquid, enough to produce a pourable but still quite quick sauce. Transfer to a bowl. 

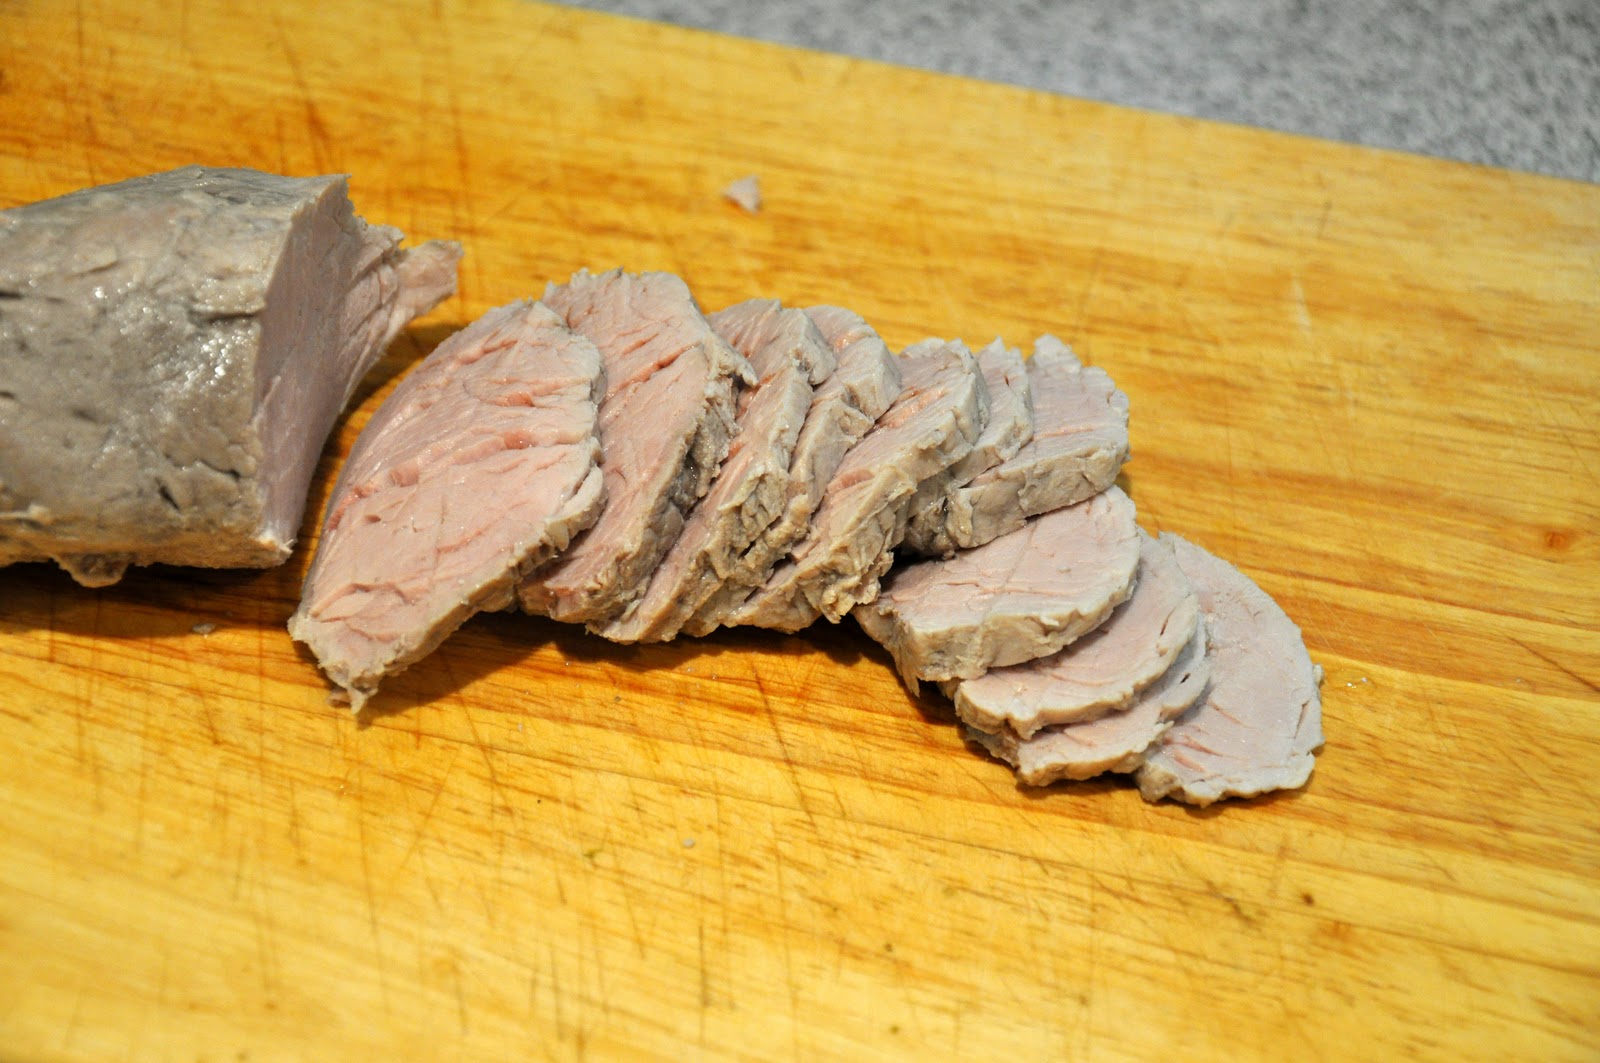
When the meat has achieved room temperature, remove it from its broth, pat it dry and place it on a cutting board. Slice it against the grain into thin slices.


Now take each slice (you'll probably need to do this by hand, otherwise use tongs) and dip in on each side in the tuna sauce and arrange the slices on a platter, each slice just slightly overlapping like so many roof tiles, in an attractive pattern. While pork tenderloin, there will be room for several rows of meat like so: 


Other cuts are larger, so you will probably need to make a single row or arrange them in a circular pattern on a large platter.
 
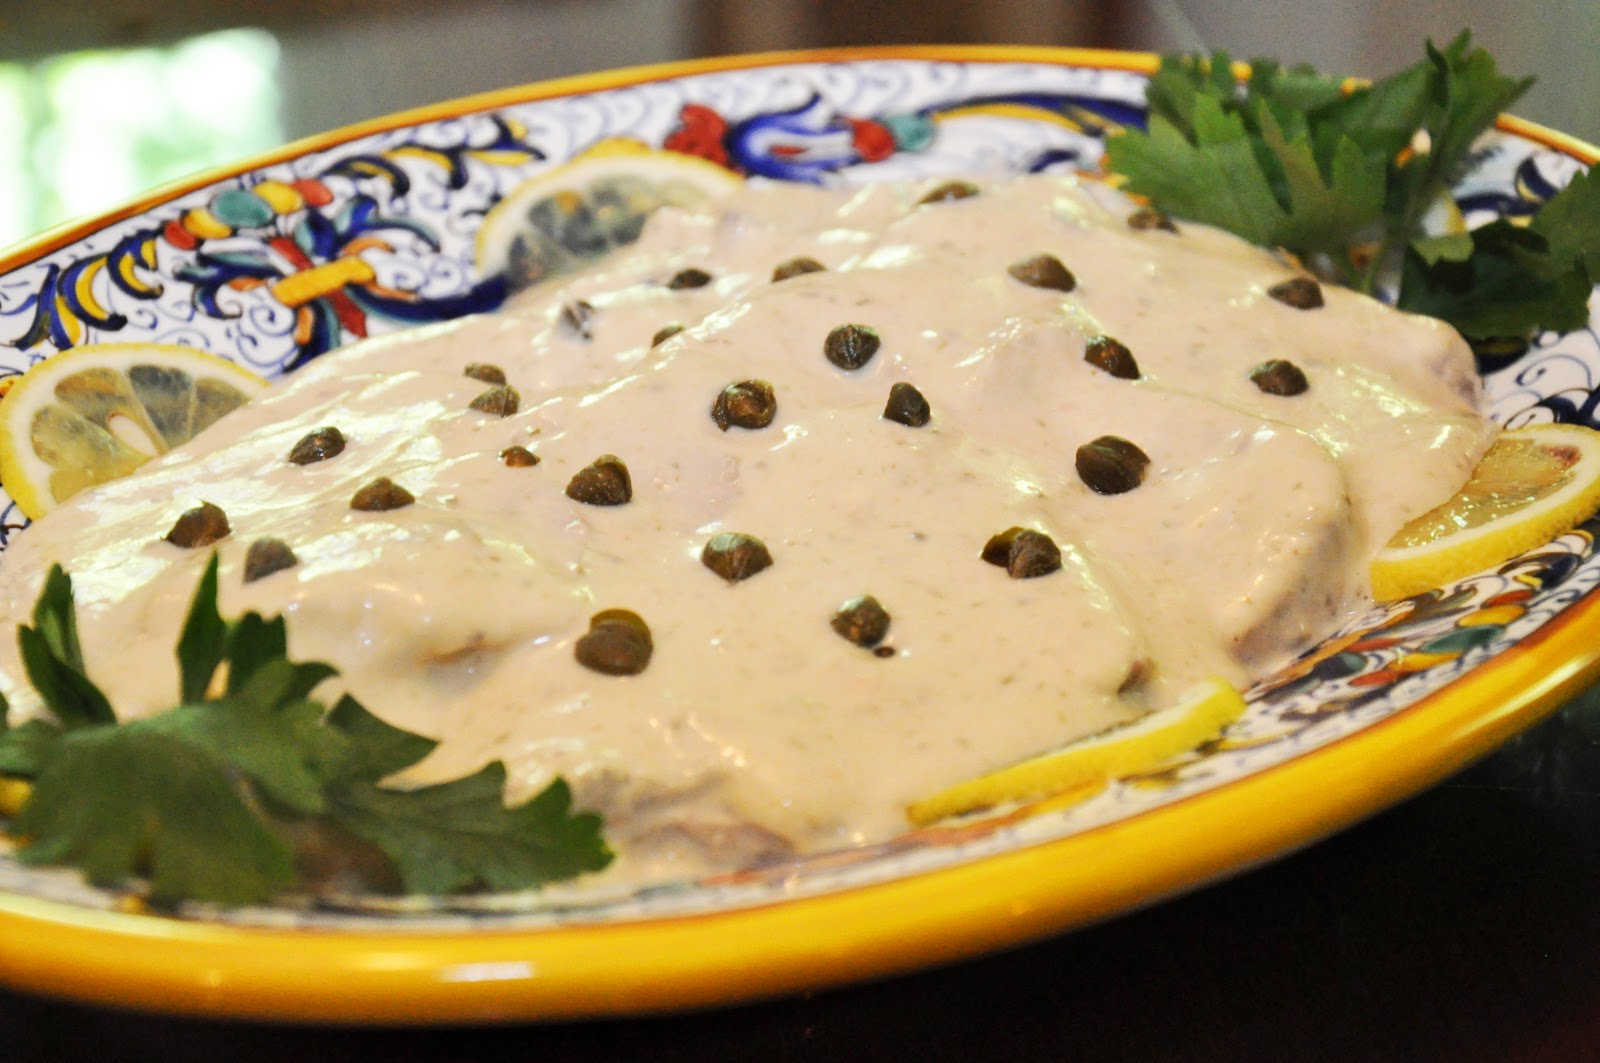
Finally, finish the dish off by pouring over the top the remaining sauce. While you can serve the dish right away, it develops better flavor if you let it sit for several hours, overnight or—in some recipes—for a few days, so the flavor of the tuna sauce penetrates the meat completely. Before you are ready to serve, garnish the dish with capers and, if you like a more elegant presentation, some thin slices of lemon around the edges and some parsley leaves. 

NOTES: If you want to save yourself the trouble or if you are worried about using raw eggs, you can use commercial mayonnaise instead of making it yourself. Just add a good two cups of mayo into the blender along with the tuna, anchovies and capers and whizz away. Or you can try the original recipe, which did not call for mayonnaise at all. Artusi, for example, calls for passing the mashed tunafish through a sieve, then adding enough olive oil and lemon juice to produce a nice creamy sauce. You can achieve a similar effect in the blender, set on 'liquify'. Artusi also suggests not throwing the cooking liquid away, but saving it for use in a risotto, which strikes me as good advice. 

You can also simplify the dish a bit by doing what most recipes call for: rather than coating each slice of vean in the sauce, line the bottom of your platter with some sauce, lay down the slices and cover them with the rest of the sauce. The slice by slice method is my own 'take' on the recipe, but one that I think pays off, as it ensures that each and every slice is enveloped in the sauce, keeping it moist and lending maximum flavor.

As mentioned, veal loin is the classic meat. And the classic cuts are either the coscia (leg), girello (top round) or magatello (eye of round), all of which allow for long simmering without drying out; modern recipes  sometimes call for the fesa (rump). In the US, these cuts of veal are not all that common, so veal loin can be substituted—and simmered for less time, more like 45-60 minutes than 60-90. These days, pork loin or turkey breast are common substitutes, even in Italy. And, if you ask me, pork tenderloin makes for a wonderful version of this dish—every bit as good, perhaps even better, than the original. 

The origins of vitello tonnato are subject to some confusion, in part because it is typical of two  adjoining but different regions of northern Italy, Lombardia and Piemonte.. According to Anna del Conte in her Gastronomy of Italy, the original version, without mayonnaise but include a bit of cream, comes from Lombardia. When it was taken up by the piemontesi, they added the mayo under French influence. On the other hand, the Oxford Companion to Italian Food has an entirely different explanation: they say that the mayonnaise version is indeed from Piemonte and the original one while the Milanese version is served hot, larded with garlic and pot roasted, the cooking liquid mixed with tunafish and thickened with a roux. And many Italians apparently believe that the dish has French origins, perhaps because of its French-sounding dialectal name, vitel tonnè, but that is apparently not the case. 

It is a summer dish par excellence that can serve as antipasto or a light secondo, as you prefer. In Lombardia, strongly associated with the summer holiday of Ferragosto on August 15, but, if you ask me, vitello tonnato is just too good to serve it only once a year.


Saturday, July 10, 2010

Baba Ghanoush


I love eggplant and I am always looking for new ways to prepare it. One of the simplest and yet most delicious in my book is Baba Ghanoush, a specialty of the Levant. If you've ever made hummus, then the recipe will sound very familiar.

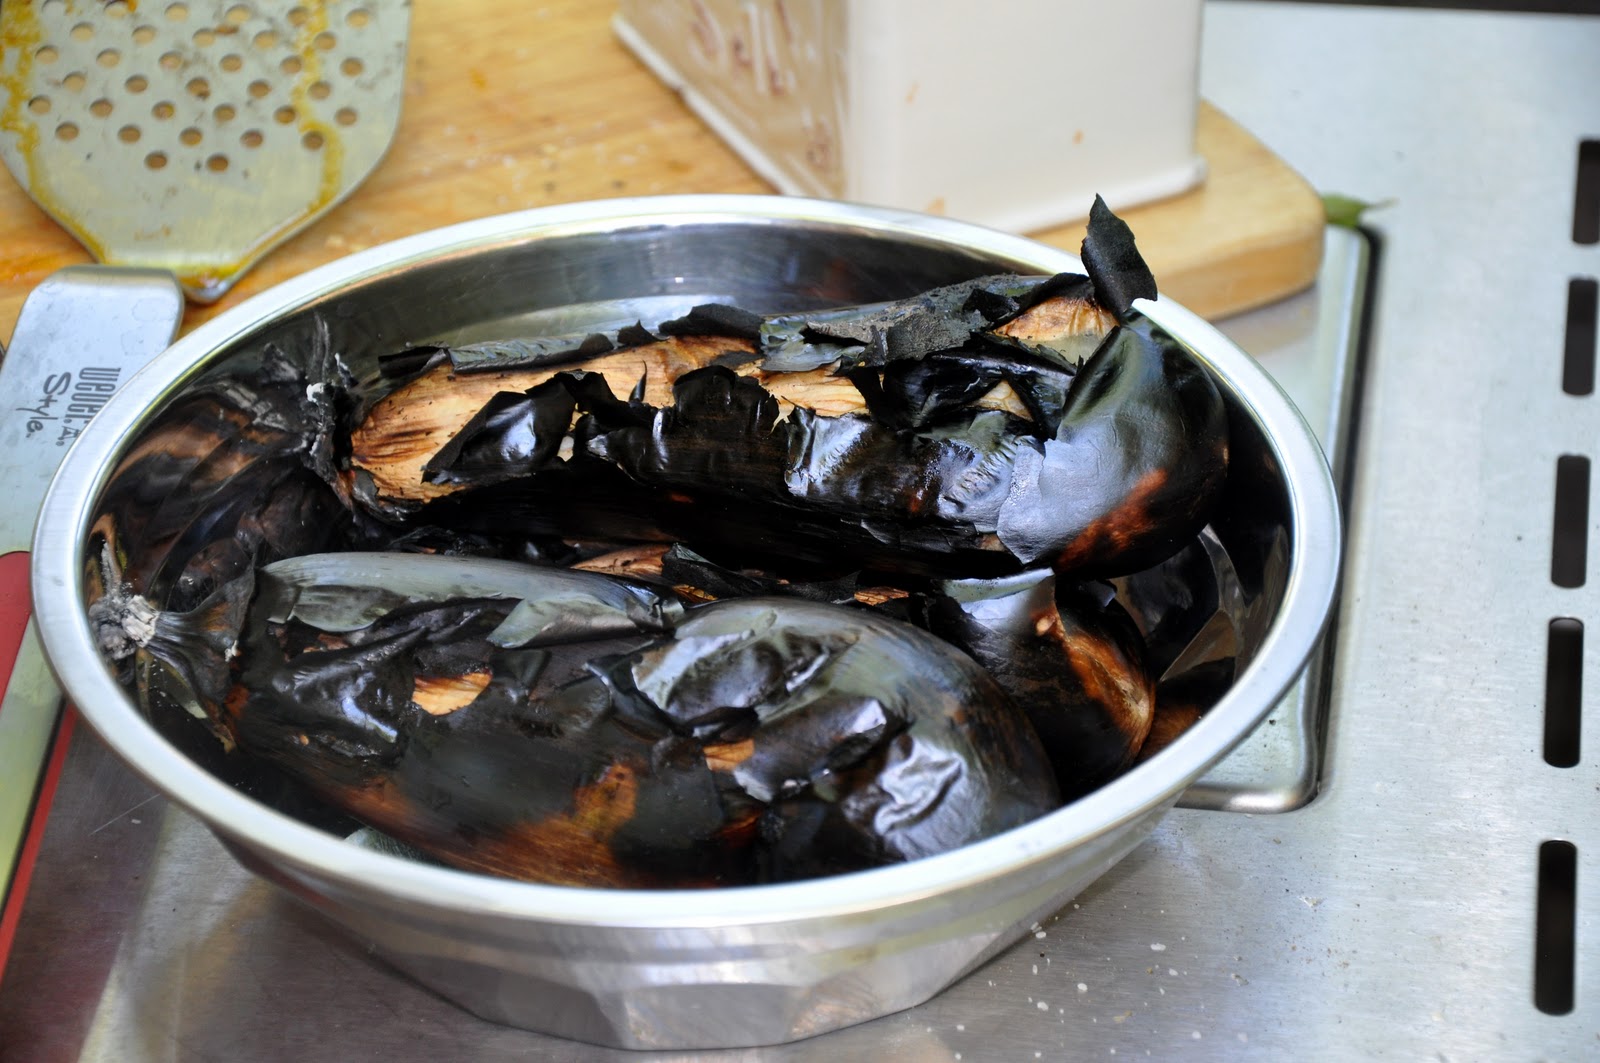
Place a whole eggplant (or several, since the eggplant reduces quite a bit when cooked this way) on a hot grill (or in a hot oven) and roast until the eggplant is fully tender and the skin well charred, turning from time to time to ensure even cooking. This will take anywhere from 30-45 minutes, depending on the size of your eggplants.


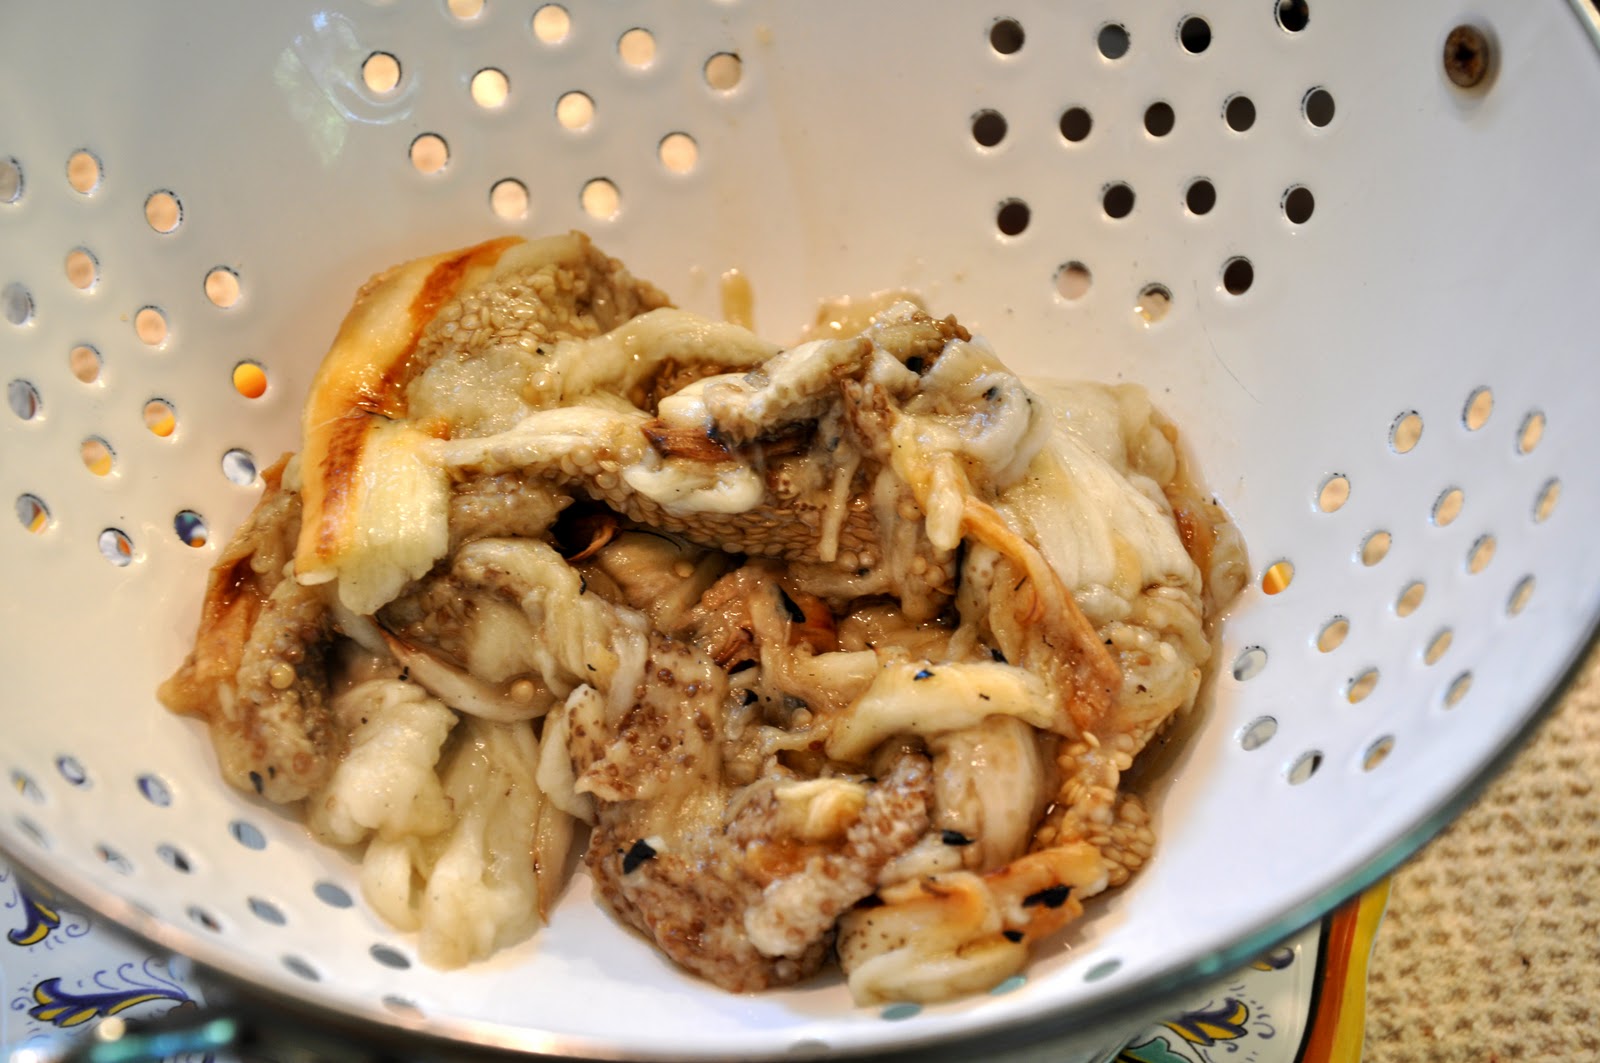
Remove the eggplants from the heat and let them sit, covered, until they have cooled off enough to handle. Then split the eggplant in half and scrape out the tender pulp from the inside, making sure to leave the charred skin behind. Drain the pulp in a colander for at least 15 minutes to remove any excess liquid. 


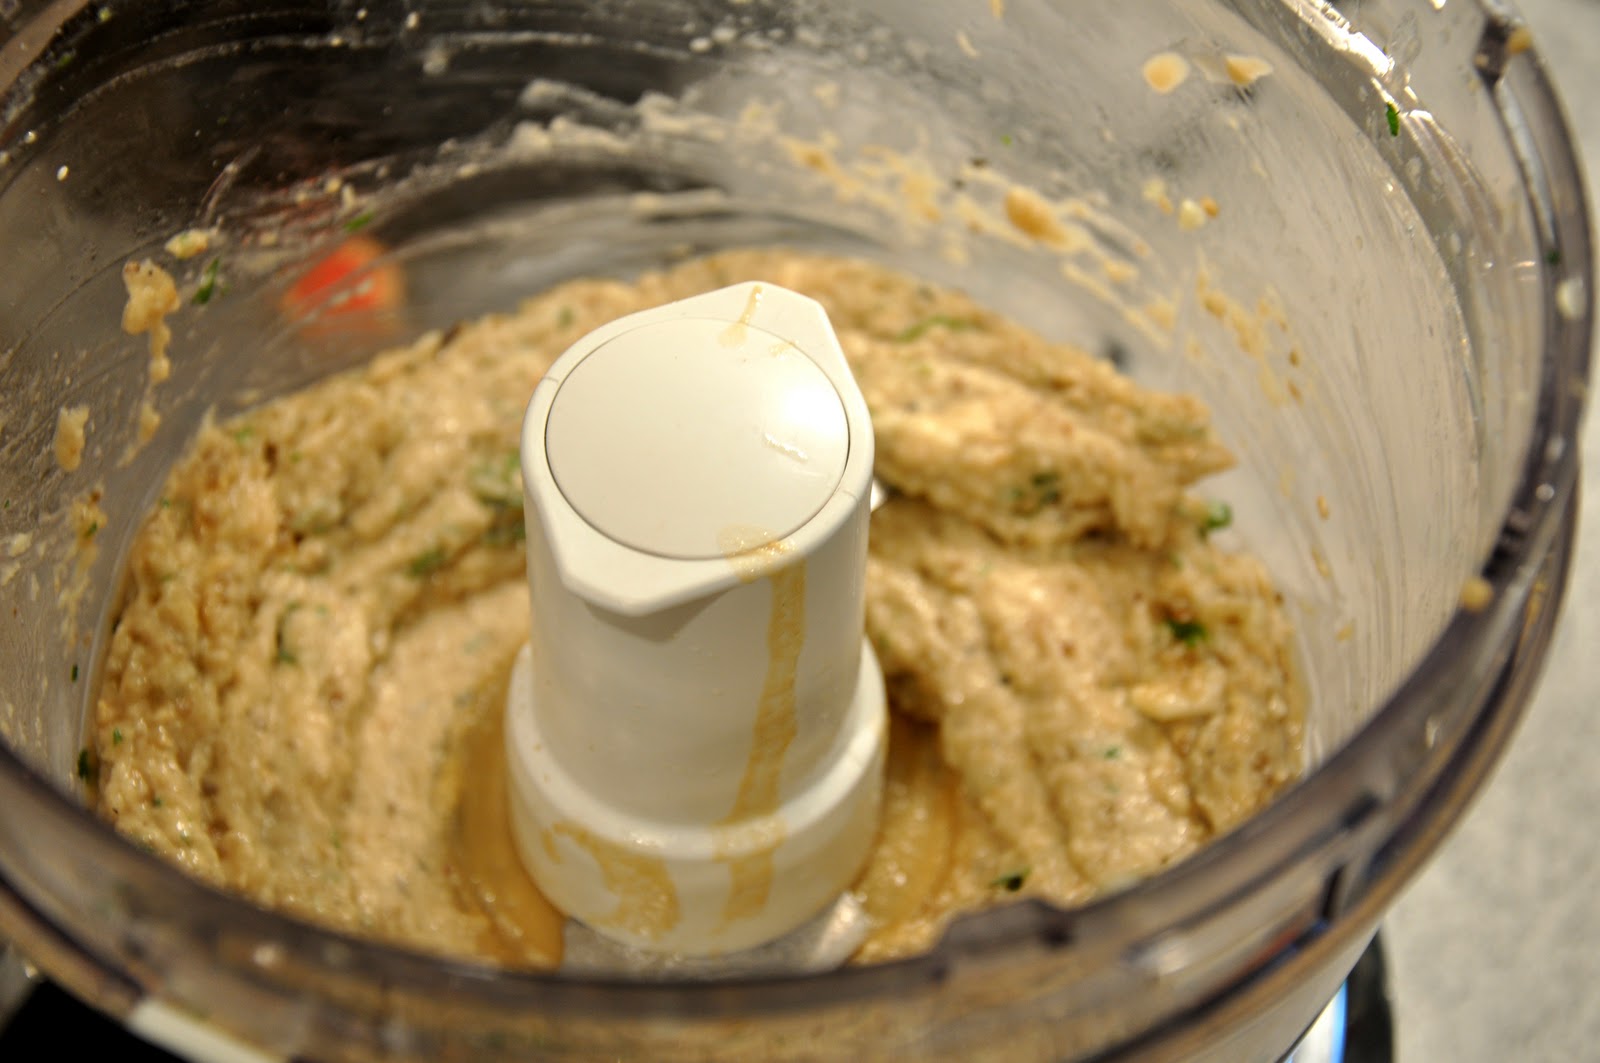
In a food processor, spin a couple of cloves or garlic around with some salt. Then add your eggplant pulp, a bit of freshly squeezed lemon juice and tahini (sesame paste). If you like, add a bit of cumin or chili powder, mint or parsley. Process until smooth. 

 
Serve on a platter or in a bowl and top with a drizzle of olive oil and a bit more parsley or mint for color. 

NOTES: The amounts of all to taste. The amount of tahini, in particular, varies wildly from recipe to recipe. You can add as little as a spoonful or two if you want a 'light' version or lots more if you want a richer version.
(I usually just taste and adjust as I go, although using this method you risk winding up with precious little to actually serve after you're done...) Some recipes specify that the eggplant pulp should be chopped not mashed or puréed.

Baba ghanoush is typically served as a dip to be eaten with pita bread, but I ate it with—hold on to your hats—some tortillas chips I had left over from a party. It was perfectly delicious, although I must admit that the chips may have overpowered the delicate taste of the dip. Next time I'll stick to pita. 

This dish is a wonderful example of how using many of the same ingredients, the peoples of the Mediterranean basin have come up with such different taste experiences. For someone from an Italian background, the taste of this eggplant dip is familiar and yet, for lack of a better term, exotic. It works perfectly as an antipasto in an otherwise Italian menu, or as part of a buffet or as a nice savory snack.

This blog post, from the Green Prophet website, has an excellent discussion of Baba Ghanoush and its many variations.

Friday, July 9, 2010

Pulled Pork “Pibil”


We hosted a block party on the 5th of July and I was casting around for inspiration when I hit upon a great post on barbecue by my fellow blogger Drick of Drick's Rambling Cafe. Drick is from Alabama, where they know a thing or two about real barbecue. Now, I've done a lot of grilling in my life but true barbecue—slow cooking over a very low, smoking fire—was something new for me and, frankly, a bit intimidating. Images of whole pigs or sides of beef sitting on enormous grates, smoking for an entire afternoon, had convinced me that barbecue was not something that you could easily do at home. But Drick kindly relieved me of that misconception: a fine barbecue could be had with a backyard gas or charcoal barbecue using gentle indirect heat. 

So I knew that I wanted to feature real barbecue for the block party and, after some vacillation between ribs and pulled pork, I decided on the pulled pork. And then some great Mexican dishes to go with. Here was the menu:
Pulled Pork "Pibil"
Frijoles fronterizos
Calabitas con crema
Ensalada de nopales
All accompanied by guacamole, salsa mexicana (aka "pico de gallo") and salsa verde (aka tomatillo sauce), as well as, of course, lots of tortillas to make soft tacos. 

I'll get around to featuring all of these dishes, but today I will focus on the main event, the pulled pork. As Drick explains, it is actually quite easy to do. In fact, although it takes long, slow cooking, like a lot of such dishes it practically cooked itself. Typically, you begin by coating your roast with a 'dry rub' (a mixture of dried herbs and spices) and letting it sit, as long as overnight, to marinate. You then slow cook the roast over gentle, indirect heat, basting it with a 'mopping sauce' (a thin usually acidic liquid that is traditionally applied with a miniature mop, hence the name), until the meat is fork tender. 

Since my party was going to have a Mexican theme, I decided to use a simplified version of the marinade you would use to make cochinita pibil, a typically Yucatan way of making suckling pig with Mayan origins. The marinade consists of a wet rather than a dry rub, made by blending together chile powder, pimentón (smoked paprika), salt, pepper, garlic, cumin and oregano, moistened with enough juice of naranja agria (bitter orange) so it takes on the texture of a thick paste. Since I didn't have naranja agria, I approximated the flavor using regular, freshly squeezed orange juice, mixed with the juice of half a lime. The night before, I rubbed this paste all over the pork shoulder and stuck it in the fridge overnight. (If you want the real, authentic color and flavor, add achiote (annatto) to the marinade, but, there again, I didn't have it on hand.)

The next day, an hour before I began to cook, I took the pork out of the fridge to come back to room temperature. After pre-heating the barbecue, I slapped the pork on the grill over indirect heat—meaning that you make sure that the burner(s) directly under the meat is turned off (for a gas grill) or clear away any briquettes under the meat (for a charcoal grill). In my case, I had burners on either side of the meat but if your barbecue is smaller—say with only two burners—just turn one off and leave the other on. 

You cover the barbecue and adjust the flame so that the temperature inside hovers around 300-350° F (150-180° C) and continue cooking until the meat reaches an internal temperature of around 180-190° F (85-90° C), which in this case, for a four-pound (2 kilo) roast took about 4 hours. Pork is safe to eat at a much lower internal temperature (as low as 160°F or 70°C) but to reach that wonderful falling apart tenderness that characterizes pulled pork, you'll need to wait. 

But, as I said, the process is quite painless. Just turn the meat from time to time and baste it with a mopping sauce. In this case, I simply used that same combination of orange and lime juice. The only tricky part was trying to keep the temperature inside the barbecue at the right temperature. I'm sure it's something that becomes second nature after some practice, but this being my first attempt, I found that it was just too easy for the temperature to get too high—which resulting in a slightly charred (but still delicious!) outside crust. 


When your meat is done, take it off the grill and let it rest, covered with aluminum foil, for about 30 minutes. Like any other roast, this ensures that the meat will remain juicy. Then you can either cut the meat up or—as the name suggests—pulled it apart pulling the meat apart with two forks. Pour over any accumulated juices and sprinkle with a bit of salt if you think it needs it.

I have to tell you, the meat was absolutely wonderful. Tender, juicy, savory… just slightly spicy. It made an incredible filling, topped with a bit of salsa verde or guacamole, for soft tacos. Not bad for a first attempt. The guests were impressed. (I even caught one of them afterwards sneaking a few more pieces of meat in the kitchen—a true compliment!)

So, my friends, if like me you've been wary of barbecue, take a tip from Drick and take the plunge. I'm sure you'll enjoy the results! 

NOTES: The cut of pork is very important. Shoulder is the ideal cut. Do not attempt this dish with pork loin, which is much too lean and will dry out. 

If you want to make real cochinita pibil, line a Dutch oven with softened banana leaves, lay some sliced onion at the bottom of the pot and take your pork should (or suckling pig if you have it) and lay it over, covering it with the tops of the leaves. Cover and roast in a moderate oven for at least 90 minutes. Traditionally, the dish was cooked by burying it and starting a fire over the pig, so I would think that you could simulate that by using a barbecue. Some recipes call for adding a bit of water and simmering it over the top of the stove or in a pressure cooker. 

For some American style dry rubs and mopping sauces, be sure to check out this great post from Drick's blog.


Saturday, June 26, 2010

Frank’s Sausage and Peppers


What would summer be without this perennial Italian-American favorite? It's hard to imagine an Italian street fair without the enticing aroma of sausages being grilled on portable barbecues while peppers and onions are sizzling away on a near-by griddle. Isn't just the thought of it enough to make you hungry? Here's my take on this classic.

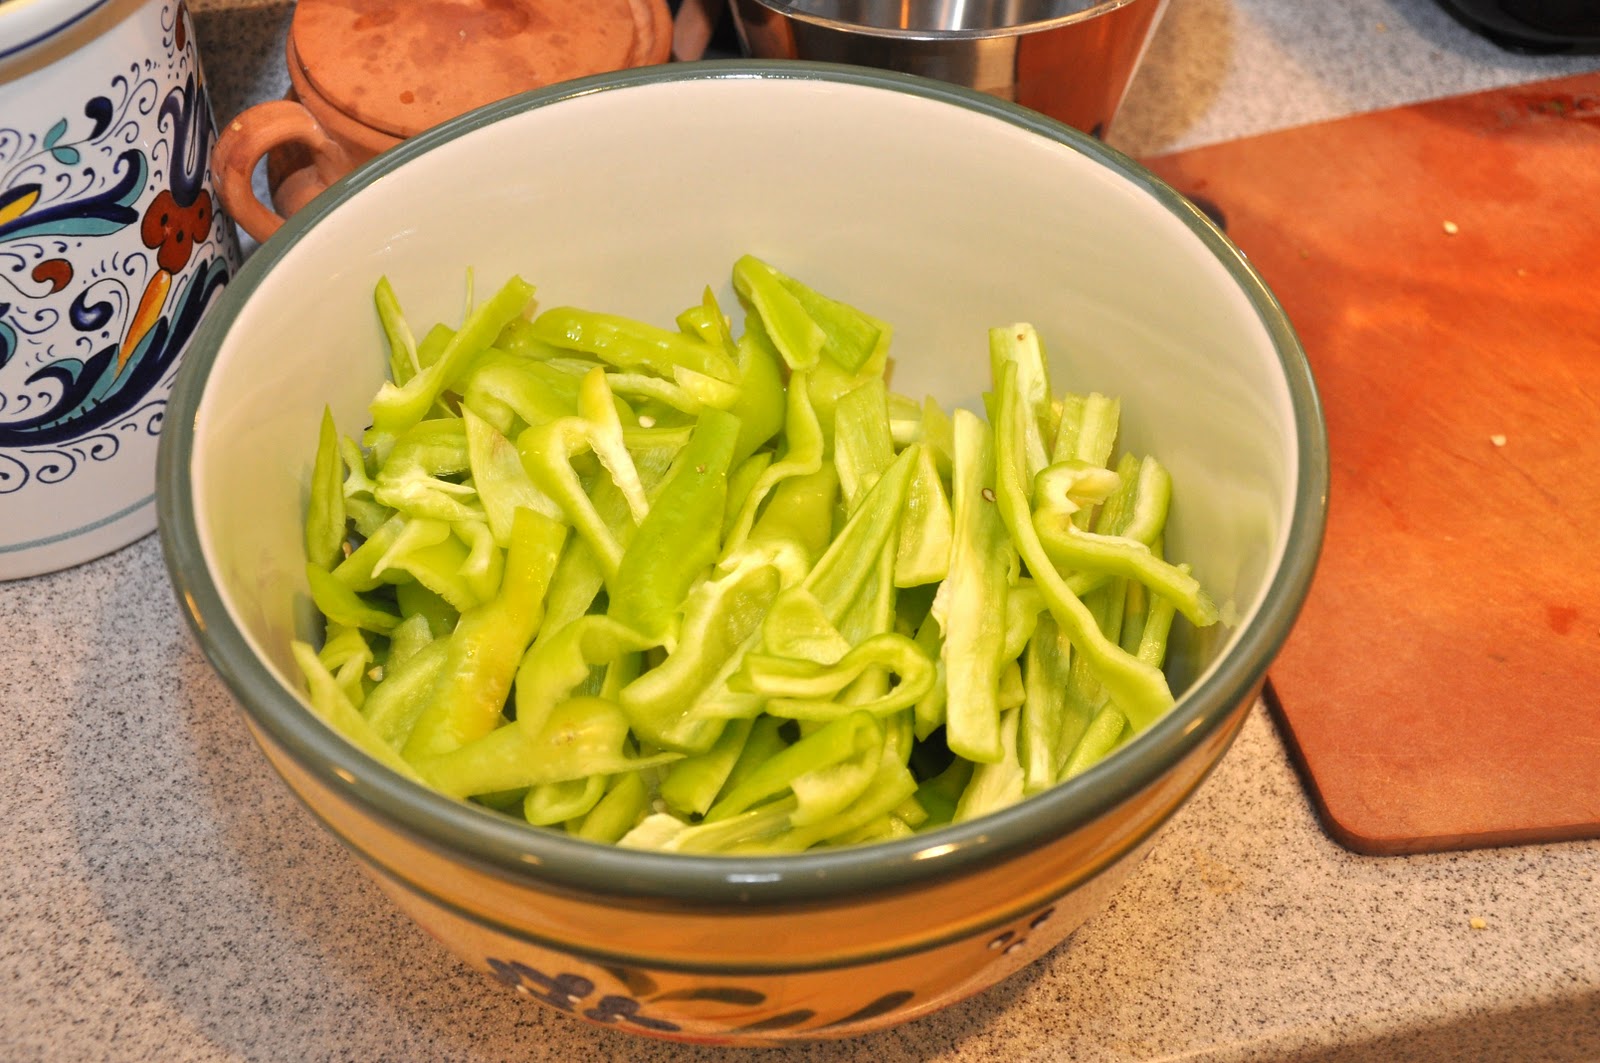
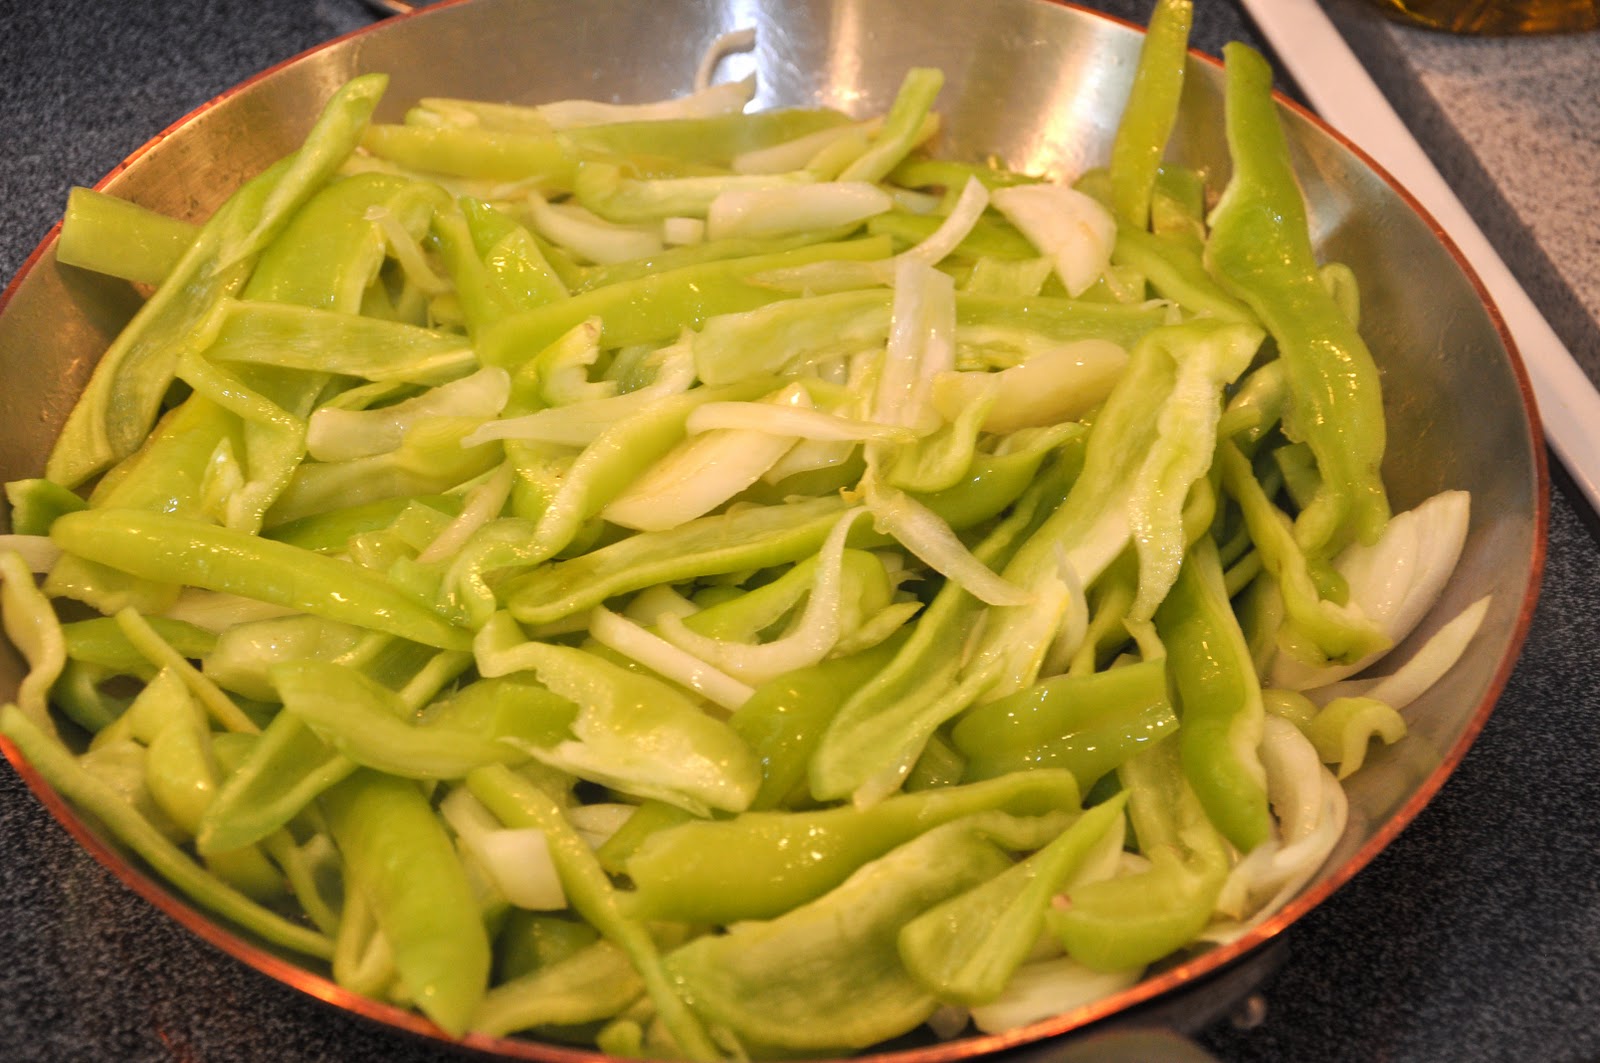
First you make a kind of peperonata—the fried peppers and onions that make for such a popular summer side dish—by taking a nice heap of 'frying peppers', the thin, longish light-green peppers that Italians call friggitelli, cutting off their tops and slicing them in half from top to bottom. Remove the seeds and any white ribs you find inside. (This kind of pepper has a lot less than regular bell peppers, but you will still find some.) Then slice them vertically into thin strips:


Measurements don't much matter, but I find that a half pound (250g) of peppers per person is about right. That may look like a lot of peppers to begin with, but they reduce considerably while cooking.

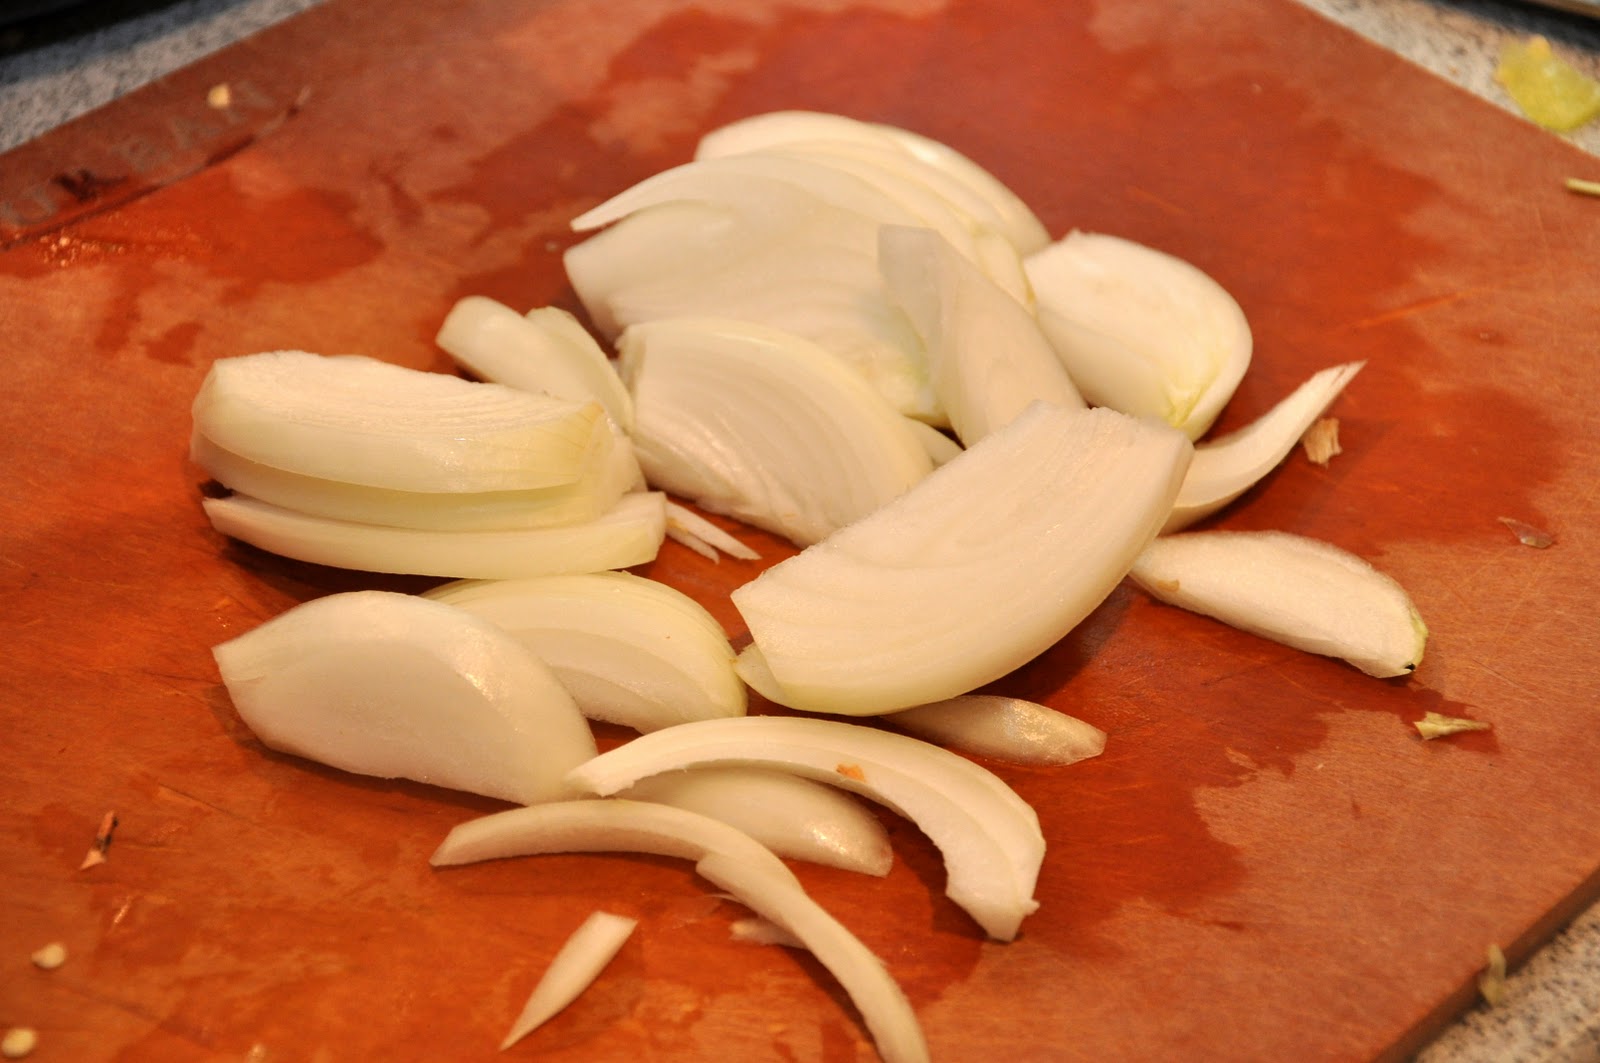
Then peel an onion and slice it in half from top to bottom. Trim off the root and then slice each half vertically into thin but not paper-thin slices. Make sure you slice the onion vertically—that is, from  root to tip with the grain. If you slice onion horizontally—across the grain—the onion pieces will 'melt' into the dish as it cooks. That's what you want for most dishes where the onion is there purely for it savory flavor. But in this dish, the onion is more than just a flavoring, it is a component in its own right: put another way, it's not just part of the harmony, it has a solo:


The exact amounts don't much matter, but in this dish the peppers are the real star, so one medium onion is enough for a pound (500g) of peppers. Now heat a skillet and when it is hot, add a generous amount of olive oil. Before the oil begins to smoke, add you sliced peppers and onions. Mix well with some tongs (or a spatula) and lower the heat. 


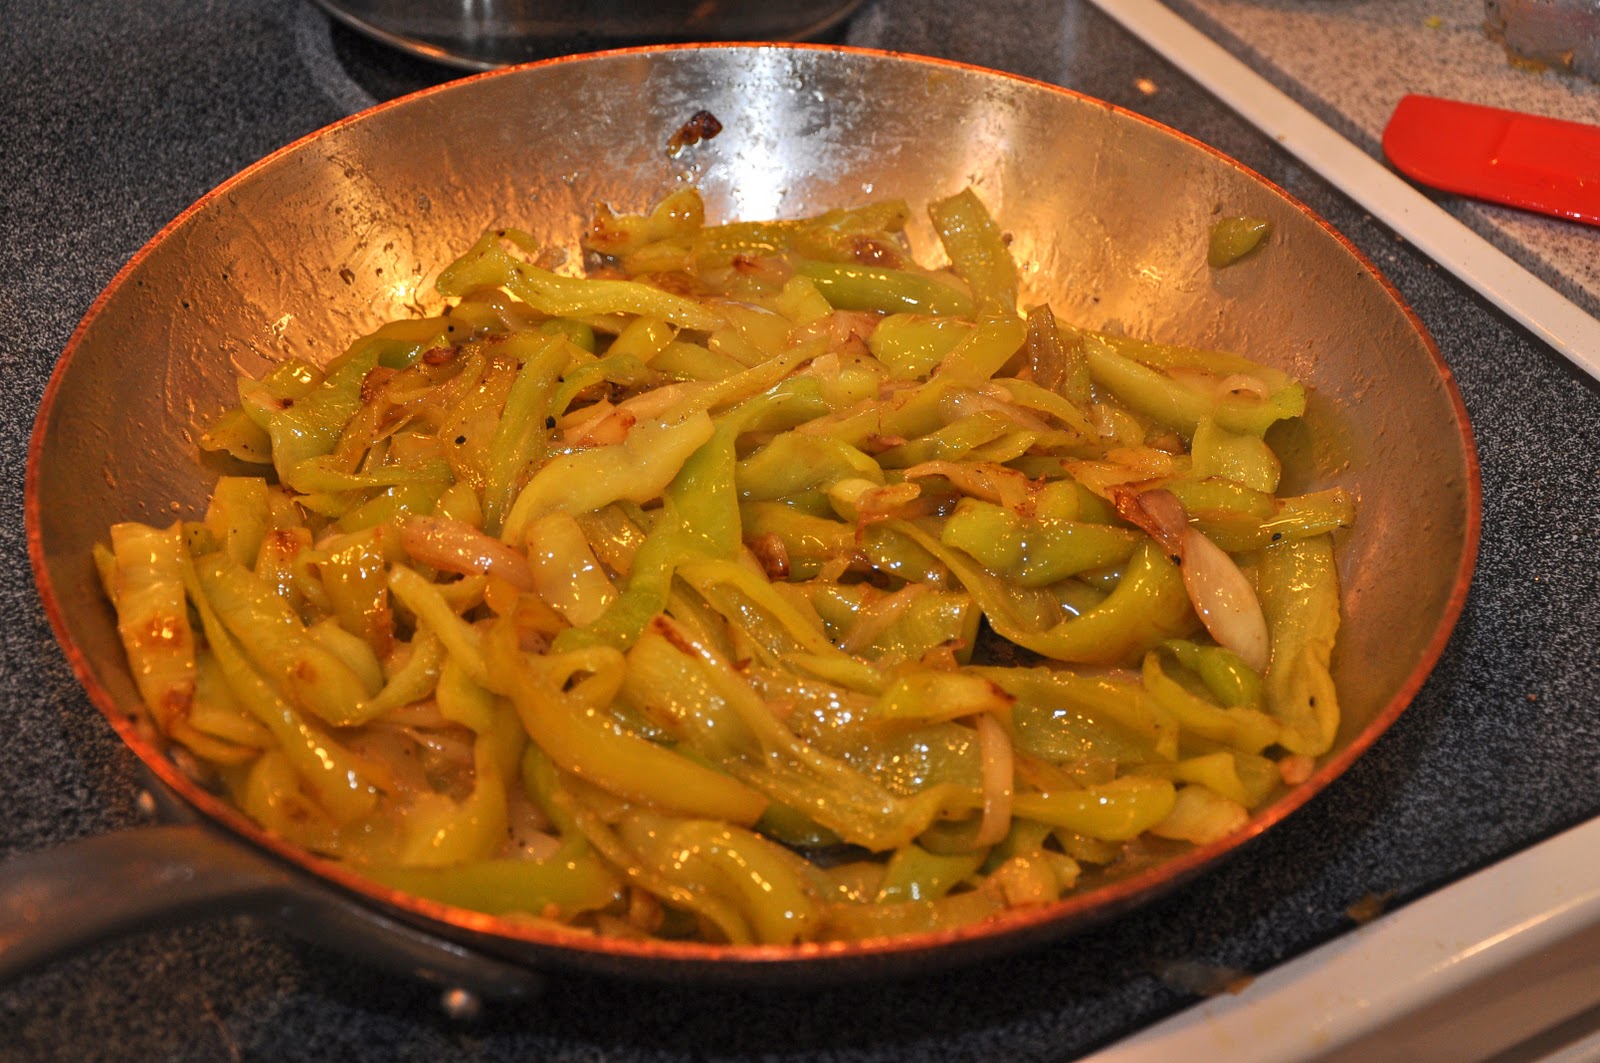
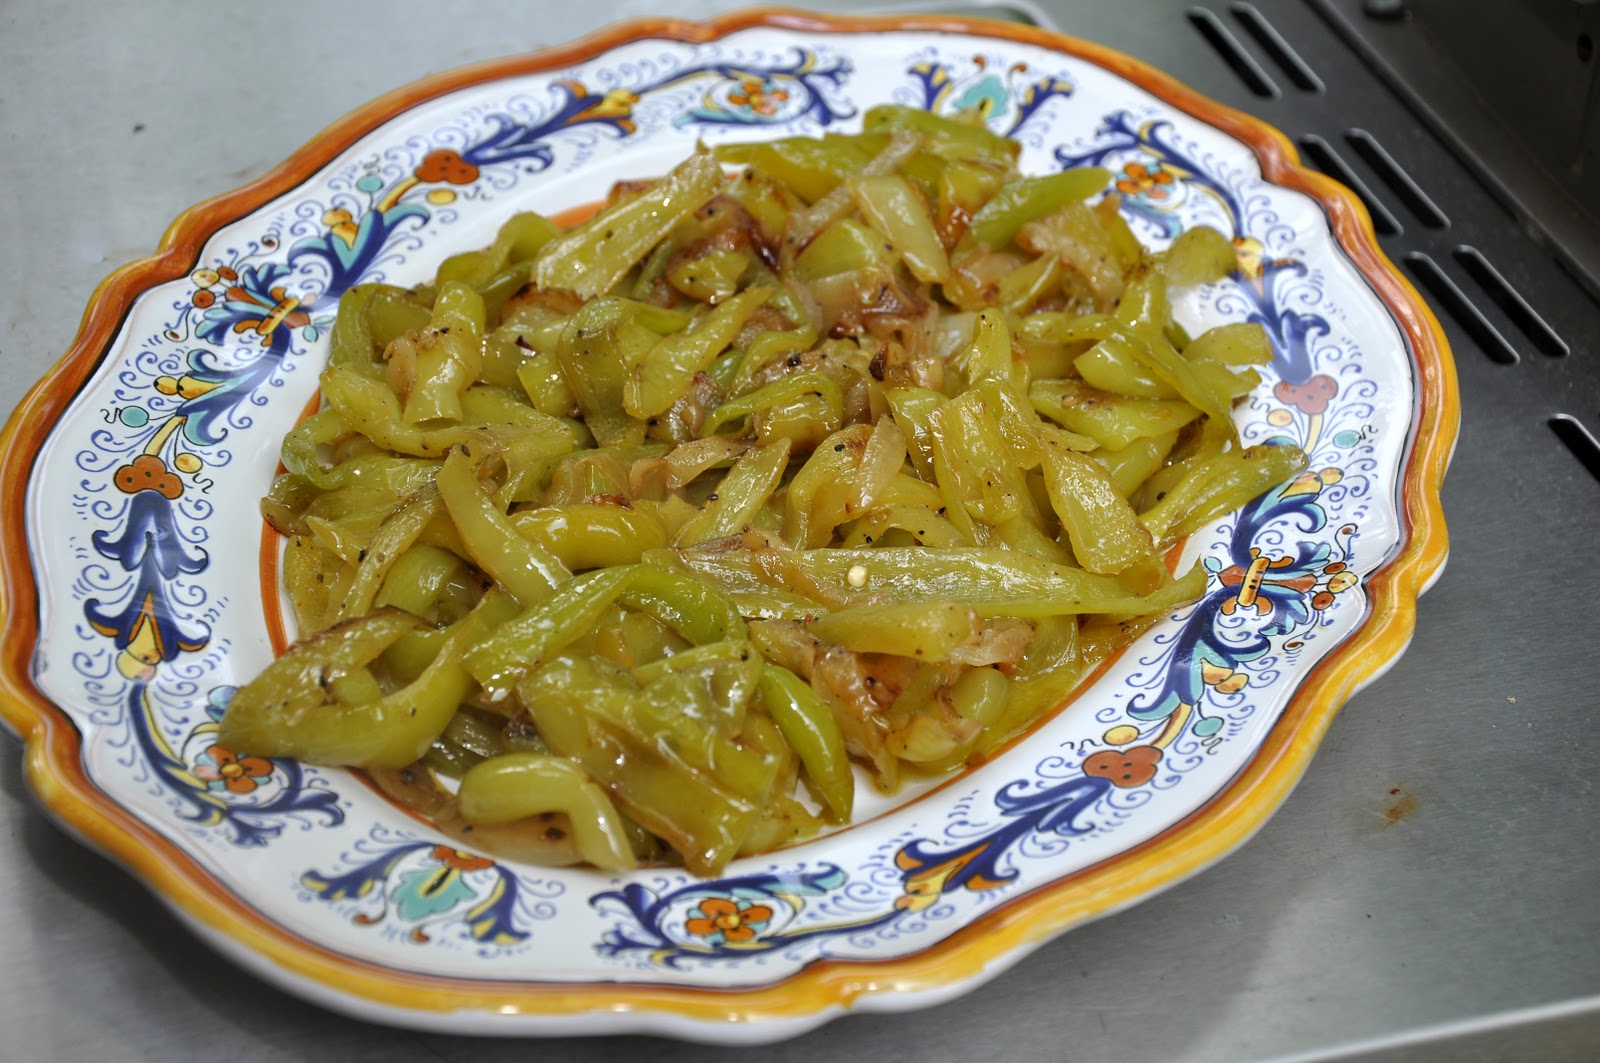
Maintain a moderate flame so that the vegetables are sizzling nicely in the oil without browning too much. As they cook, the peppers and onions will reduce considerably. Hold off seasoning the dish, as adding salt early on will tend to 'melt' the onion. Instead, season well about halfway through the cooking time (which is to say, after 10-15 minutes) with salt and pepper. Make sure that the vegetables are nicely coated with olive oil—they should glisten like a salad. If they are a bit dry, don't hesitate to add some more oil. When the peppers are just about tender—and they should be fully tender, neither crisp-tender nor mushy—turn up the heat and let the vegetables caramelize, mixing often so they brown nicely but don't burn. Then take them off the heat and cover them. Let them 'rest' like that while you turn to the sausages.


Now it's time to grill the sausages. As you probably know, when cooked whole it is best to prick sausages here and there with the tip of a paring knife or the prongs of a fork. This prevents the filling from 'exploding' out of its skin as it cooks. But there is another way to treat sausages before grilling: butterfly them by slitting them down one side and opening them like a book. This not only allows the sausages to cook more quickly, but exposes more of the sausage to caramelization. If you like the taste of crisy pork, you are bound to like this technique. Your sausages should like something like this before cooking:


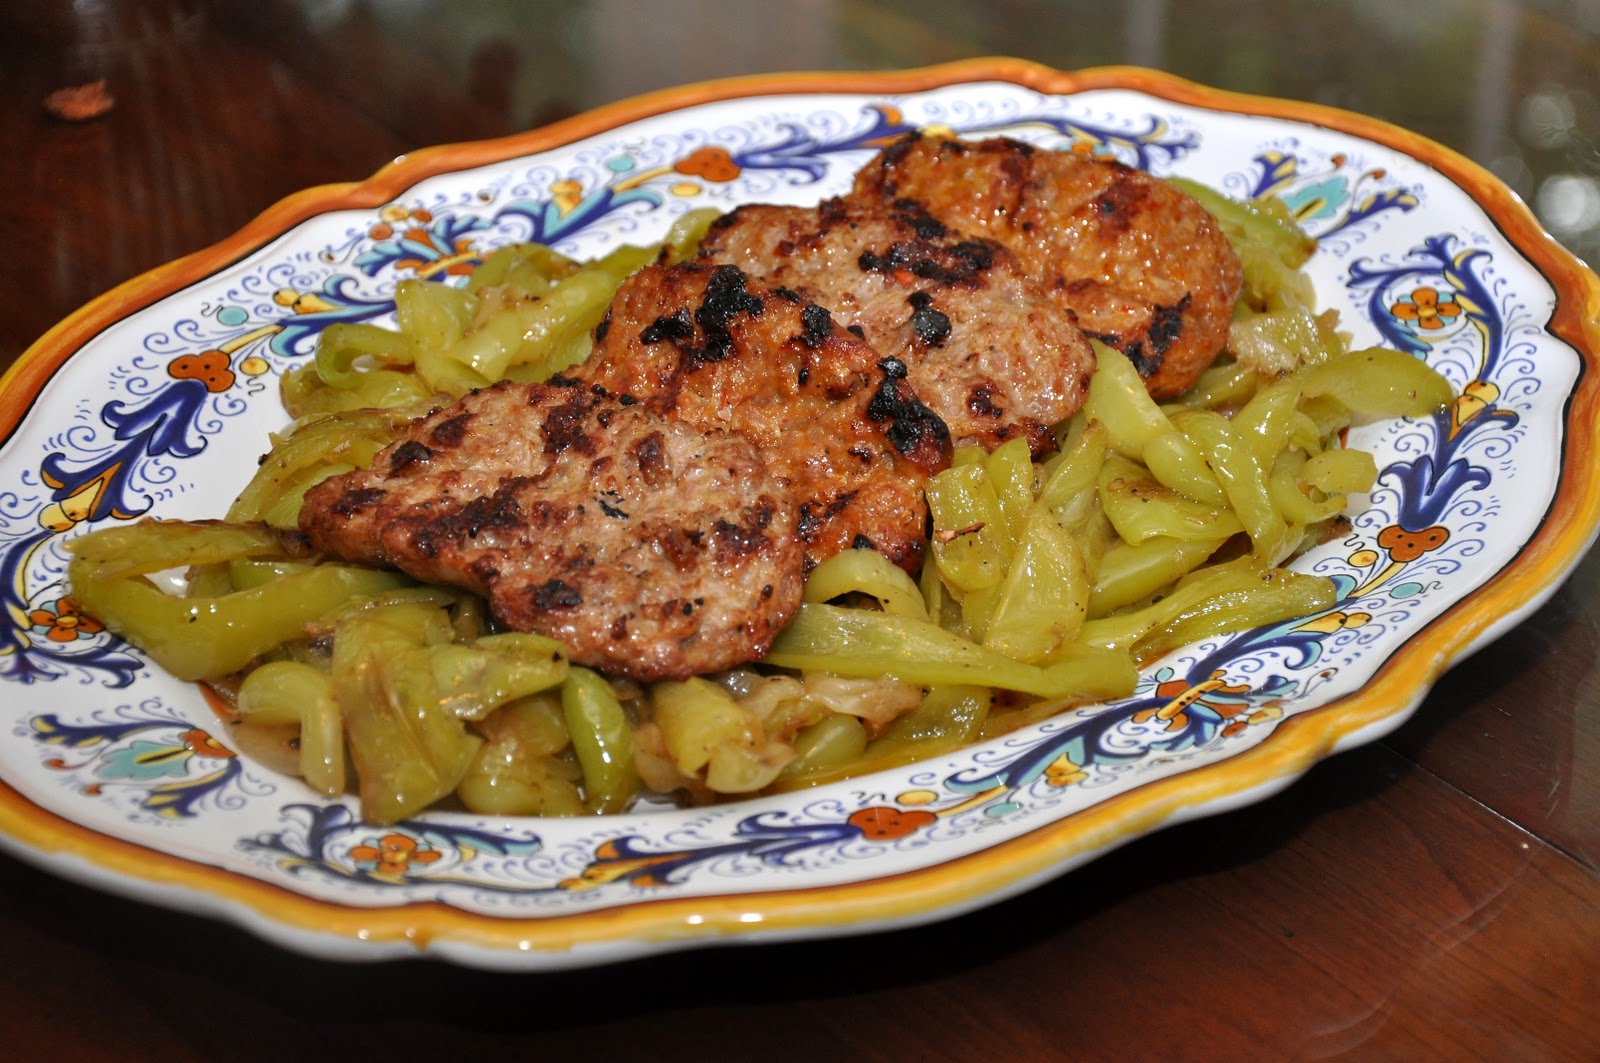
Then place the sausages on a hot grill, skin side down first, turning them from time to time, When they are nicely crisp and brown on both sides, serve them on top of the peppers and onions, which you will have laid out on a platter as a bed for the sausages to lie on. 


NOTES: It may come as a surprise, but sausages and peppers is not a particularly common dish in Italy. Although it is not unheard of to add sausages to cook along with a peperonata, the dish has nothing like the iconic place in Italian cooking that it does in Italian-American tradition. You will look in vain in the major Italian cookbooks for sausages and peppers, even those specializing in Neapolitan  or southern Italian cooking. In southern Italy, it is far more common to pair sausages and broccoletti or cime di rapa, known as broccoli rabe in English. Typical of Neapolitan cooking is the use of the young shoots of the same plant, which are known as friarelli. (NB: Confusingly, frying peppers or friggitelli are sometimes also called friarelli.) In the north, you are more likely to find sausage cooked with Savoy cabbage, radicchio or Tuscan kale rather than peppers. None of which to belittle this dish. On the contrary, the match of sausage and peppers is a delicious match, one that was really meant to be. 

A common variation of this dish is the addition of tomato or some tomato sauce to the peperonata when it is about halfway done. By the time the tomato reduces the peppers should also be done. Some people like to add a bit of red pepper flakes as well, although I don't recommend it. If you like some spice, use 'hot' sausages—although I usually not very partial to them, they really go well in this dish. You can also add just a pinch of oregano to the peperonata, but not too much, as the flavor of oregano is very pronounced. But do avoid the use of too many dried herbs or that awful invention called 'garlic powder', which makes everything it touches taste rancid. The elements of this dish—the sausages, onions and peppers—all have tremendous flavor. They don't really need the 'help' of artificial ingredients. 

If you don't have a grill handy, the sausages can be fried in the same skillet. You can brown them at the very beginning, then remove them to make your peperonata, then add them back to the skillet when the peppers are almost tender to finish cooking. Or, when the peppers are almost tender, you can push the peperonata to the sides of the skillet and brown the sausages in the center, then mix everything up and let it cook gently until the sausages are cooked through and the peppers are tender. 

Sausages and peppers are often eaten as the filling for a 'hero' sandwich, but I like it just as it is, with some crusty bread on the side. If you have leftovers, the dish reheats well; it also makes a fantastic filling for a frittata. Some people also use it as a condimento for pasta. Not my cup of tea, as they say, but if you do use it this way, make sure to cut up the sausage into bite-sized pieces. Here a little tomato sauce helps give it a saucy consistency that works well with pasta.