Some of you will have read in a recent post that I finally broke down and bought a slow cooker, a kitchen device also known in the States—to those of you who are old enough—as a 'Crock Pot'. The thought of owning one had never really occurred to me before. The Crock Pot craze of the '70s, which brought us some pretty awful cooking (a can of this, a can of that...) was still seared into my memory banks.
But I started hearing about 'slow cookers' from cooks that I liked and admired. Then came Michele Scicolone's Italian Slow Cooker cookbook and my resolve began to waiver. And then I started reading Ad Hoc At Home, by perhaps American's most respected chef, Thomas Keller, in which he mentions the slow cooker as one of his prized kitchen tools, in particular for beans. Well, that did it. I had to see what everyone was talking about. (By the way, if you don't have these books, I would heartily recommend both of them!)
I have promised you, dear readers, to share with you my impressions, so here goes.
I realize now that a slow cooker, though marketed as a convenience tool—usually the kiss of death in my book—is really just another way to achieve the kind of gentle most cooking that most cooks will do in a Dutch oven or, in Italy, a terracotta pot. All kinds of dishes that you would want to simmer for hours on end: rich sauces, broths and, yes, beans—all come out wonderfully in a slow cooker. And, yes, it is also convenient: it frees up your stove for other uses, can be left on all day if you like, and will keep your food warm indefinitely. What it is not, as the name implies, is quick. But once you're down with the initial steps (in the Italian context, that mean making a soffritto and the rosolatura of the main ingredient) you can leave whatever you're making unattended until it's done.
So far, I've had excellent results with broth, beans (look out for coming posts!) and, as I will get to in a moment, polenta and ragù. Not everything I've made so far has been a smashing success, however. Stews and pot roasts, for example, have not turned out as I would have liked. I tried to make a brasato al vino rosso, for example—the very first dish I tried in my new slow cooker—and found the meat rather stringy and the sauce thin and bland.
That brings me to an important point when it comes to slow cooking: as when cooking in a pressure cooker, there is very little evaporation and therefore very little concentration of flavors. So you need to use much less liquid than you ordinarily would. And those dishes that requires evaporation to work will not work very well in a slow cooker. I tried making a spezzatino di pollo, for example, with vinegar. Made in the conventional way, the vinegar evaporates and its flavor mellows to the point where you would probably not know it was even there (unless you're the cook, that is!) In a slow cooker, the vinegar flavor is as strong when the dish is done as when you started, and that's not a good thing. So it's back to the drawing board for me on stews and pot roasts. I'll report back to you, kind readers, when I've figured out the best way to handle them.
In any event, on to our recipes!
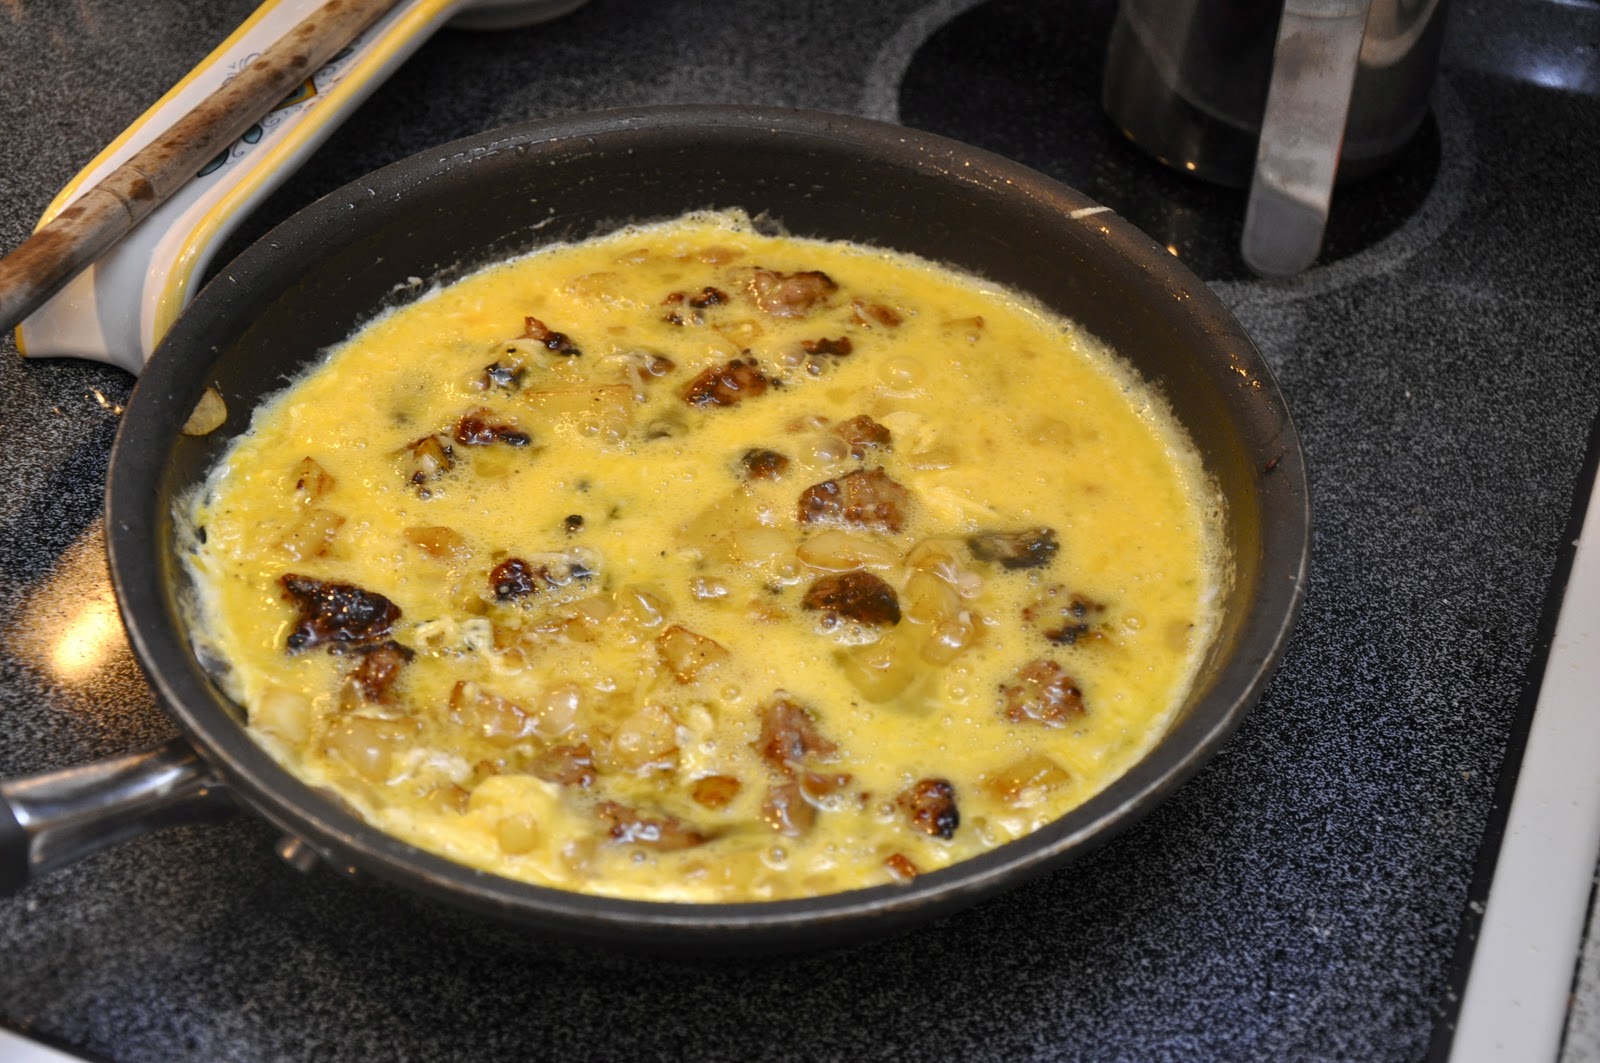
SLOW COOKER POLENTA
Makingn real polenta is a laborious job, as we all know, involving a lot of stirring over a good 45 minutes or more to reach the right, creamy consistency. Italians have developed any number of tricks to make the job a bit easier, as I have outlined in my post on How to Make Polenta. The slow cooker provides yet another easy (if not very quick) way to make polenta.
Ingredients
1 part polenta (by volume)
5 parts water (by volume)
A pinch of salt
(NB: I made a batch from 1 cup of polenta mixed with 5 cups of water.)
Directions
You mix the polenta and cold water together in your slow cooker with a whisk or wooden spoon. Then spinkle the mixture with a pinch of salt. Turn on your slow cooker to high and let it go at it for 3 hours. Stir after two hours or, if you prefer, every hour. (Recipes vary.) If the polenta is getting too thick, you can add some water, but not too much—remember, you can't count on evaporation to thicken the polenta by more than a very marginal amount.
The polenta will stay smooth and soft for several hours if left on 'warm'.
NOTES: Made this way, the polenta turned out fine. Was the texture quite a fine as the hand-stirred variety made in a traditional paiolo? No, not really. But it was certainly acceptable—more than acceptable, in fact. The difference was subtle, not one that would be obvious to anyone other than the true cognoscenti.
Three hours is a sort of awkward time. Too long to be 'quick', but not long enough, say, to make in the morning before work and have it ready by the time you get home. For that, you can cook your polenta over low heat for double the time (6 hours). I have not tried this variation but it would seem to work.
(NB: There is a general rule for slow cooking, which says that you can cook must about anything for x hours on high or 2x hours on low. I have yet to find an explanation of what difference, if any, it makes to the final outcome.)
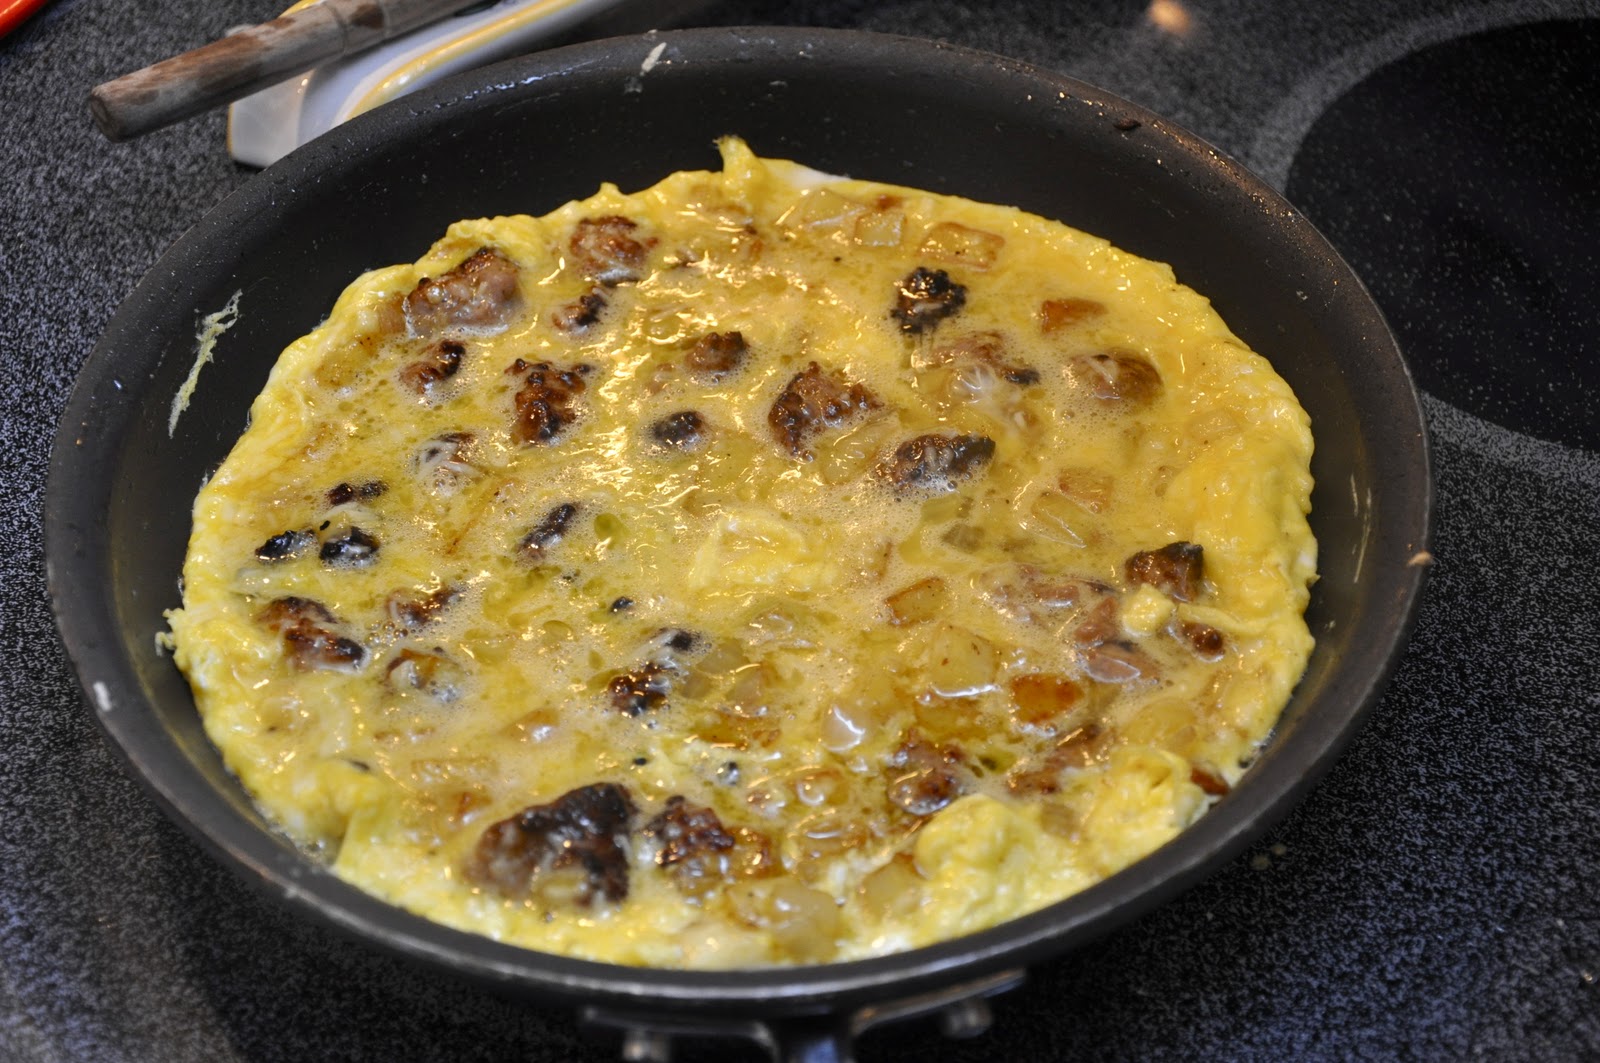
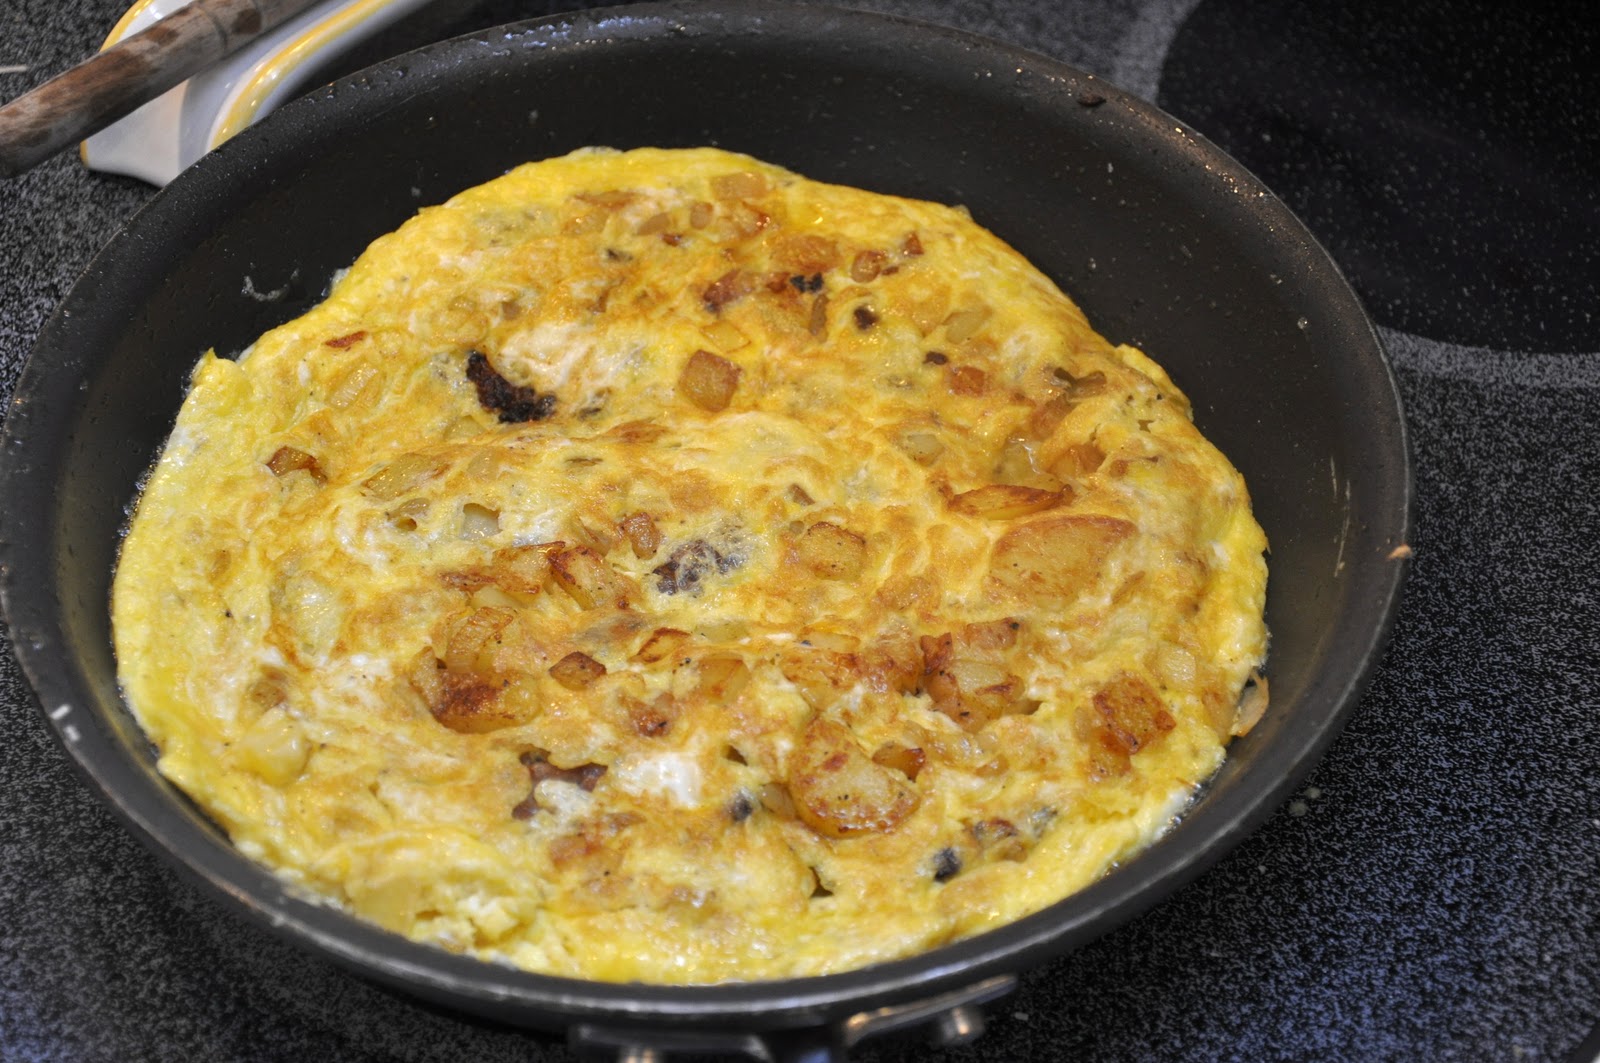
SLOW COOKER SAUSAGE RAGÙ
You would think that a slow cooker would be the ideal implement for making a Sunday Sauce and, indeed, it would seem to be ideal for all sorts of long simmering sauces. To accompany this polenta, I made a variation on the classic Roman dish, polenta con salsiccia e spuntature (polenta with sausages and spareribs), which we've featured on this blog. I just left out the spareribs, since I couldn't find any in my freezer and there was just too much snow outside to make a dash to the market. The result was still delicious.
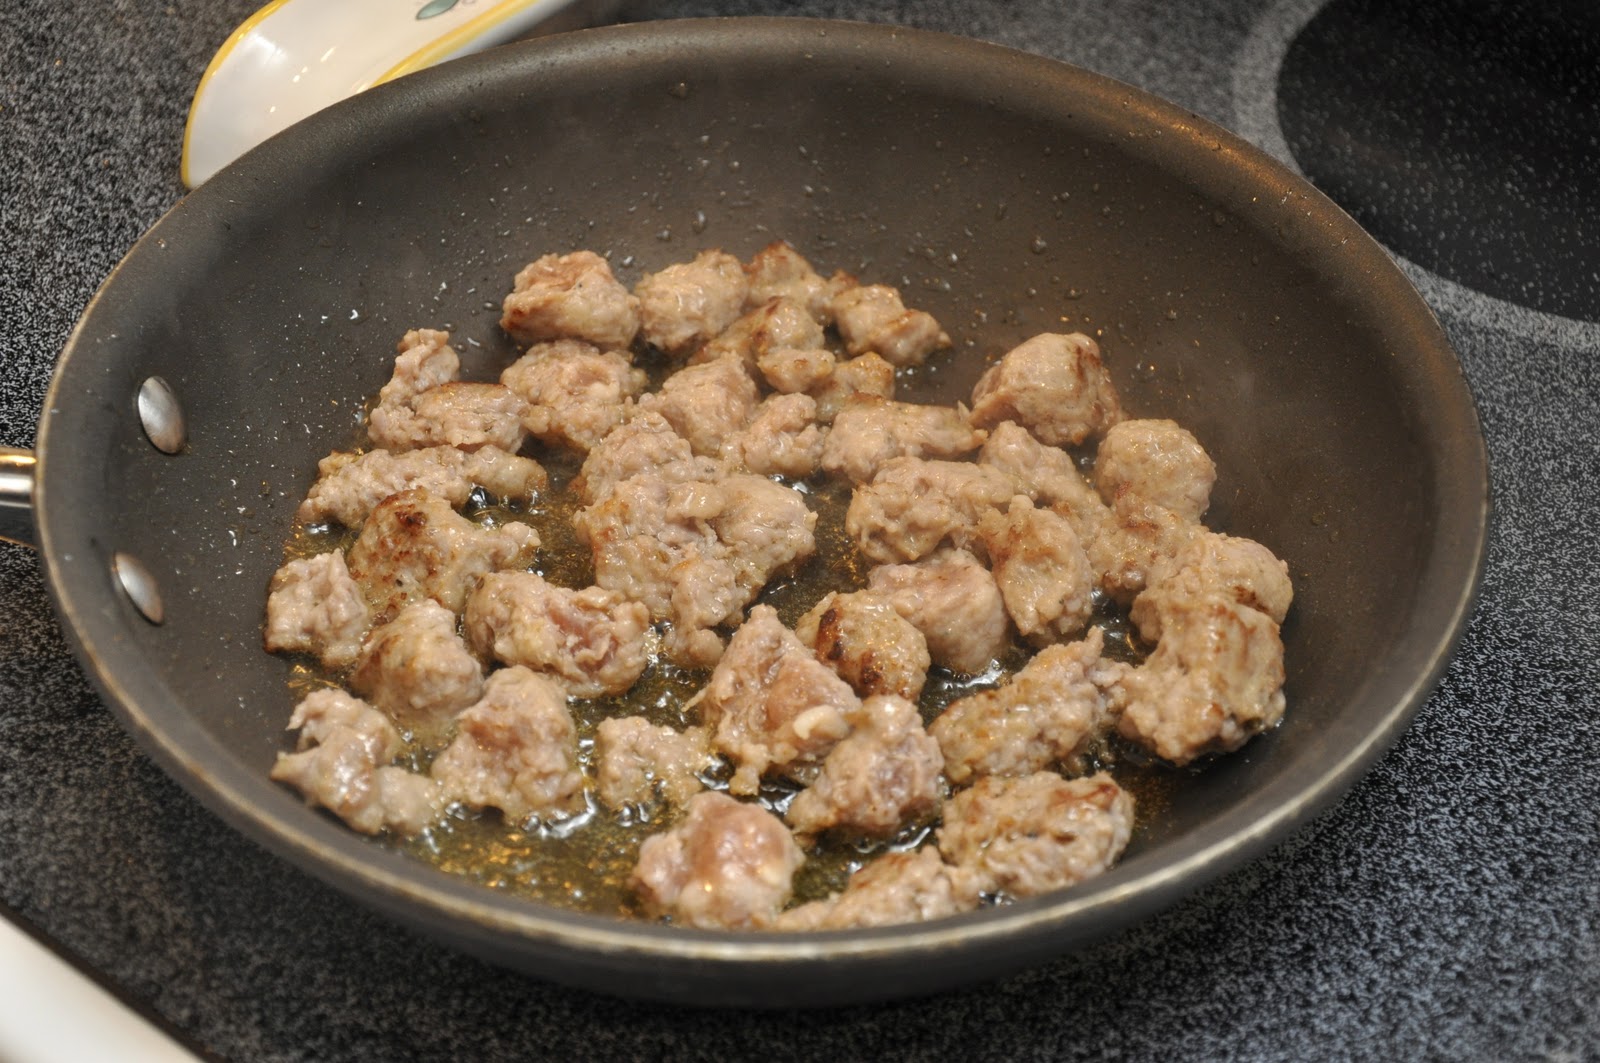
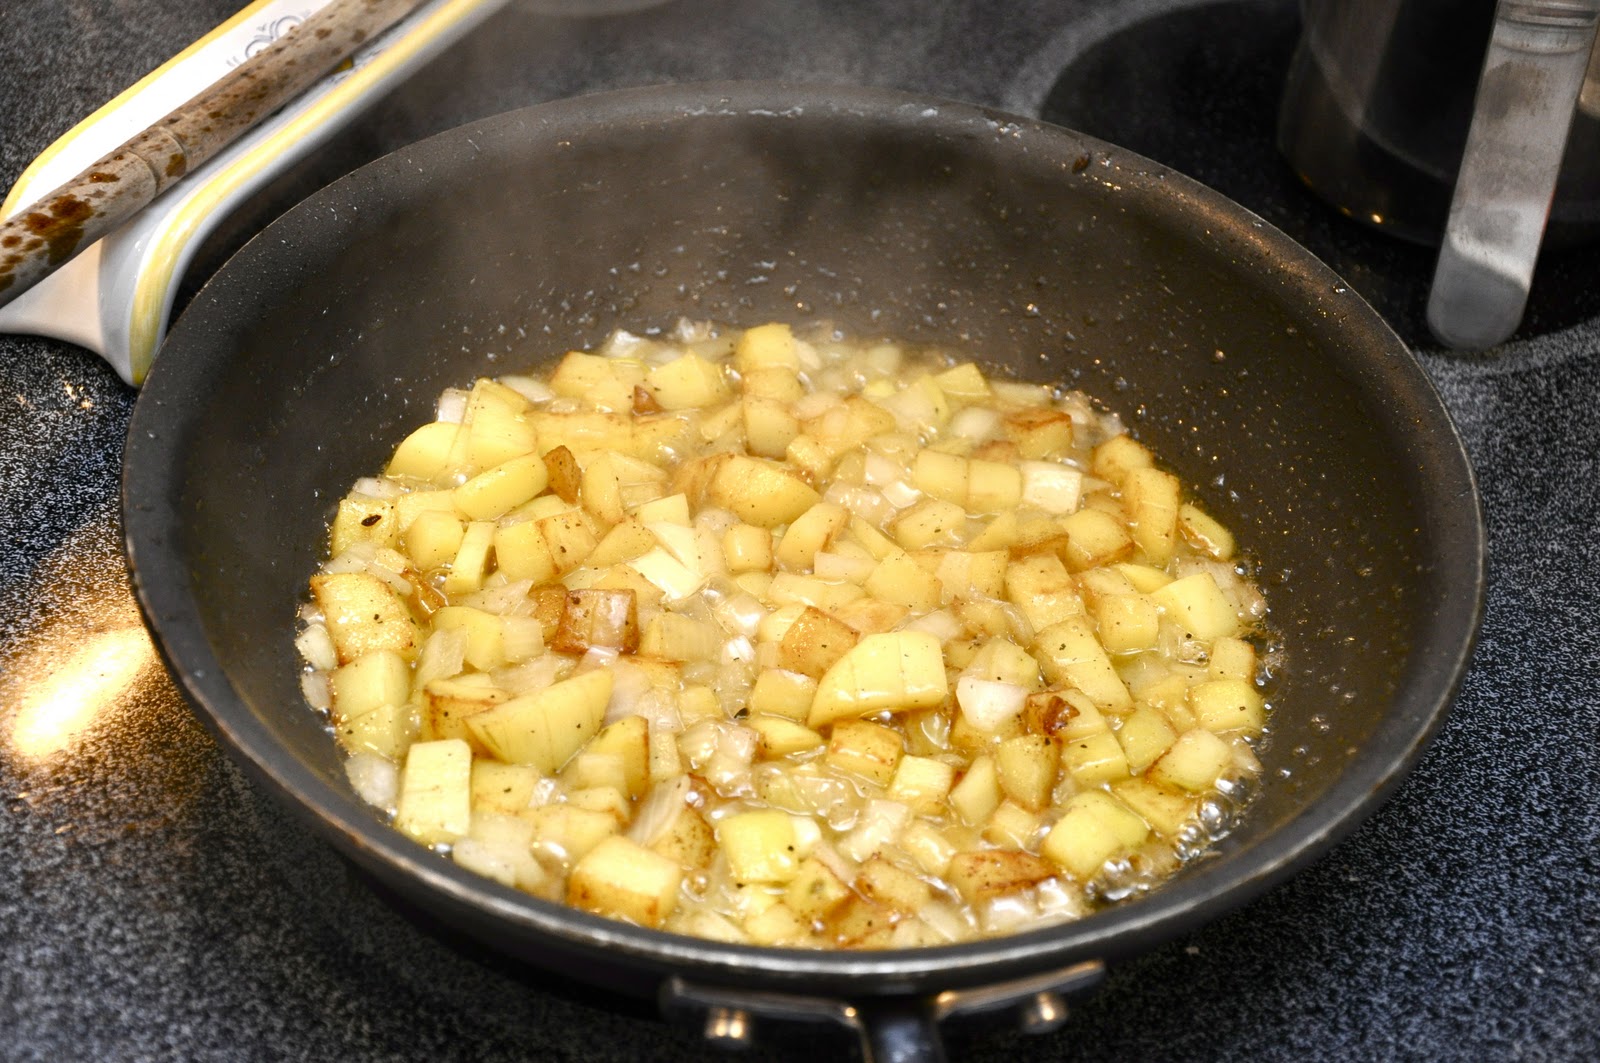
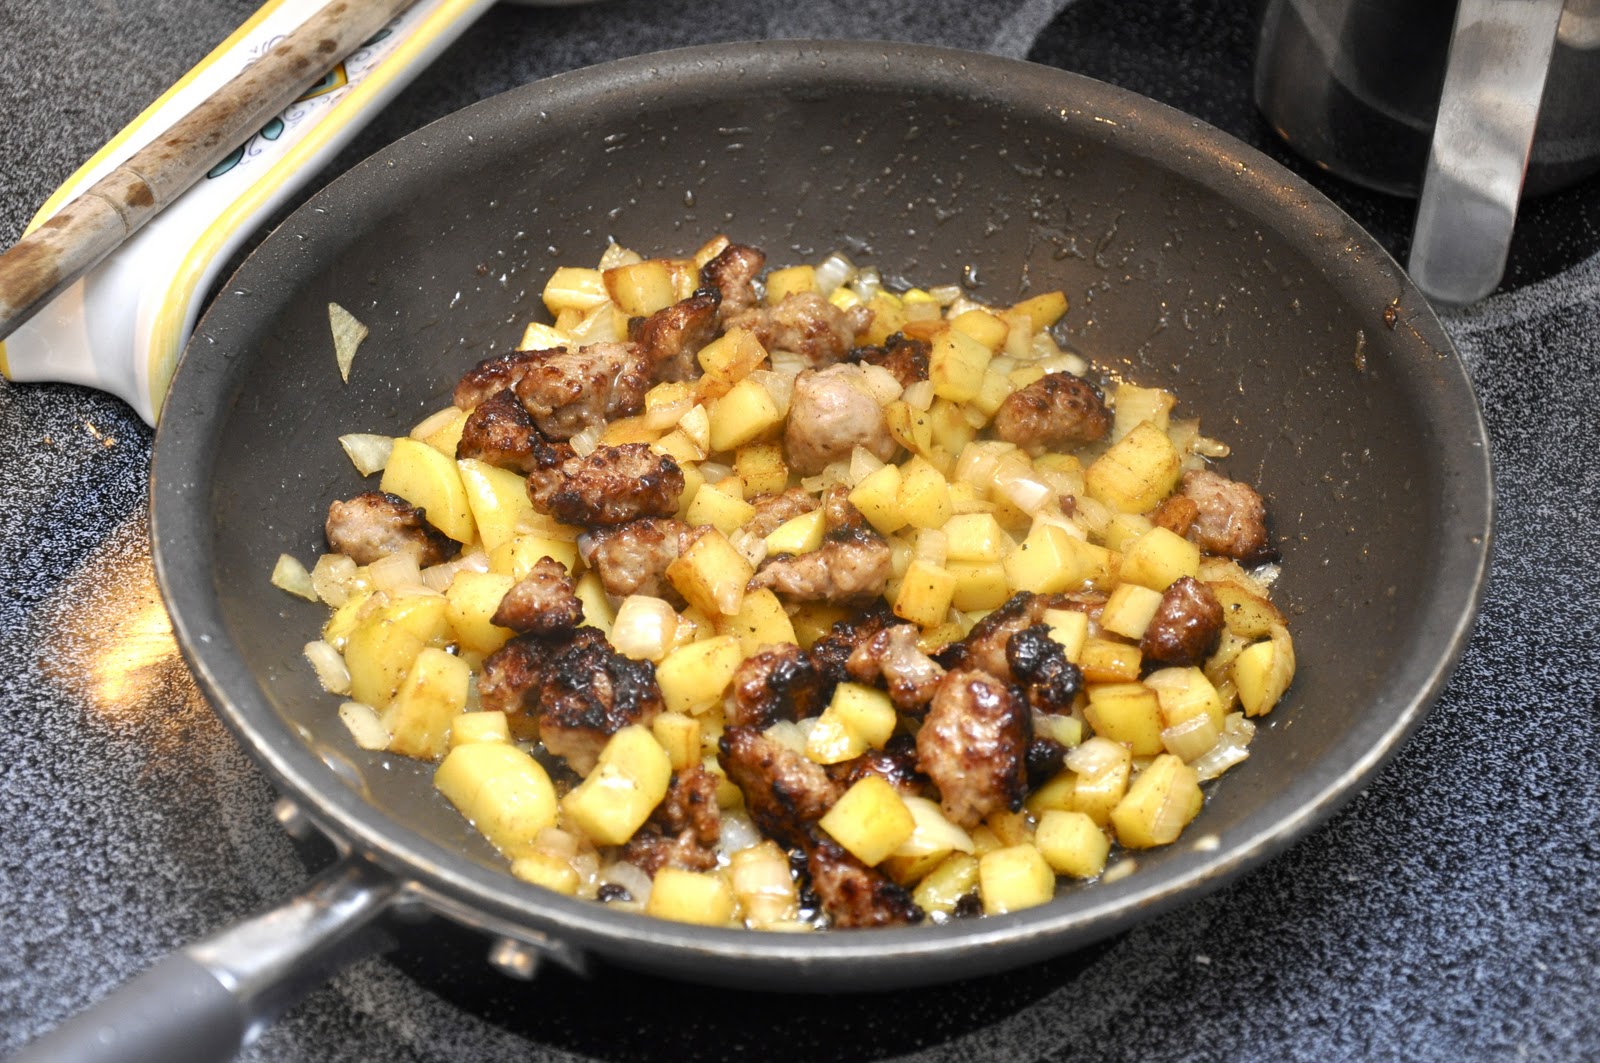
You simply proceed as you would normally do, using the classic recipe. Brown your sausages (or both sausages and spareribs) in olive oil (or lard) a skillet, transferring them to the slow cooker when they are nicely browned. Then sauté your onions and garlic in the grease left in the skillet until you have a nice soffritto. Deglaze the skillet with red wine and add it all to the slow cooker. making sure to scrape out all that goodness at the bottom with a spatula. Then pour over enough puréed canned tomato to cover the meats well. Season with salt and pepper, and let your ragù simmer on low for at least six hours, more if you like. Serve the meat and a bit of sauce over your polenta as pictured above.
NOTES: Obviously, unless you have two slow cookers, you will need to make the ragù the day before—which is fine, since like most slow-cooked foods, a ragù benefits from a day's rest.
* * *
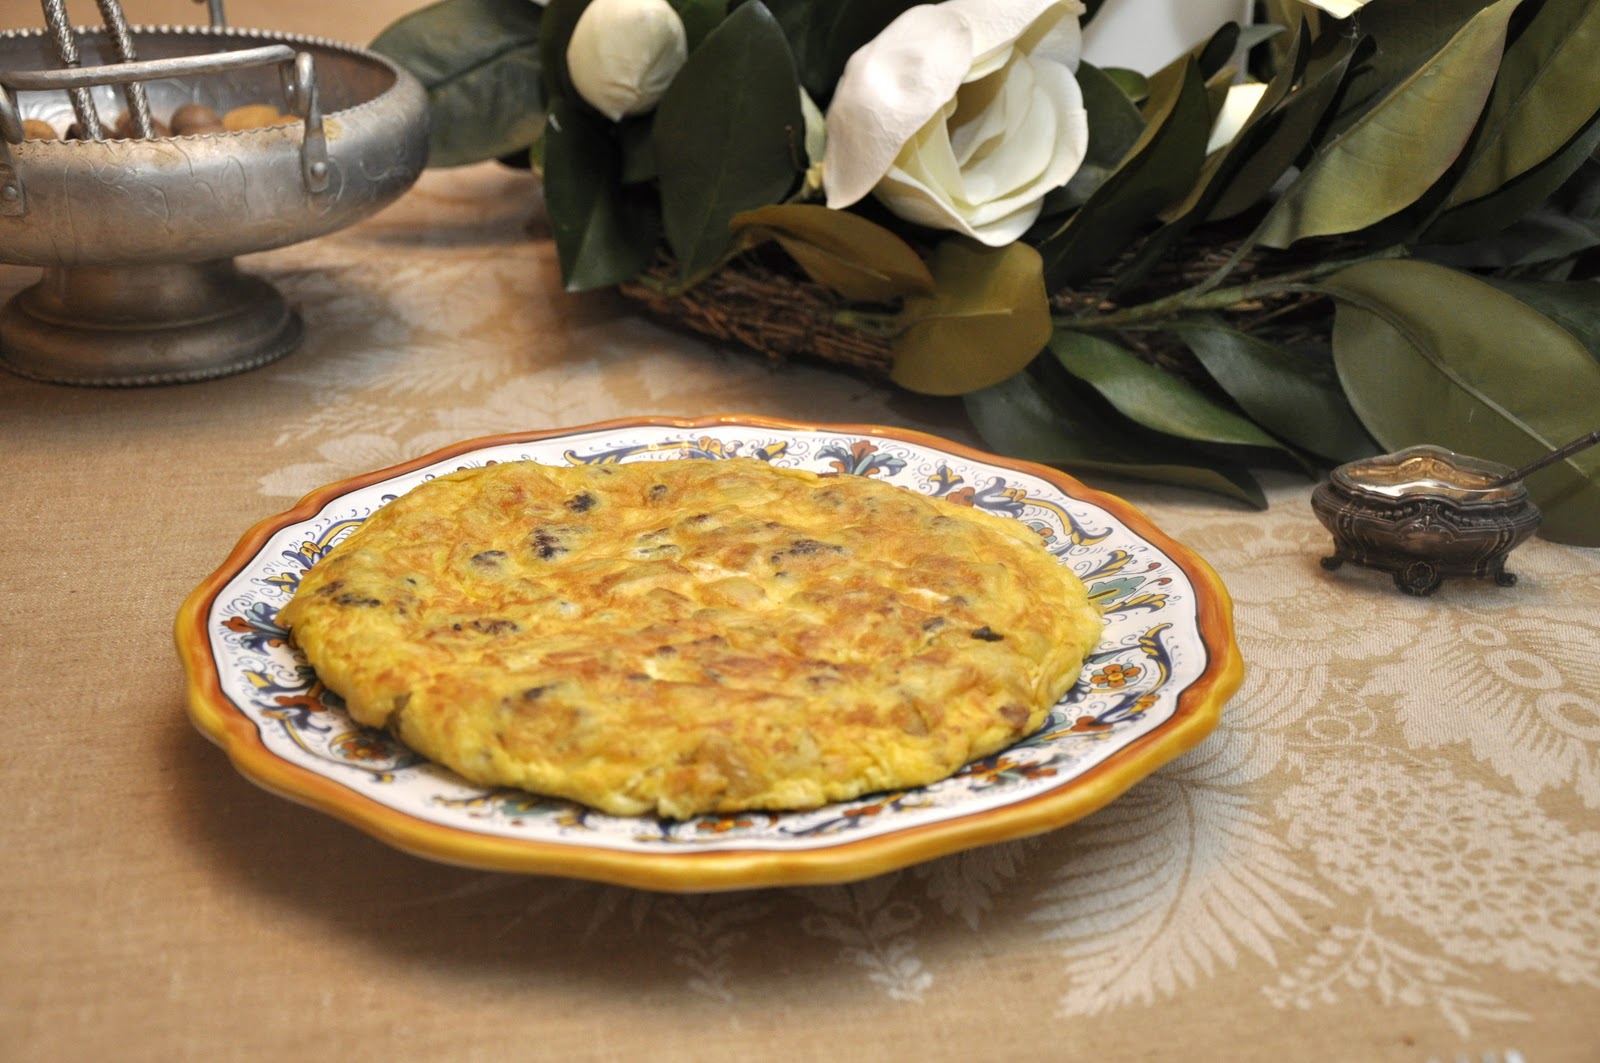
Post scriptum: You can use any leftover polenta and ragù to make a heart-warming polenta pasticciata:
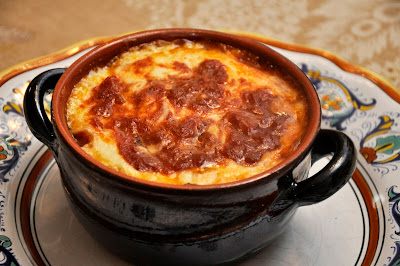
Slather your leftover polenta on a baking sheet and let it cool. It will harden into a sliceable mass. (You can also just pour it into a glass or other container if you prefer, which is my usual method.)
The next day, or whenever you want to use your leftovers, take some terracotta bowls (or a single casserole if you prefer) and grease the bottoms well with a bit of olive oil. Lay over some slices of polenta, then some of the meats from the ragù, which you will have sliced or chopped into bite-sized pieces. Then spoon over a bit of your leftover ragù, and then some béchamel sauce. (If you like, you can melt some grated or sliced cheese into the béchamel for extra flavor. This time, instead of the usual parmigiano, I used slices of young asiago). Repeat until you have used up your ingredients or filled up your baking vessels. Finish with the béchamel, into which you can swirl some more ragù for color. Sprinkle over some cheese if you like (I didn't) and drizzle with some olive oil.
Bake in a hot oven (200°C, 400°F) for about 25 minutes or so, until the mixture is bubbly and nicely browned on top. Let it cool off for a few minutes before serving.
I realize now that a slow cooker, though marketed as a convenience tool—usually the kiss of death in my book—is really just another way to achieve the kind of gentle most cooking that most cooks will do in a Dutch oven or, in Italy, a terracotta pot. All kinds of dishes that you would want to simmer for hours on end: rich sauces, broths and, yes, beans—all come out wonderfully in a slow cooker. And, yes, it is also convenient: it frees up your stove for other uses, can be left on all day if you like, and will keep your food warm indefinitely. What it is not, as the name implies, is quick. But once you're down with the initial steps (in the Italian context, that mean making a soffritto and the rosolatura of the main ingredient) you can leave whatever you're making unattended until it's done.
So far, I've had excellent results with broth, beans (look out for coming posts!) and, as I will get to in a moment, polenta and ragù. Not everything I've made so far has been a smashing success, however. Stews and pot roasts, for example, have not turned out as I would have liked. I tried to make a brasato al vino rosso, for example—the very first dish I tried in my new slow cooker—and found the meat rather stringy and the sauce thin and bland.
That brings me to an important point when it comes to slow cooking: as when cooking in a pressure cooker, there is very little evaporation and therefore very little concentration of flavors. So you need to use much less liquid than you ordinarily would. And those dishes that requires evaporation to work will not work very well in a slow cooker. I tried making a spezzatino di pollo, for example, with vinegar. Made in the conventional way, the vinegar evaporates and its flavor mellows to the point where you would probably not know it was even there (unless you're the cook, that is!) In a slow cooker, the vinegar flavor is as strong when the dish is done as when you started, and that's not a good thing. So it's back to the drawing board for me on stews and pot roasts. I'll report back to you, kind readers, when I've figured out the best way to handle them.
In any event, on to our recipes!
SLOW COOKER POLENTA
Makingn real polenta is a laborious job, as we all know, involving a lot of stirring over a good 45 minutes or more to reach the right, creamy consistency. Italians have developed any number of tricks to make the job a bit easier, as I have outlined in my post on How to Make Polenta. The slow cooker provides yet another easy (if not very quick) way to make polenta.
Ingredients
1 part polenta (by volume)
5 parts water (by volume)
A pinch of salt
(NB: I made a batch from 1 cup of polenta mixed with 5 cups of water.)
Directions
You mix the polenta and cold water together in your slow cooker with a whisk or wooden spoon. Then spinkle the mixture with a pinch of salt. Turn on your slow cooker to high and let it go at it for 3 hours. Stir after two hours or, if you prefer, every hour. (Recipes vary.) If the polenta is getting too thick, you can add some water, but not too much—remember, you can't count on evaporation to thicken the polenta by more than a very marginal amount.
The polenta will stay smooth and soft for several hours if left on 'warm'.
NOTES: Made this way, the polenta turned out fine. Was the texture quite a fine as the hand-stirred variety made in a traditional paiolo? No, not really. But it was certainly acceptable—more than acceptable, in fact. The difference was subtle, not one that would be obvious to anyone other than the true cognoscenti.
Three hours is a sort of awkward time. Too long to be 'quick', but not long enough, say, to make in the morning before work and have it ready by the time you get home. For that, you can cook your polenta over low heat for double the time (6 hours). I have not tried this variation but it would seem to work.
(NB: There is a general rule for slow cooking, which says that you can cook must about anything for x hours on high or 2x hours on low. I have yet to find an explanation of what difference, if any, it makes to the final outcome.)
SLOW COOKER SAUSAGE RAGÙ
You would think that a slow cooker would be the ideal implement for making a Sunday Sauce and, indeed, it would seem to be ideal for all sorts of long simmering sauces. To accompany this polenta, I made a variation on the classic Roman dish, polenta con salsiccia e spuntature (polenta with sausages and spareribs), which we've featured on this blog. I just left out the spareribs, since I couldn't find any in my freezer and there was just too much snow outside to make a dash to the market. The result was still delicious.
You simply proceed as you would normally do, using the classic recipe. Brown your sausages (or both sausages and spareribs) in olive oil (or lard) a skillet, transferring them to the slow cooker when they are nicely browned. Then sauté your onions and garlic in the grease left in the skillet until you have a nice soffritto. Deglaze the skillet with red wine and add it all to the slow cooker. making sure to scrape out all that goodness at the bottom with a spatula. Then pour over enough puréed canned tomato to cover the meats well. Season with salt and pepper, and let your ragù simmer on low for at least six hours, more if you like. Serve the meat and a bit of sauce over your polenta as pictured above.
NOTES: Obviously, unless you have two slow cookers, you will need to make the ragù the day before—which is fine, since like most slow-cooked foods, a ragù benefits from a day's rest.
* * *
Post scriptum: You can use any leftover polenta and ragù to make a heart-warming polenta pasticciata:

Slather your leftover polenta on a baking sheet and let it cool. It will harden into a sliceable mass. (You can also just pour it into a glass or other container if you prefer, which is my usual method.)
The next day, or whenever you want to use your leftovers, take some terracotta bowls (or a single casserole if you prefer) and grease the bottoms well with a bit of olive oil. Lay over some slices of polenta, then some of the meats from the ragù, which you will have sliced or chopped into bite-sized pieces. Then spoon over a bit of your leftover ragù, and then some béchamel sauce. (If you like, you can melt some grated or sliced cheese into the béchamel for extra flavor. This time, instead of the usual parmigiano, I used slices of young asiago). Repeat until you have used up your ingredients or filled up your baking vessels. Finish with the béchamel, into which you can swirl some more ragù for color. Sprinkle over some cheese if you like (I didn't) and drizzle with some olive oil.
Bake in a hot oven (200°C, 400°F) for about 25 minutes or so, until the mixture is bubbly and nicely browned on top. Let it cool off for a few minutes before serving.