Today, let's continue our exploration of Italian frozen desserts. We have already gone over the basic recipe for the elegant sorbetto, so today we'll take a look at everyone's favorite summer dessert: ice cream!
The Italian version of ice cream, called gelato, meaning simply 'frozen', is typified by the density of its texture and intensity of flavor. It achieves these qualities by avoiding any fillers or fluffers like whipped cream or egg whites. The basic batter for gelato is simply milk and/or cream, thickened with sugar and egg yolks.
Here's how you make the most basic of gelati, various called gelato di crema, gelato fior di latte or, if you flavor the batter with vanilla, gelato di crema alla vaniglia. Practically all gelati begin with this basic recipe and add additional flavors, whether chocolate, pistachio or other nuts, or some sort of fruit purée. This is one case where measurements actually do make a difference, so I will actually give them upfront like a normal recipe:
Gelato di crema
Ingredients:
500 ml (2 cups) milk or equal parts milk and cream
150g sugar (3/4 cup)*
4 egg yolks
1 vanilla pod, split open down the side, or a piece of lemon zest (optional)
* NB: Superfine sugar is best, but regular granulated will do.
Directions:
Step 1: Pour the milk, or milk and cream, half of the sugar and, if using, the vanilla pod or lemon zest, into a saucepan and bring the milk nearly to a boil. When the very first bubbles begin to appear, take it immediately off the heat and let it cool. (If using the optional vanilla or lemon zest, you can cover the saucepan, which will slow down the cooling process and prolong the steeping process, thus drawing out more of their flavor.)

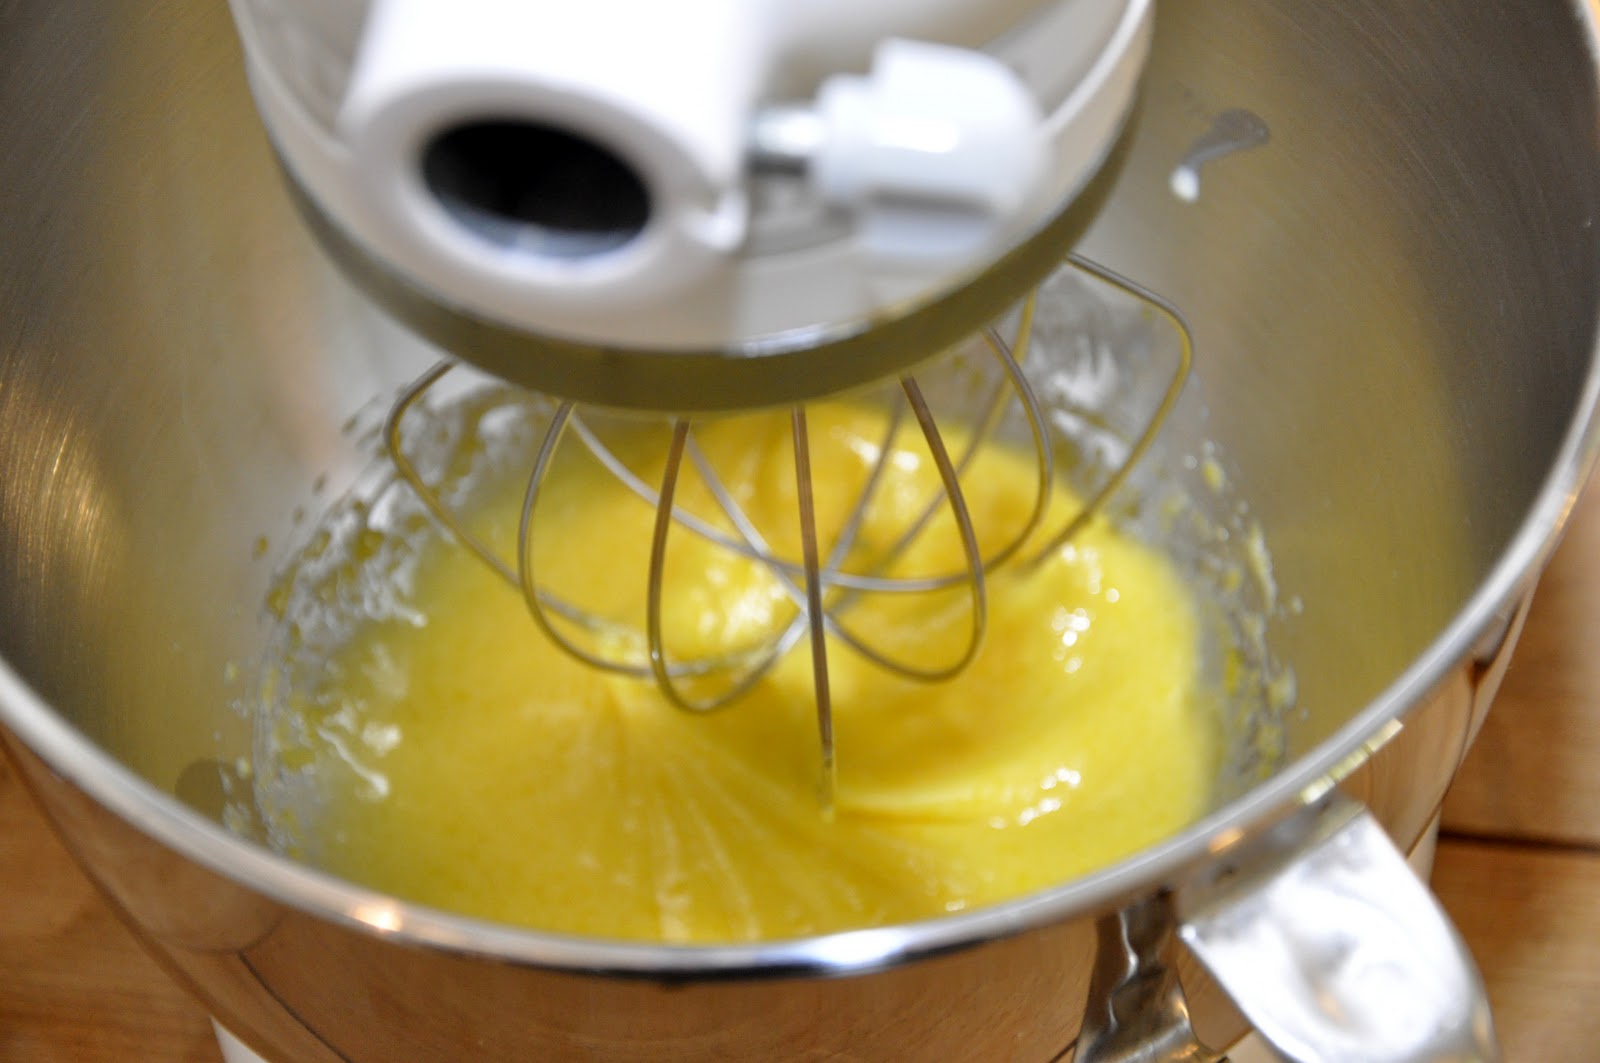
Step 2: When the milk has cooled—it need not be perfectly room temperature, but it should not be hot or it will cook the egg prematurely—put the egg yolks into an electric mixer together with the other half of the sugar. Beat at a high setting until the egg yolks and sugar have been totally combined and developed a creamy quality. You will be able to see ripples as the mixer turns:
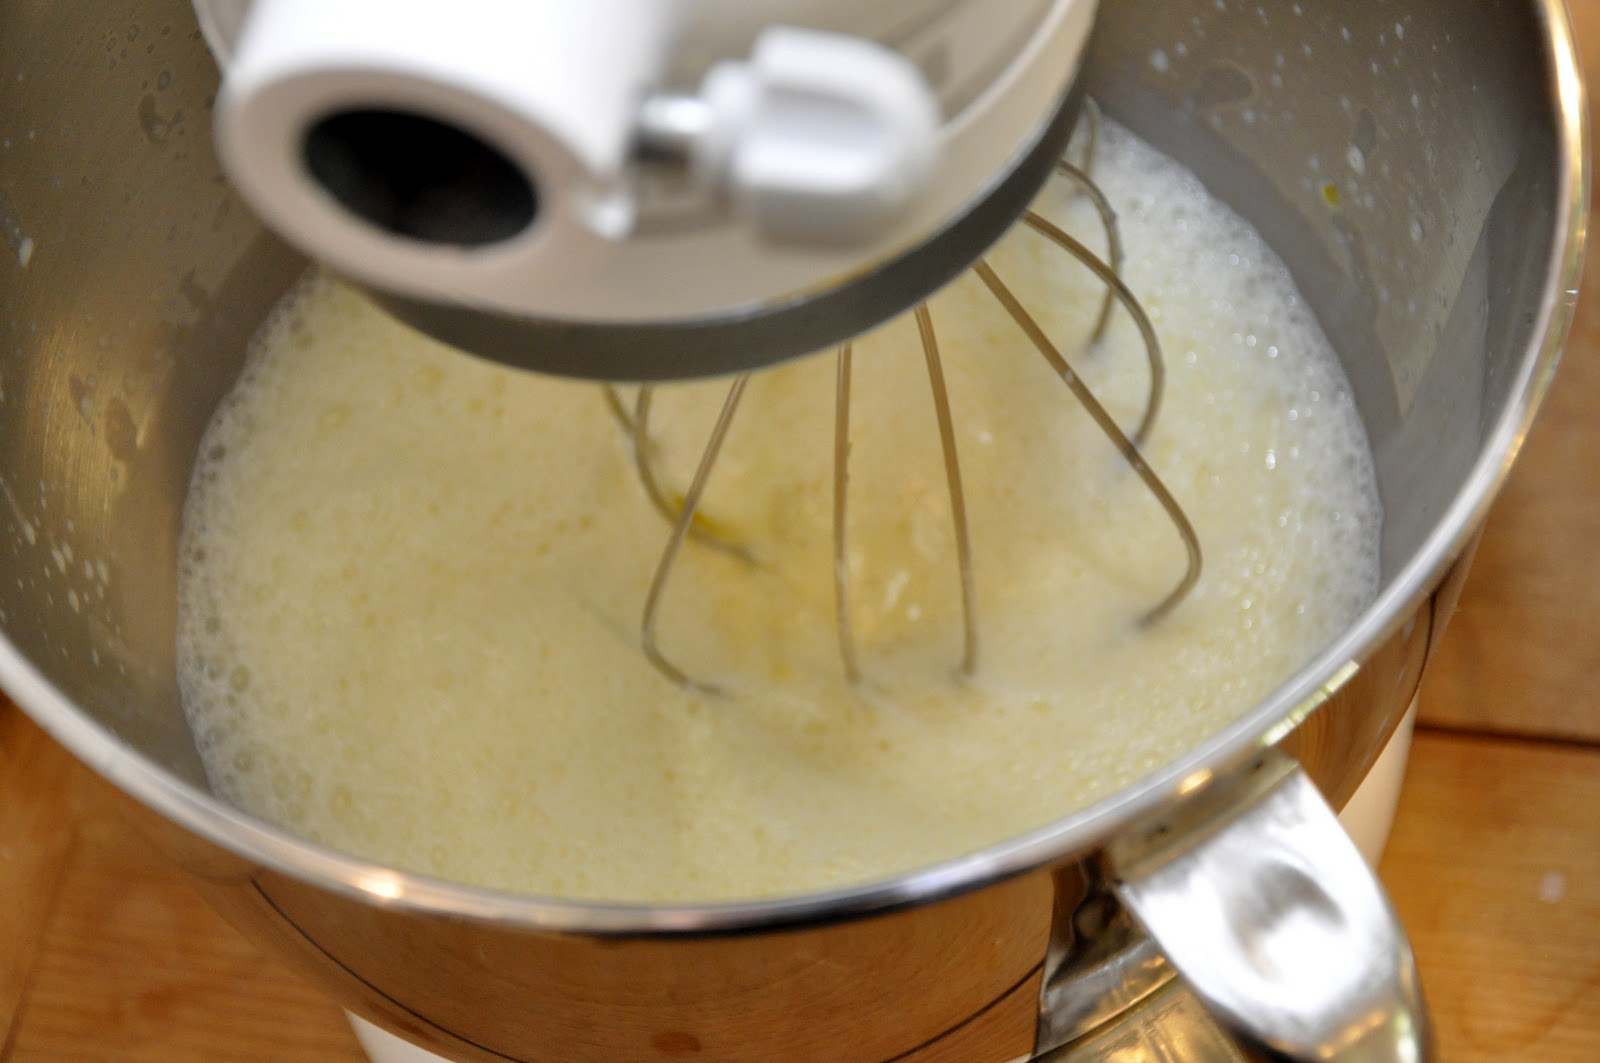
Step 3: Lower the setting and slowly add your cooled milk (from which you will have removed the vanilla or lemon zest if using) in a steady stream. Mix until everything is well amalgamated.
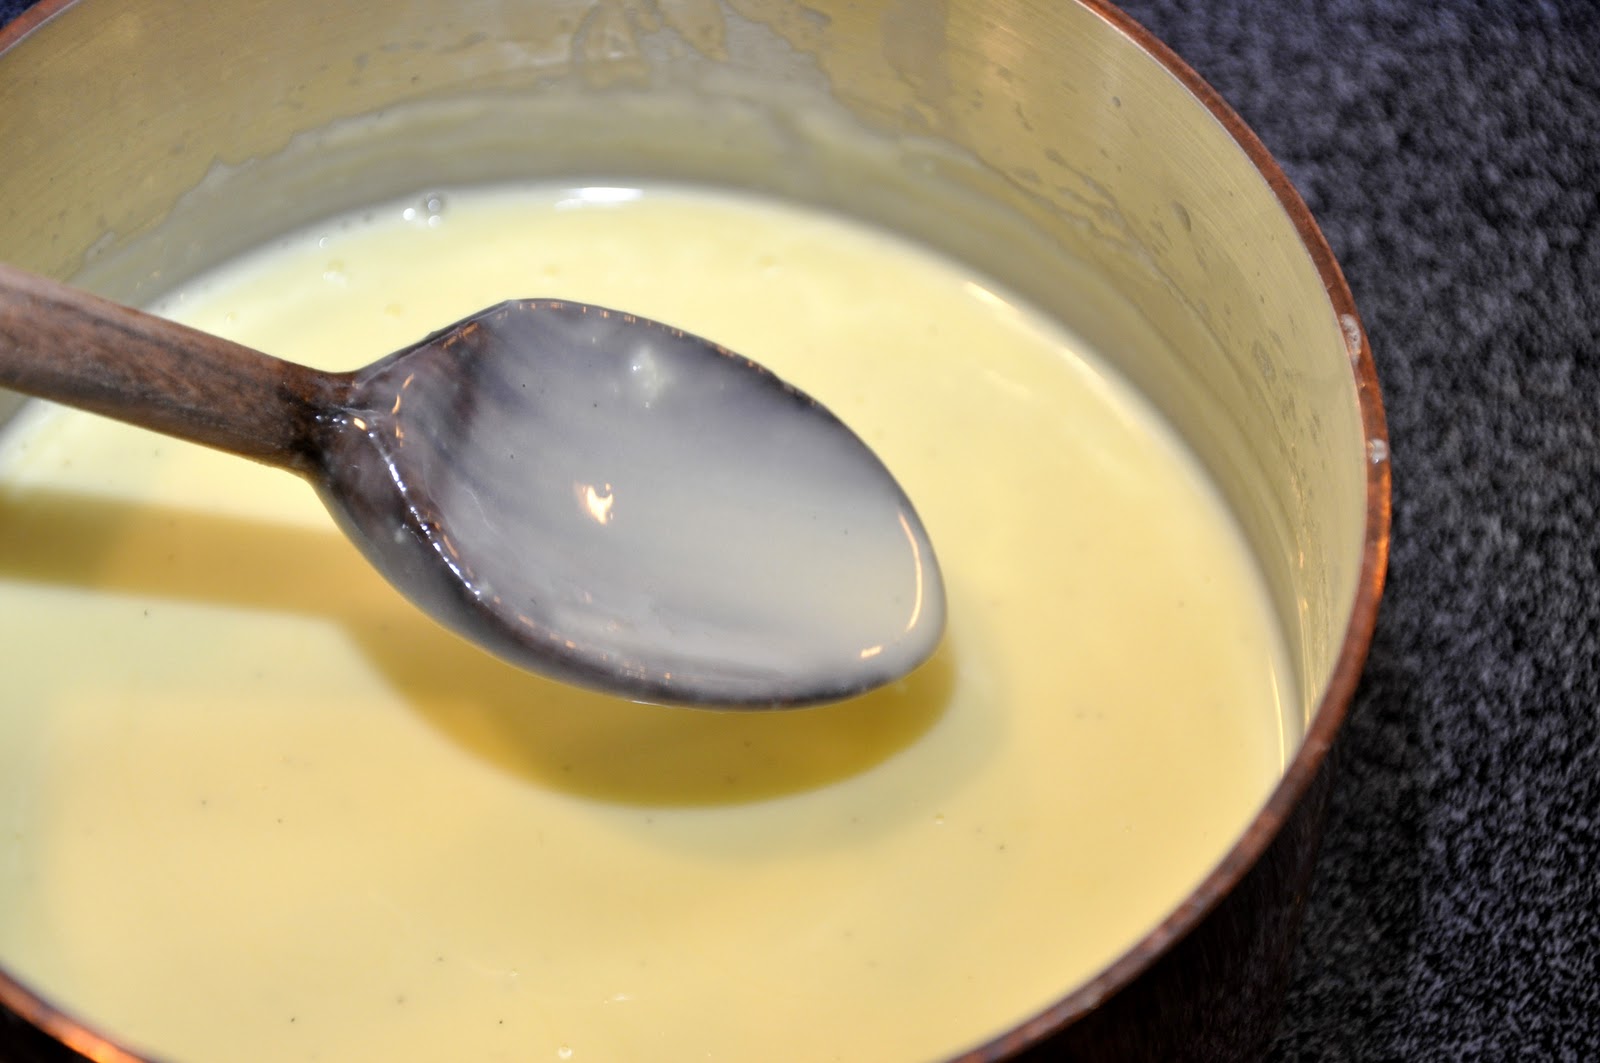
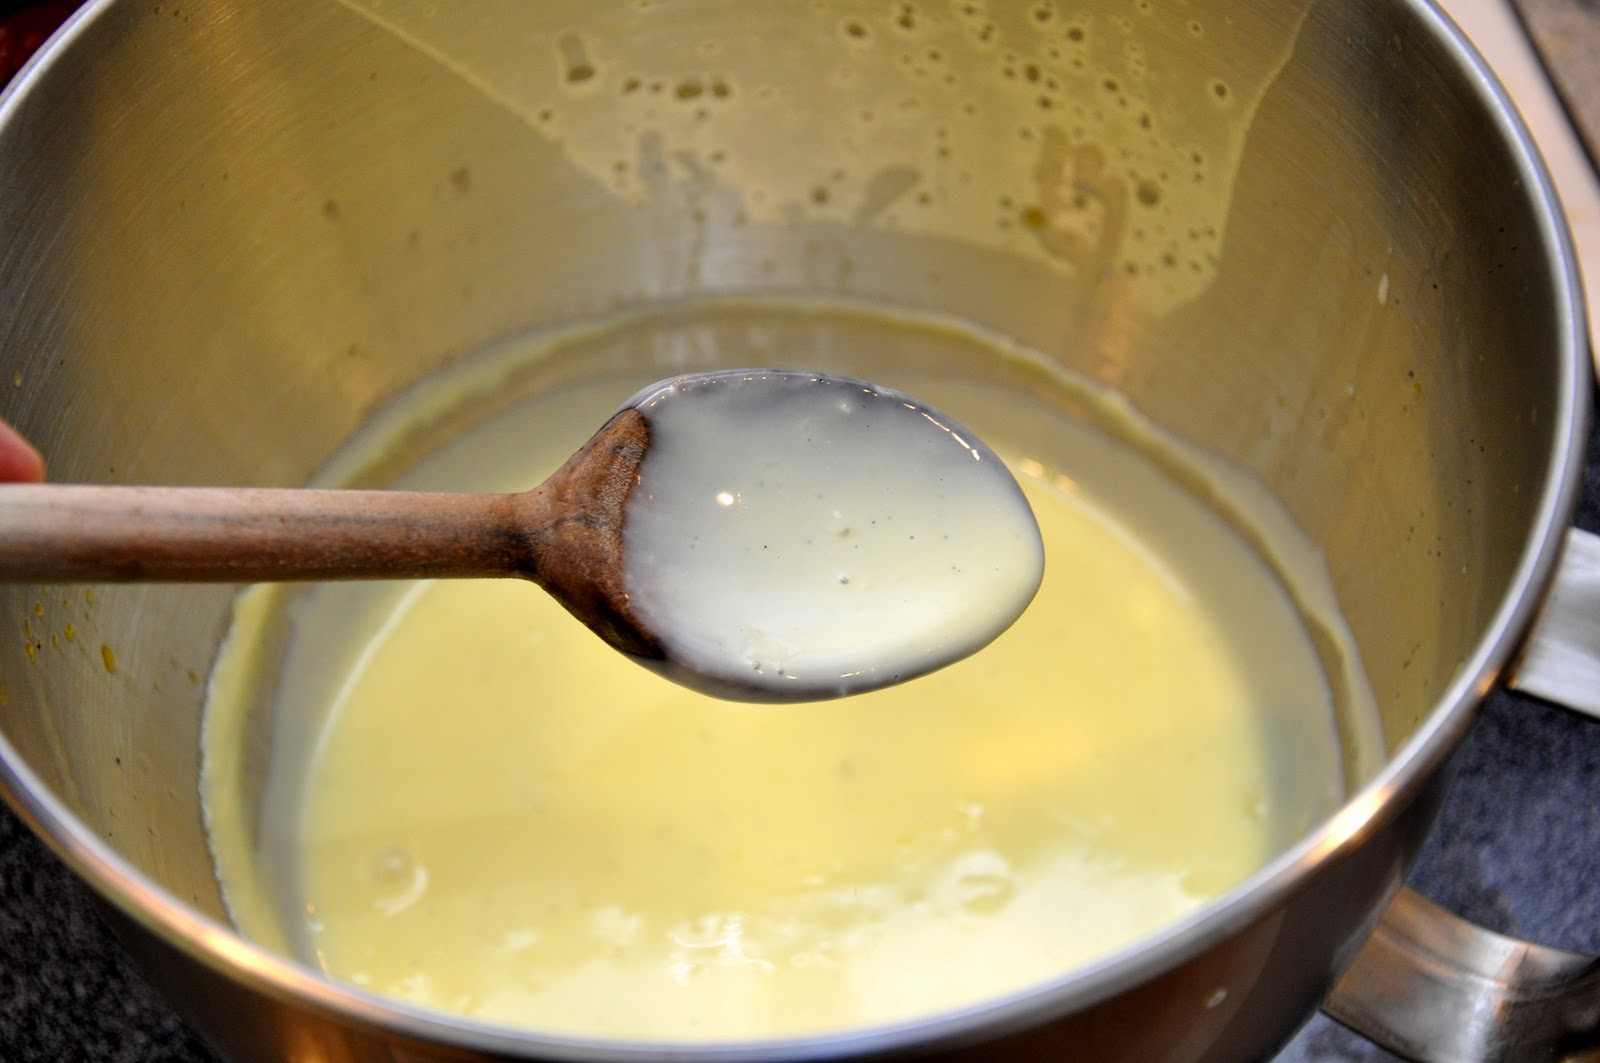
Step 4: Transfer the mixture back into the saucepan. Now begins the one slightly tricky part of the process: you want to heat the mixture gently until the eggs thicken it into a thin custard—thick enough to coat a spoon lightly—but not so much that the egg curdles. Many recipes tell you to use a bagnomaria or bain-marie technique, which is to say that you place the saucepan with the mixture over a saucepan of simmering water, which 'softens' the heat. But I find this precaution is not really needed. If you are attentive, increasing the heat very gradually from low to medium or medium-high, stirring constantly until you begin to 'feel' the mixture beginning to thicken—you will notice slightly more resistance to the movement of your spoon or whisk—and then lowering the heat immediately to low, you can avoid disaster. Above all, never let the mixture reach the boiling point or all will be lost. As an extra precaution, you can keep a bit of cold milk or cream at the ready, and add just a bit to the saucepan if you feel that the mixture has gotten too hot. The truth is, it just takes a little practice and attention. After a few tries, the procedure will become second-nature.
Step 5: Once the mixture has thickened nicely, remove it from the heat, pour it into a bowl (I just use the mixer bowl) and chill the mixture in the fridge. Some recipes will tell you to pass the mixture throw a sieve before chilling, to remove the vanilla seeds and any possible bits of coagulated egg, but I usually skip this step too. I don't mind the seeds—in fact, I rather like them—and if you are careful about the previous step, you should not have any coagulated egg to worry about. This will take at about an hour. Stir from time to time to prevent a film from forming on the surface of the mixture. When chilled, you will notice that the batter will have thickened even more.
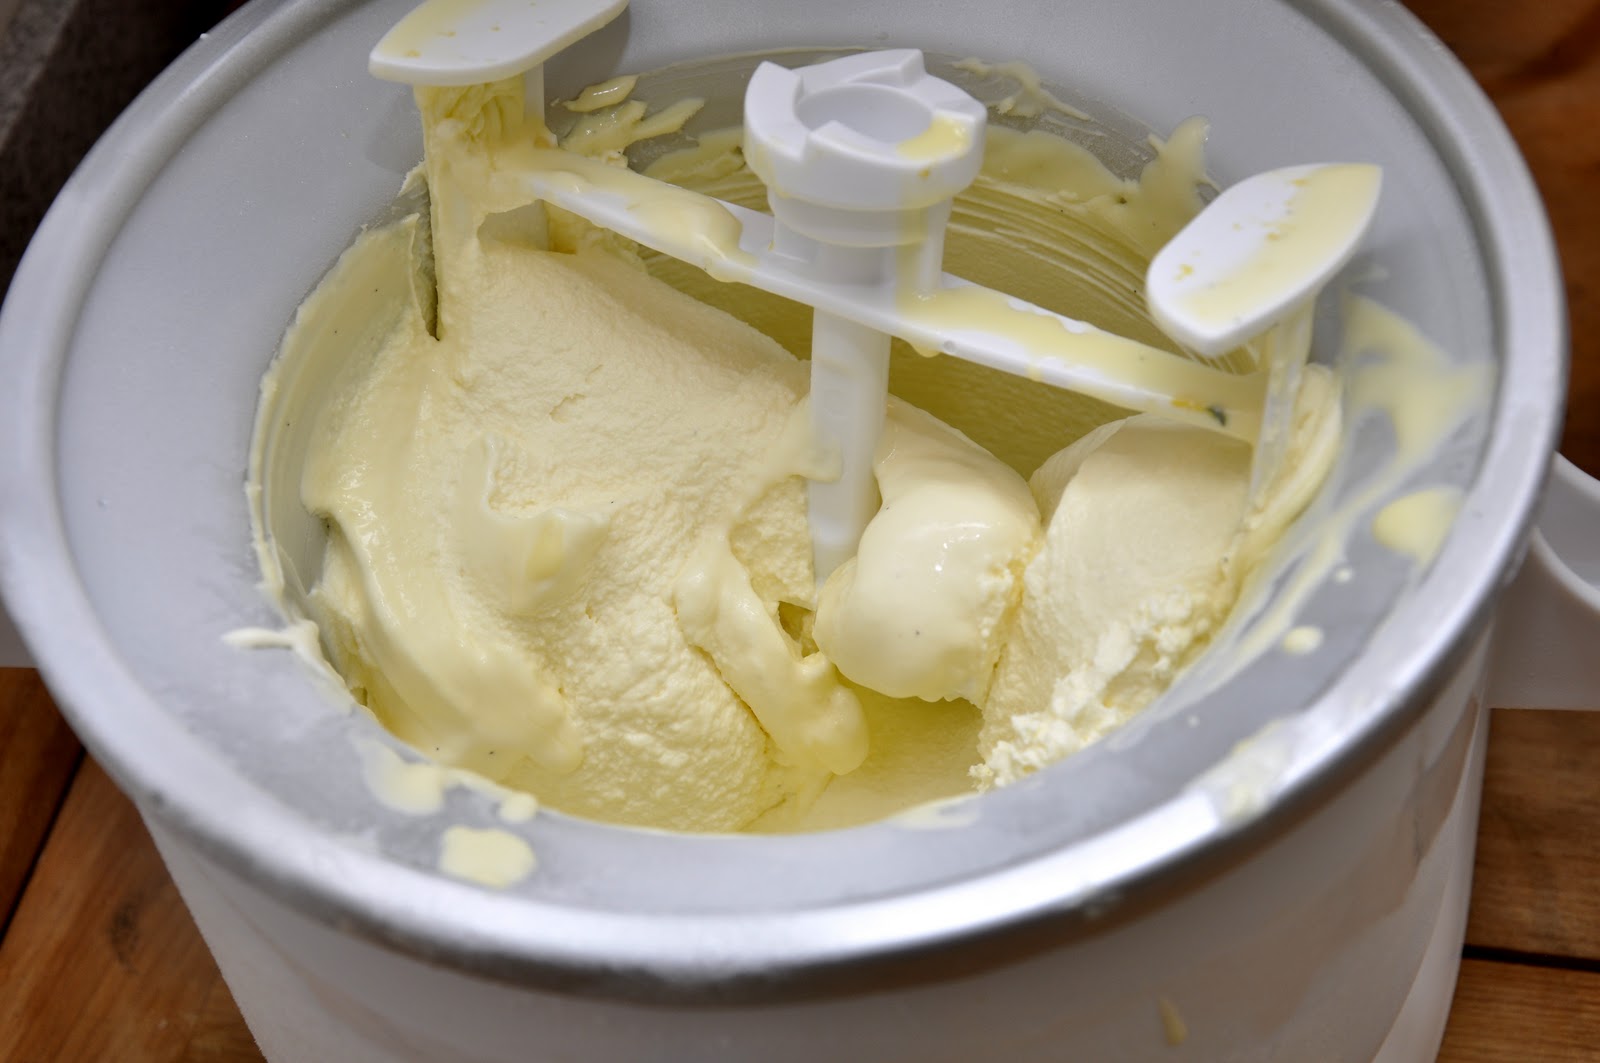
Step 6: Pour the batter into an ice cream maker and proceed to churn per the instructions that came with the machine. Typically, you will churn the batter for 20-30 minutes, which results in a 'soft serve' texture. If you want a firmer gelato, freeze it for an hour or two before serving. If you are keeping it in the freezer for a longer time (gelato will keep for quite a while in the freezer) then remove it from the freezer about 15 minutes or so before serving, as it hardens further over time, and the texture of gelato can be firm but never hard.
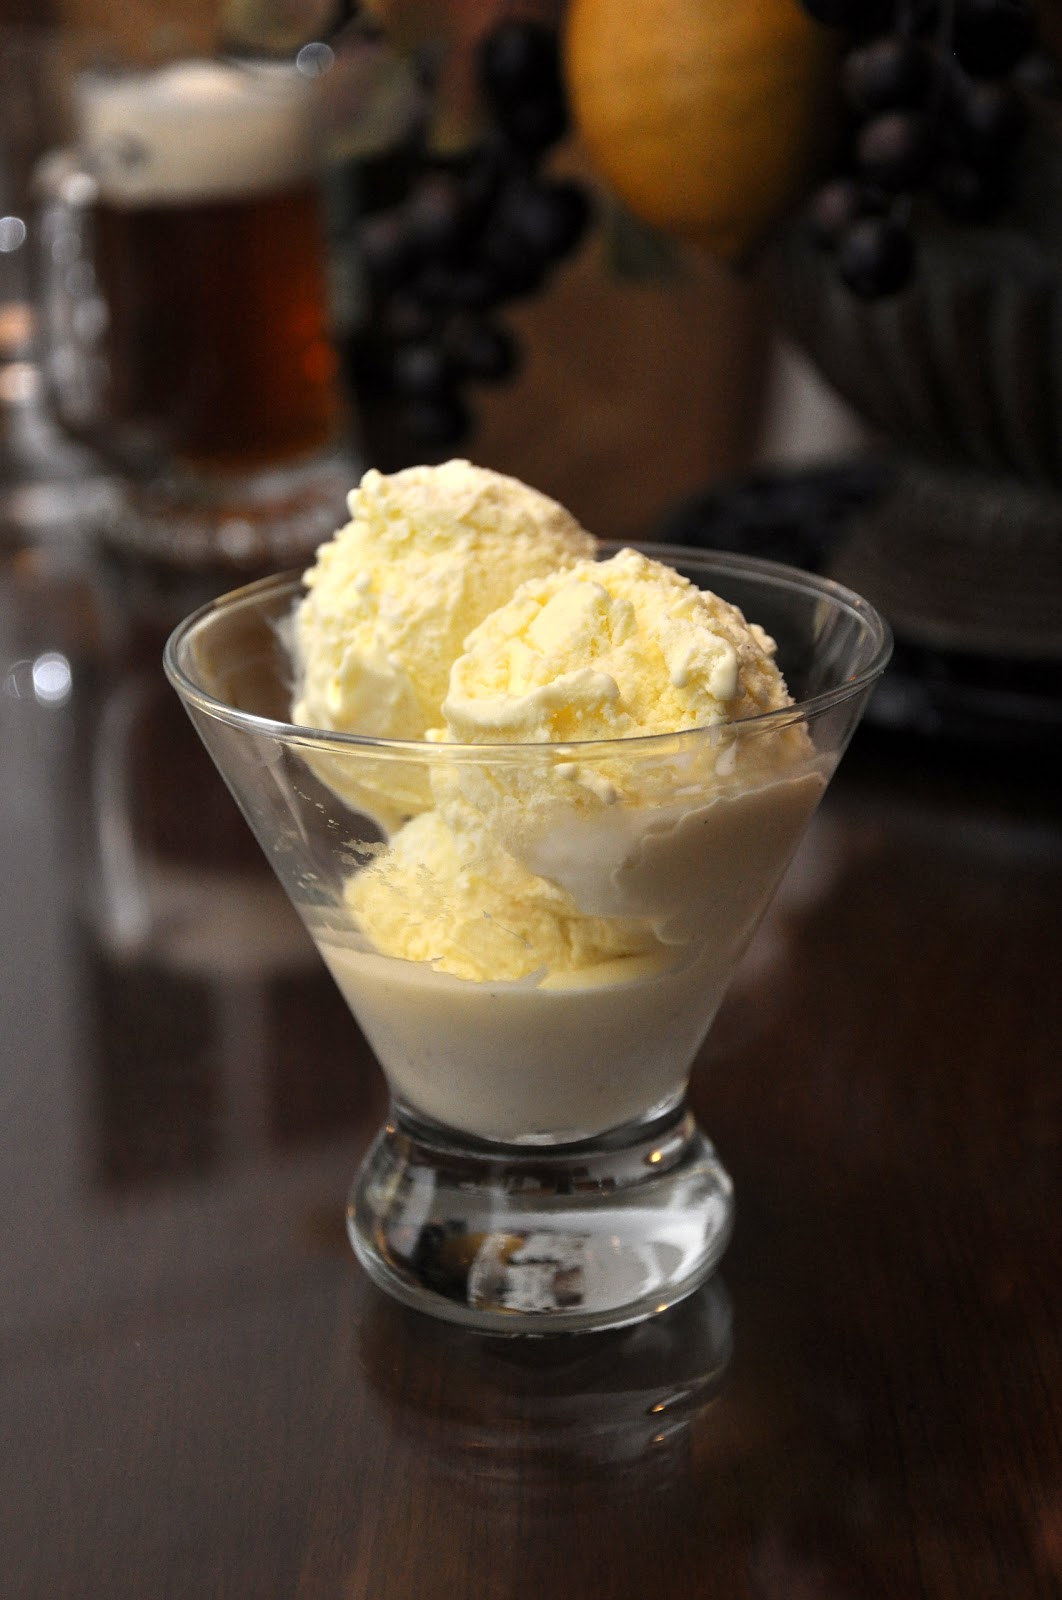
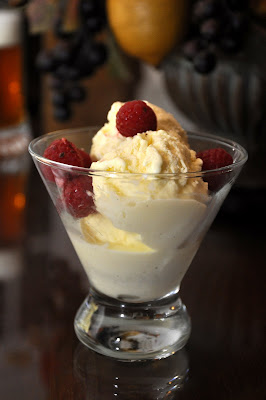
NOTES: So this is your 'mother' recipe. It is perfectly delicious as it is, served plain (as pictured above). It can also be served with berries on top:
Other nice toppings include powdered cocoa, melted dark chocolate or even a bit of best-quality balsamic vinegar--but only the very best, well-aged (and very expensive) kind, which has a wonderfully mellow flavor, almost like a fine port.

Other nice toppings include powdered cocoa, melted dark chocolate or even a bit of best-quality balsamic vinegar--but only the very best, well-aged (and very expensive) kind, which has a wonderfully mellow flavor, almost like a fine port.
One of the most exquisite ways to serve gelato di crema is called affogato al caffè, literally 'drowning' in strong espresso coffee, which has been allowed to cool down a bit and, if you like, laced with rum, cognac, Cointreau or other liqueur of your choice:
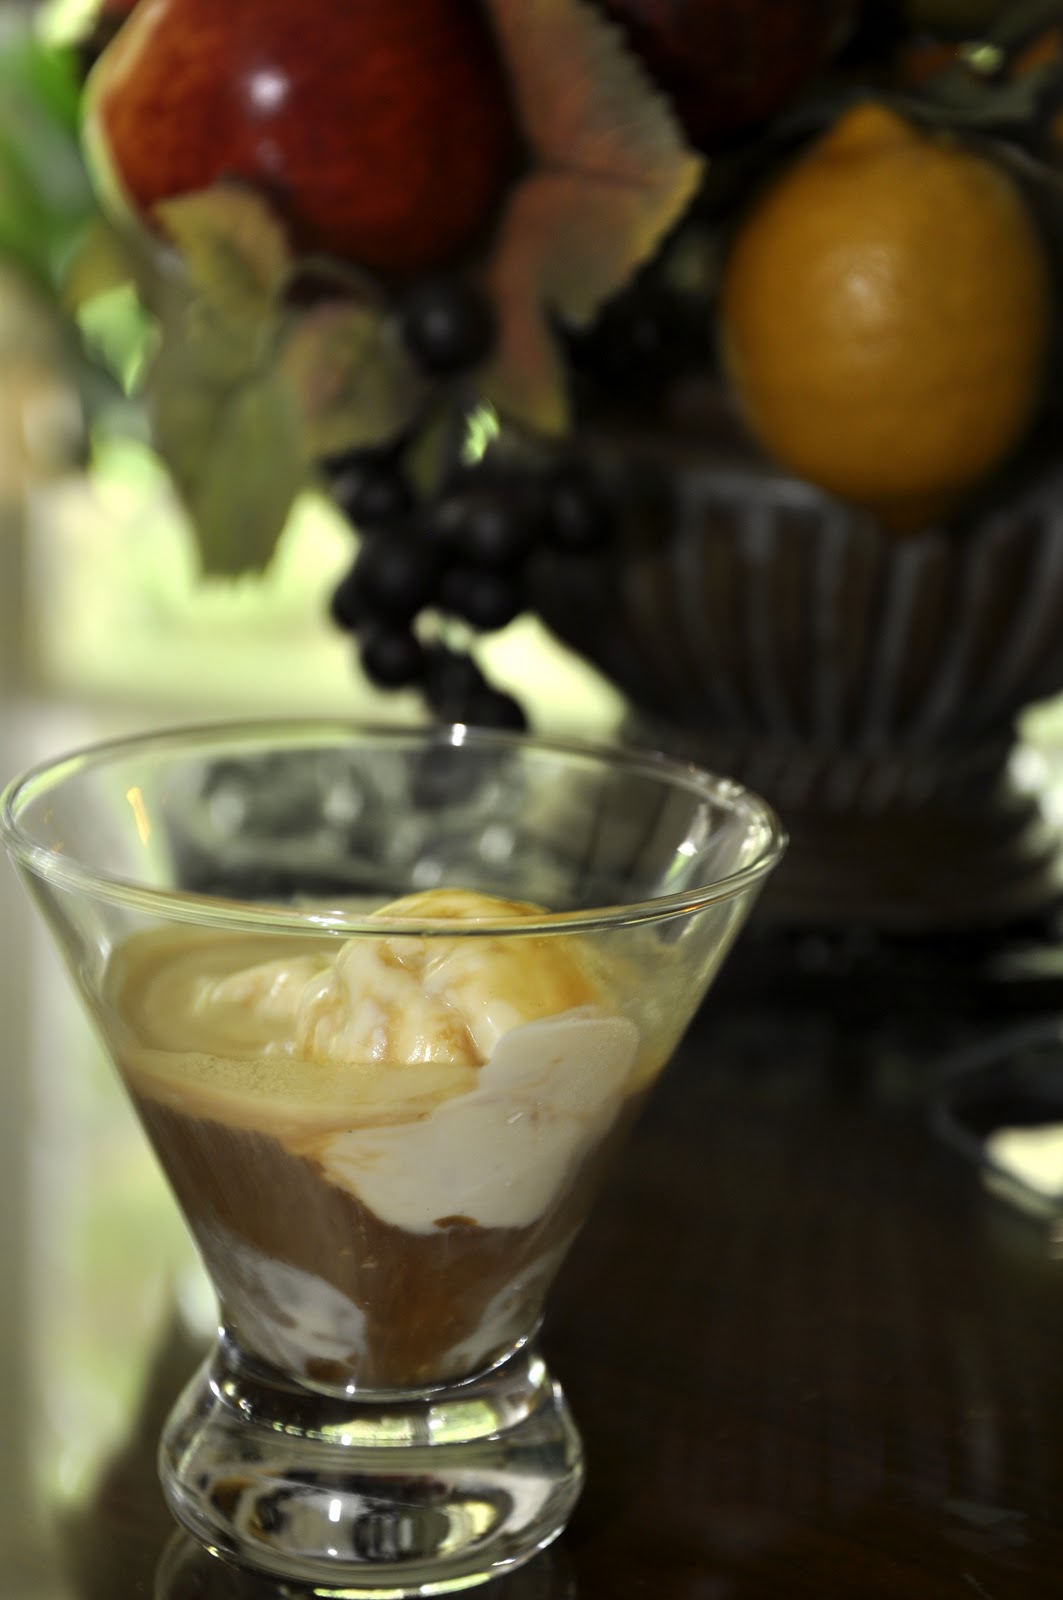
An affogato is sometimes served with some savoiardi ('lady fingers') crumbled and moistened with the same liqueur, at the bottom of your ice cream bowl or cup. You can also top it with some slivered almonds, crumbled walnuts, cinnamon or grated dark chocolate. Indeed, there are any number of variations you can try. But personally—and, dear reader, you must know me by now—I like it as simple as possible.
From this mother recipe, you can also make all sorts of other kinds of gelato by adding flavorings. In the case of fruit flavors, a purée is usually folded into the chilled batter just before churning. In the case of nut flavorings (pistachio, hazelnut and coconut being the most common) they are ground finely and allowed to steep with the hot milk as indicated for the vanilla and lemon zest in the basic recipe. In any event, over time we will go over these variations in detail.
If you don't like the idea of using egg yolks, there are eggless variations: many recipes call for some stabilizer like cornstarch, agar or gelatin to thicken the batter rather than the egg yolks. In this case, add all the sugar to the saucepan together with the milk in Step 1, then add 2-3 tablespoons of cornstarch or one of the other thickeners as a slurry to the hot milk and cream until thick. You can skip steps 2-4; just allow the mixture to cool, and proceed with Steps 5 and 6. You can also avoid the egg yolk if you use fruit purée and all cream, which provides enough thickness and stability on their own. In either case, the result will no doubt be very good, but will lack the richness that the egg yolks provide.
Don't have an ice cream maker? Well, you can make gelato without an ice cream maker by simply putting the batter in a large, covered container into the freezer. After about an hour, take the container out and mix it vigorously with a wooden spoon. Repeat the process every so often (some recipes say every 15 minutes) thereafter. By the two hour mark, your gelato should be ready to eat.
I should mention that in Italy, gelato is more often something to eat out, as a kind of snack, than a dessert to have at home. For this reason, and with a gelateria available literally around the corner from most homes, it is rather unusual for Italians to make their own gelato. But those of us not lucky enough to live there, this recipe is guaranteed to transport you to the Old Country, if only for a few blissful moments.
